
Fabric Framed and Jewelry Tamed
Psssst… this post *might* contain affiliate links: see my disclosure here.
Today’s the big day!! Can you believe that this is the FIFTH #SwapItLikeItsHot?! Hopefully you’ve been enjoying the makeovers all week because there are over over 35 bloggers getting in on this thrift store action! Howdy ho neighbors to those of you coming over from my pal, Danielle at Finding Silver Pennies. (Sidenote: why does everything she posts look so cozy and relaxing and CHIC?!) To recap the schtick of this… we all go out to the thrift store and spend $10 or less. We MAIL what we find to another blogger who gets the privilege of reimagining and repurposing whatever they get! (See previous ones here, here, here, and here!)
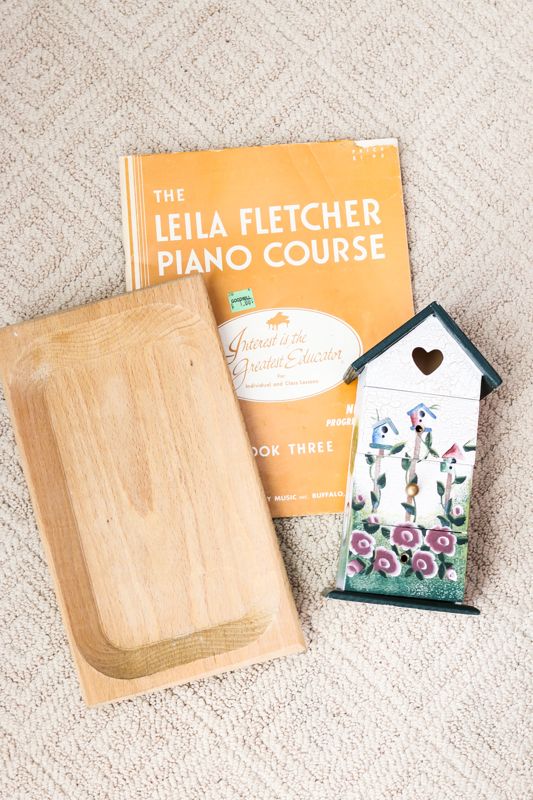
Danielle sent me two things: an amazing hand sewn tapestry and a brass candlestick
Shop my favorites!
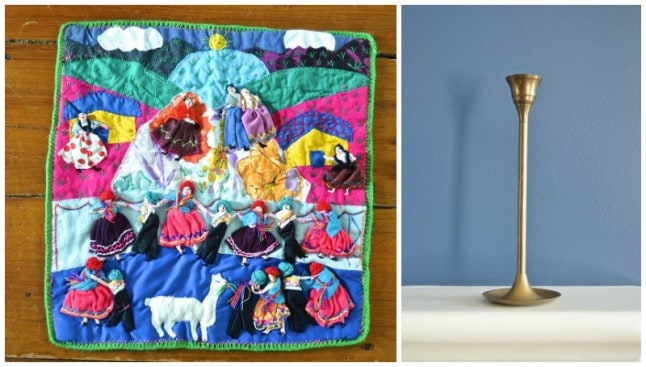
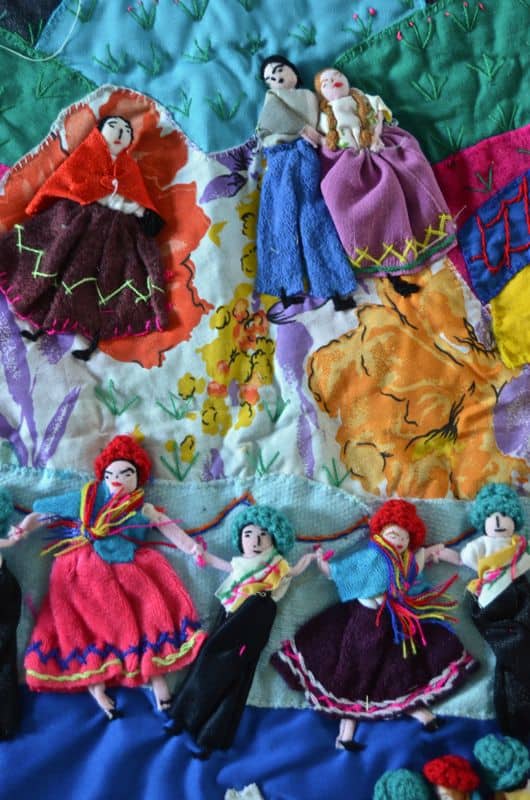
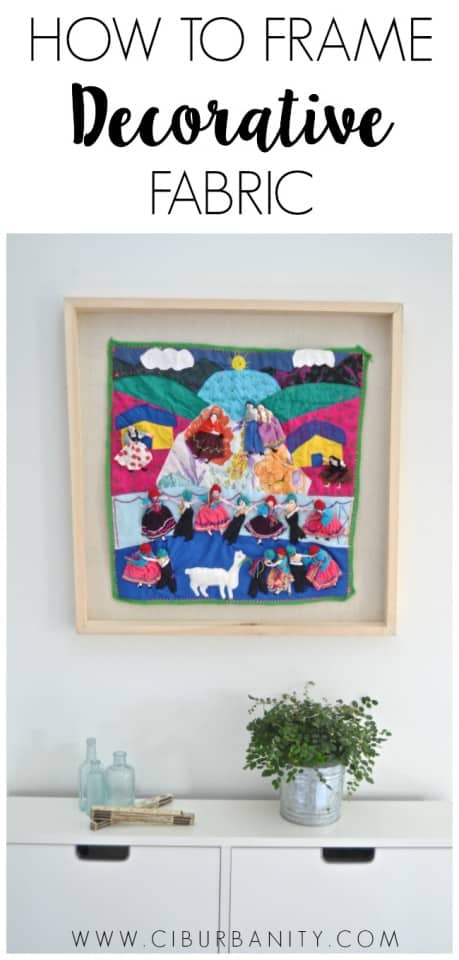
Let’s start with the embroidery. It’s so SO pretty. Vibrant colors, fun design, whimsy… generally my total cup of tea. But that’s not the deal here… the deal is MAKEOVERS, people. So how does one makeover something that’s already pretty great? I considered making it into a pillow, but it was pretty sure the kids would pull the people off somehow. Then I considered making a bench or a tray and having that under glass as the top, but… that sounded expensive. So I opted for free. (Affiliate link included for your shopping convenience.)
DIY SHADOW BOX
Materials
- 1×2 pine boards
- L bracket
- wood glue
- painters drop cloth
- Staple gun with 3/8″ staples
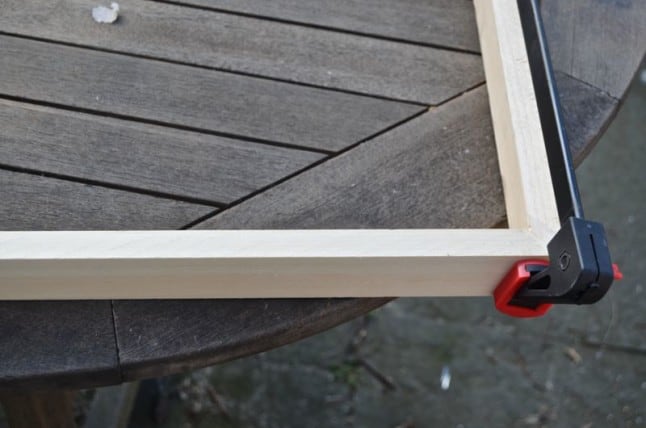
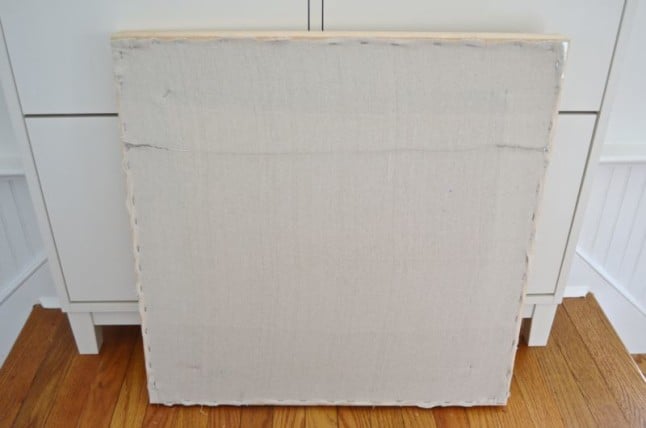
Step 1. Cut Wood and Build Frame
I used my miter saw to cut 4 mitered corners and then clamped them together with some wood glue. When the glue had dried, I flipped the frame over and secured the corners with the L brackets.
Step 2. Staple Drop Cloth
Just as you would a painter’s canvas, stretch the drop cloth across the bottom edge of the frame. Be careful to pull tight and alternate from side to side and from top to bottom.
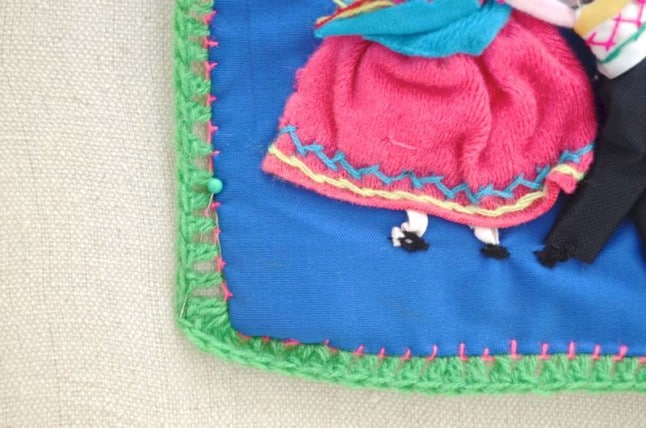
Step 3. Attach the fabric
I just used sewing pins to hold the embroidered square onto the canvas and they work great!
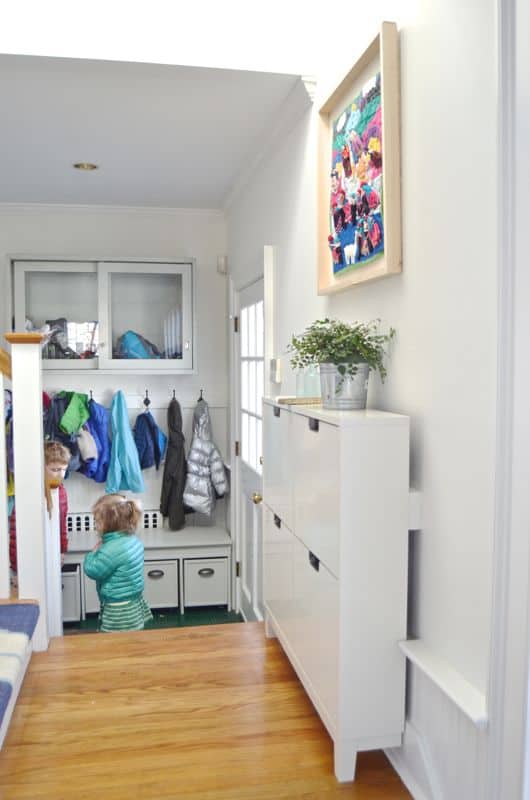
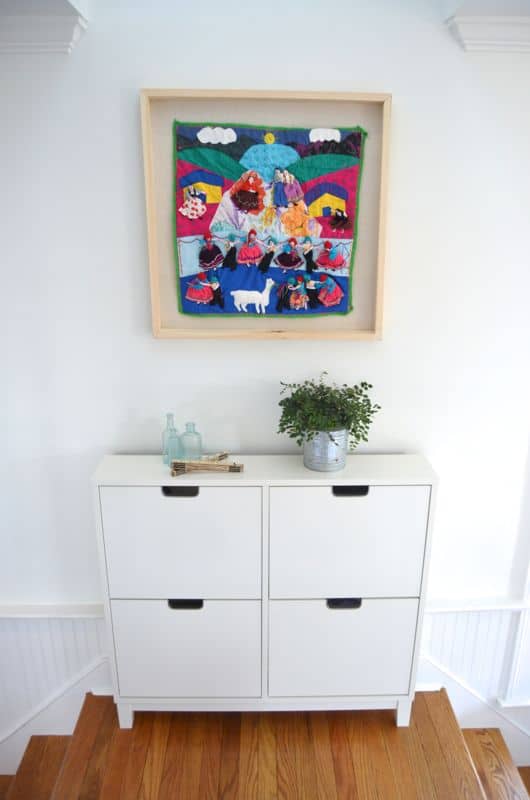
It’s hanging at the foot of the stairs between the family room and the mudroom and I love it! Such a bright cheery pop of color right there.

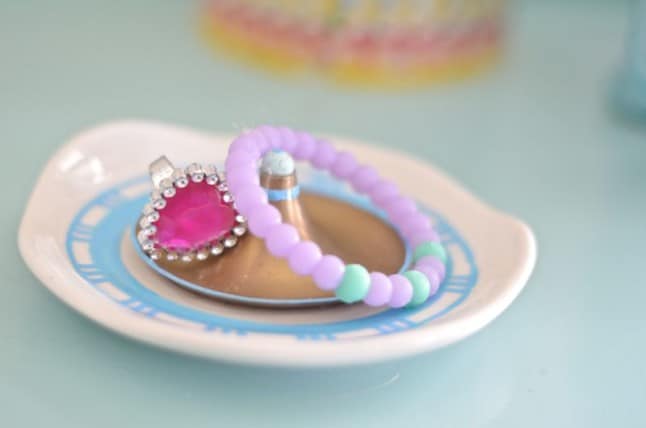
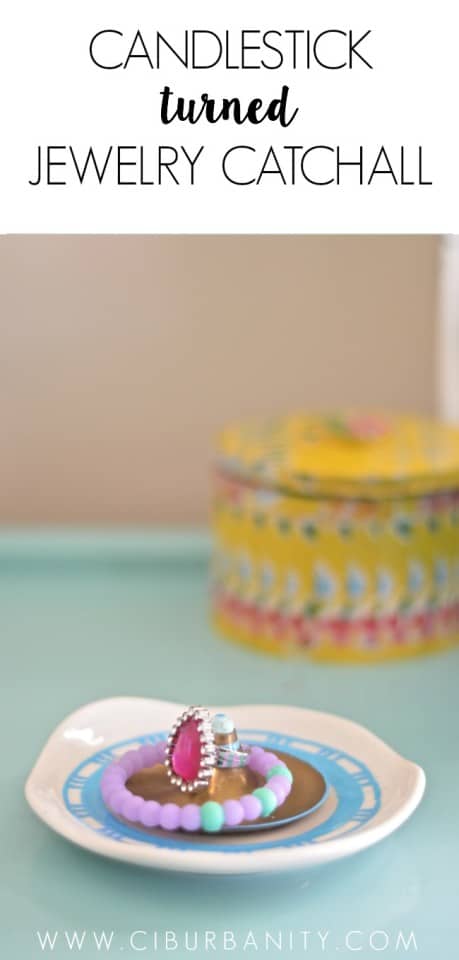
MAKE YOUR OWN JEWELRY DISH
Materials
- Candlestick base
- saucer
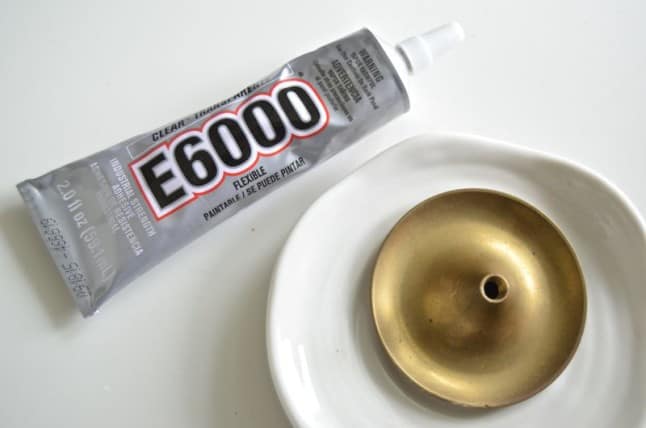
- e6000 glue
- paint pen
- bead/ Sculpey
Step 1: Glue
For the candlestick… I grabbed a white saucer at Homegoods from the Clearance section for a whopping $1. The base of the candlestick actually unscrewed so this is what I glued onto the saucer with E6000 glue.
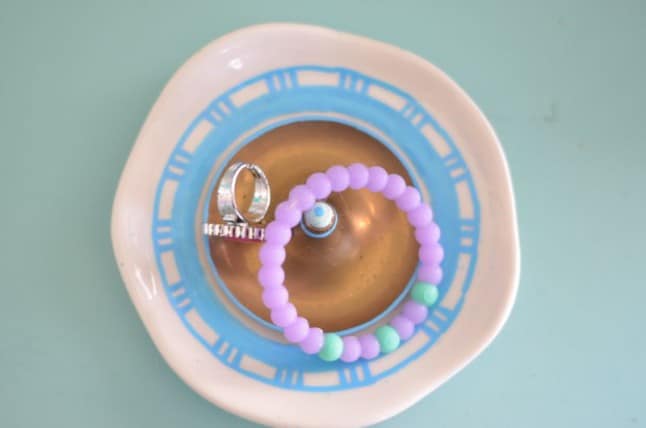
Step 2: Decorate
Once the glue had set overnight, I went back and added some fun design with a paint pen. To cover the threads from the candlestick, I added a small bead made from Sculpey.
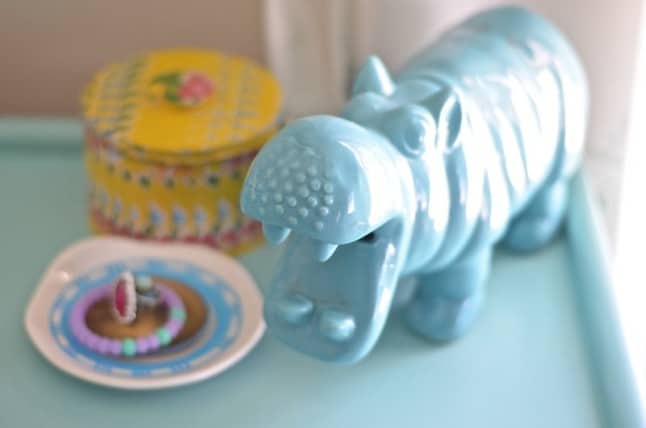
What do you think? What would YOU have done with these two items? I love hearing about upcycling ideas!
For MORE #SwapItLikeItsHot deliciousness, see what the incomparible Jen from House of Wood made with the goodies I sent along to her! She’s basically like Rumplestiltskin for wood… she works MAGIC over there!
Here are the rest of the ladies sharing their makeovers today. Head over and give them some love!
Two Thirty-Five Designs / Finding Silver Pennies / At Charlotte’s House (me!)
The House of Wood / Decor Adventures / Bright Green Door
And don’t forget to go back and see what was shared Monday, Tuesday and Wednesday. And then COME BACK TOMORROW!
MONDAY
Hearts & Sharts / 58 Water Street / I Am a Homemaker
Prim and Propah / Create & Babble / Windgate Lane
Gourley Girl and Guy / Dogs Don’t Eat Pizza
TUESDAY
Confetti Style / Blue i Style / Polished Habitat
Two Purple Couches / Run to Radiance / Restoration Redoux
Confessions of a Serial Do-It-Yourselfer / Our Southern Home
WEDNESDAY
DIY on the Cheap / Prodigal Pieces / That’s My Letter
Southern State of Mind / Roadkill Rescue / Always Never Done / Year of Serendipity / Casa Watkins

I’m so glad you like the fabric. I just saw it and thought of you. I was thinking pillow but I love how you framed it. Gorgeous! Also love the upcycled jewelry holder.
I thought pillow too, but that seemed too obvious. I was also fairly convinced the kids would start to pull the people off if they could reach it. Hanging for the win! 🙂
So much work went into the embroidery piece…I’m so glad you kept the integrity of it! It looks perfect framed in its new home! Cute and creative use of the candlestick base too! Thanks so much for pulling this fun series together! XO
Thanks, Christy! I know… I couldn’t pull it apart. I LOVE that fabric. Somehow reminds me of my childhood, but not sure why. I think I had something similar. 🙂
Don’t you want to do a tutorial on mitre cuts? 😉 I’m a very bad measurer so I’m too afraid to try to miter anything but would love to add moulding to some flat doors that I can’t stand. I’m so in the dark about this that I’m not even sure if it’s ‘mitre’ or ‘miter’.
Not a chance! I managed to screw these ones up… hence the clamps. I think half the battle is making sure your table saw is dead on center with everything. Mind tends to slip a bit and even a fraction of an angle off will make the two cuts come together wrong. And I don’t know either re. the spelling… google seems to like -er so let’s stick with that! 🙂
Hahaha! You sure had me fooled… The frame that you made is amazing. Just love it!!
Love the frame, Char!
Thanks, love! xx
I swear, the thrifting gods put that tapestry in Danielle’s hands for you! That is so Charlotte!!!!! I love it, so fun. And the fake jewelry on the catch all is perfection.
I thought you might like to know that the embroidered piece is called an arpillera. They are made by the Andean villagers, typically as children’s school projects, in Peru. My husband sometimes sells them.
YES! Thanks, Christine! I used to have one growing up and they are SO fun. What an amazing talent!