
Plywood Kids Reading Nook
Psssst… this post *might* contain affiliate links: see my disclosure here.
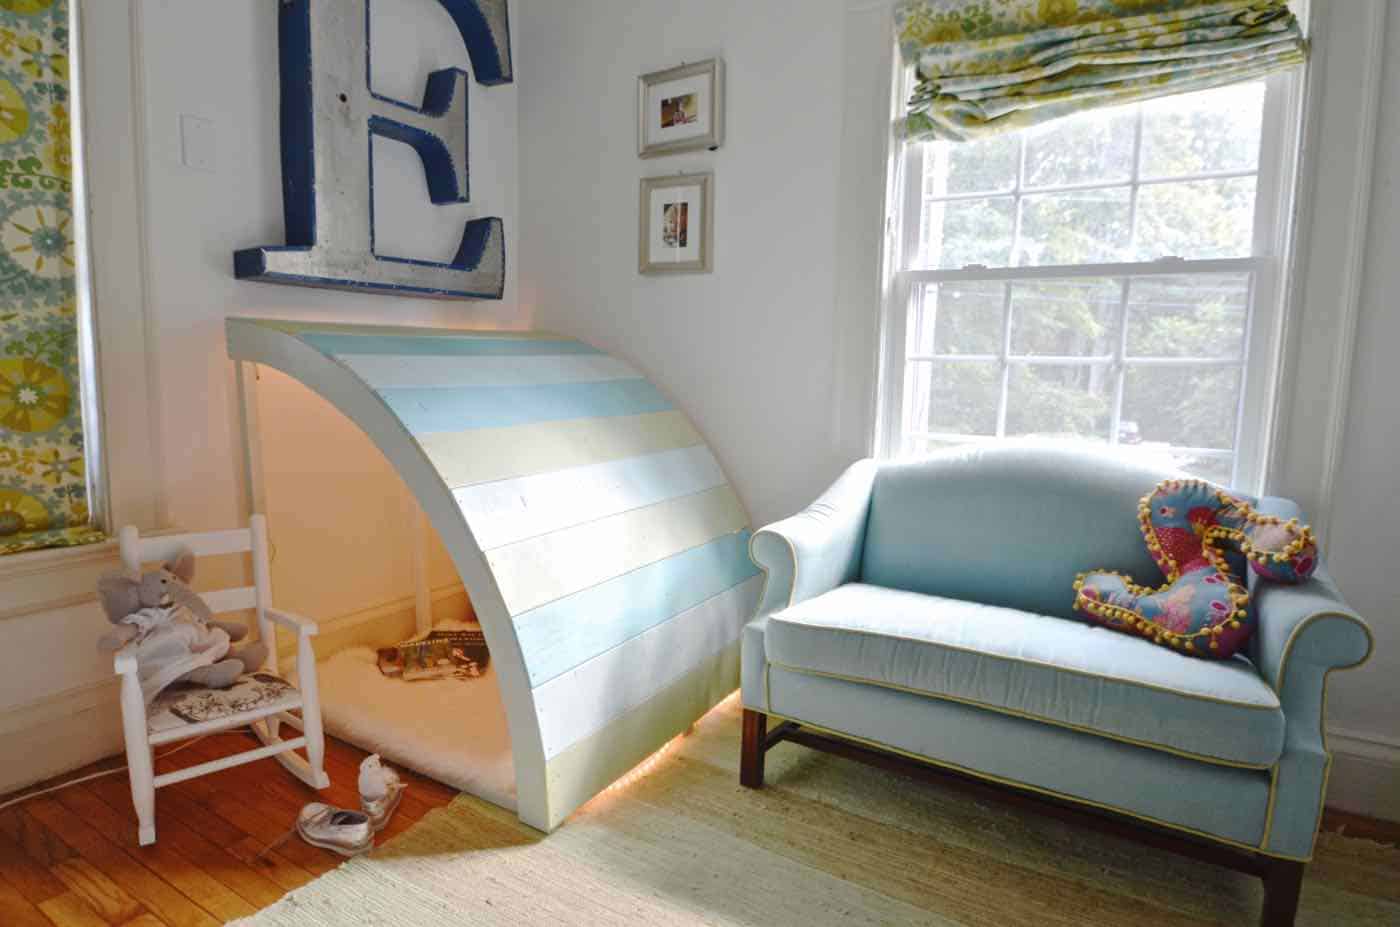
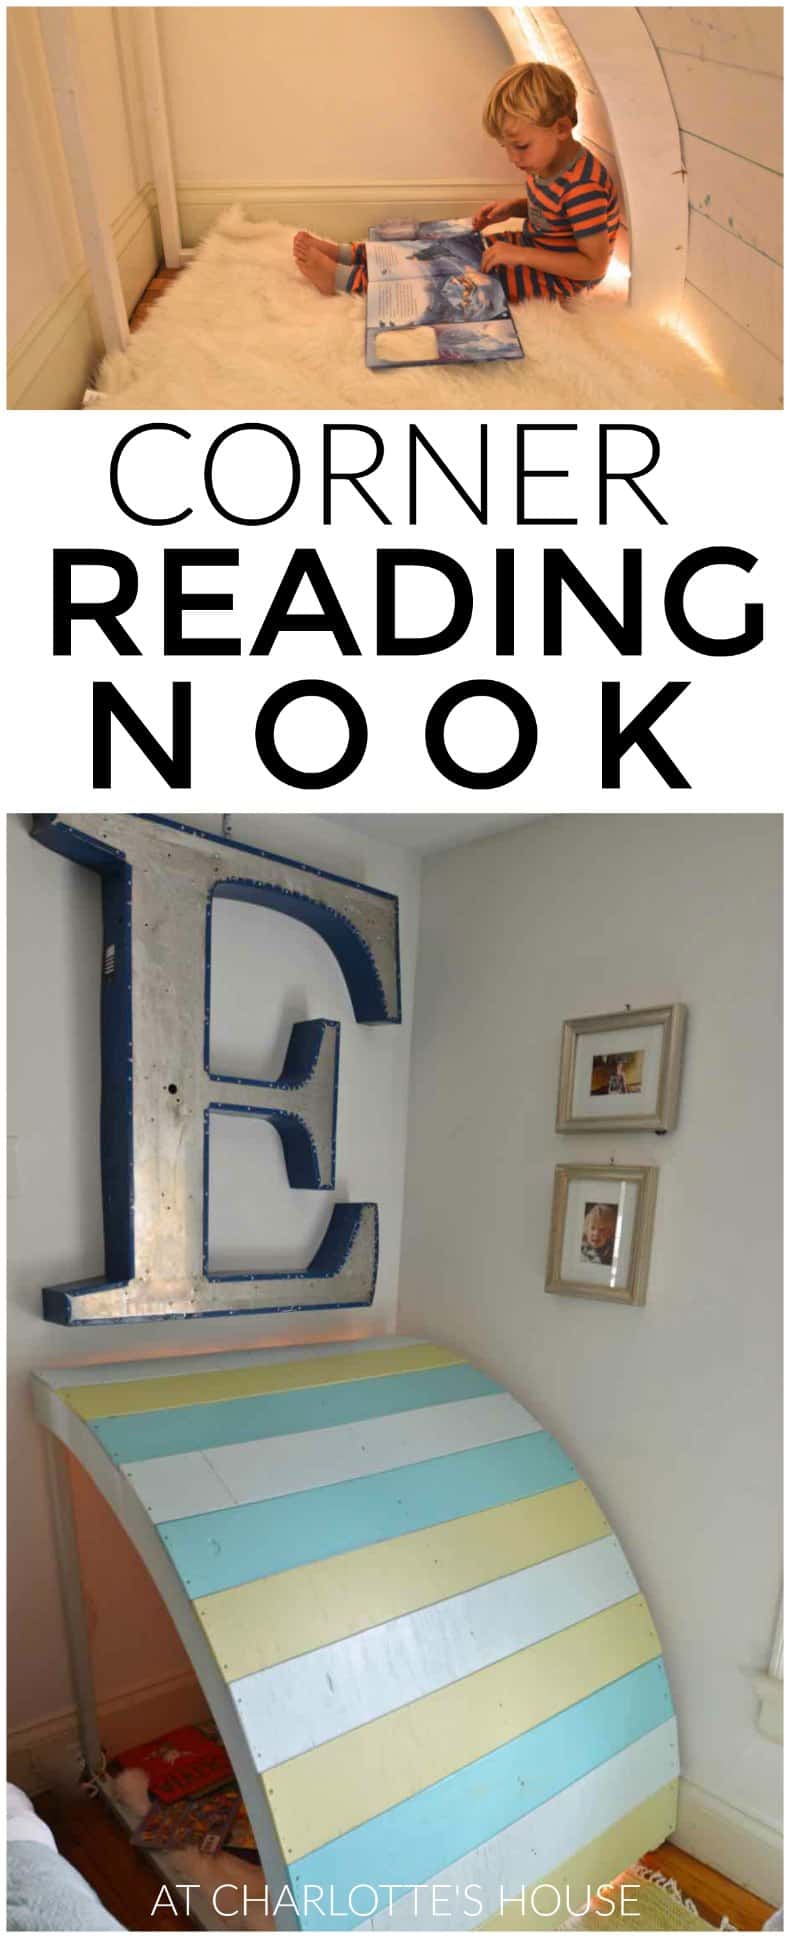
Back in September I shared a fun plywood project over on The Home Depot blog and I showed it off on social media, but I didn’t officially post about it here! Duh. This reading nook is the best addition to the kids’ room and it only took some inexpensive plywood!
The idea came to me after a visit to our local children’s museum. They had a cozy little reading area in one corner and the kids were mesmerized. They immediately slowed down and snuggled together looking up at the little space. I’ll take one to go please! My challenge for the Home Depot style blog was plywood. In other words, the perfect opportunity to see if my idea for the kids’ little nook would actually become a real life functioning place for them to enjoy.
Shop my favorites!
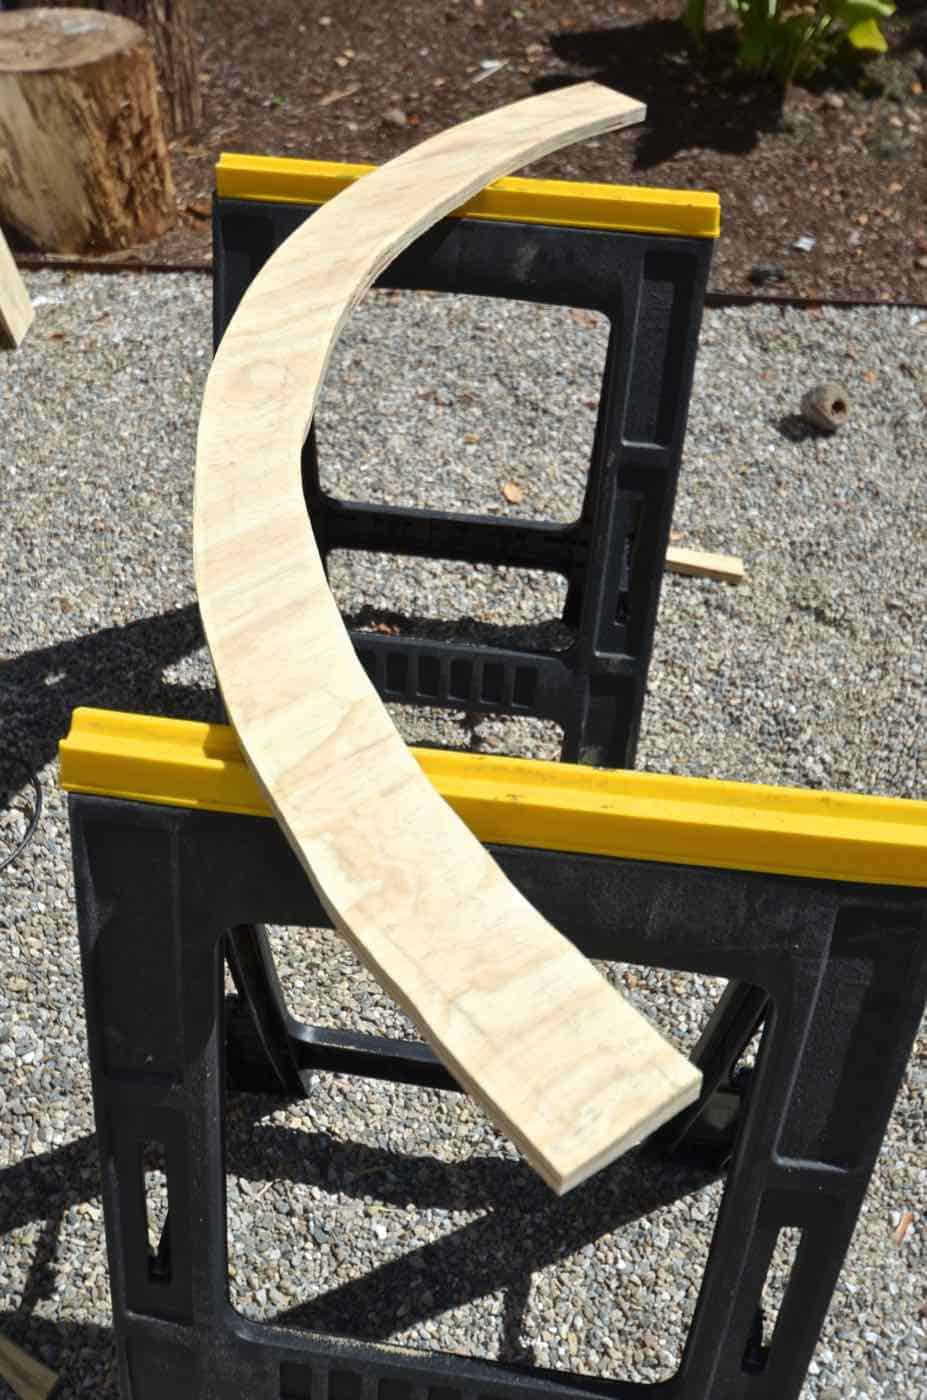
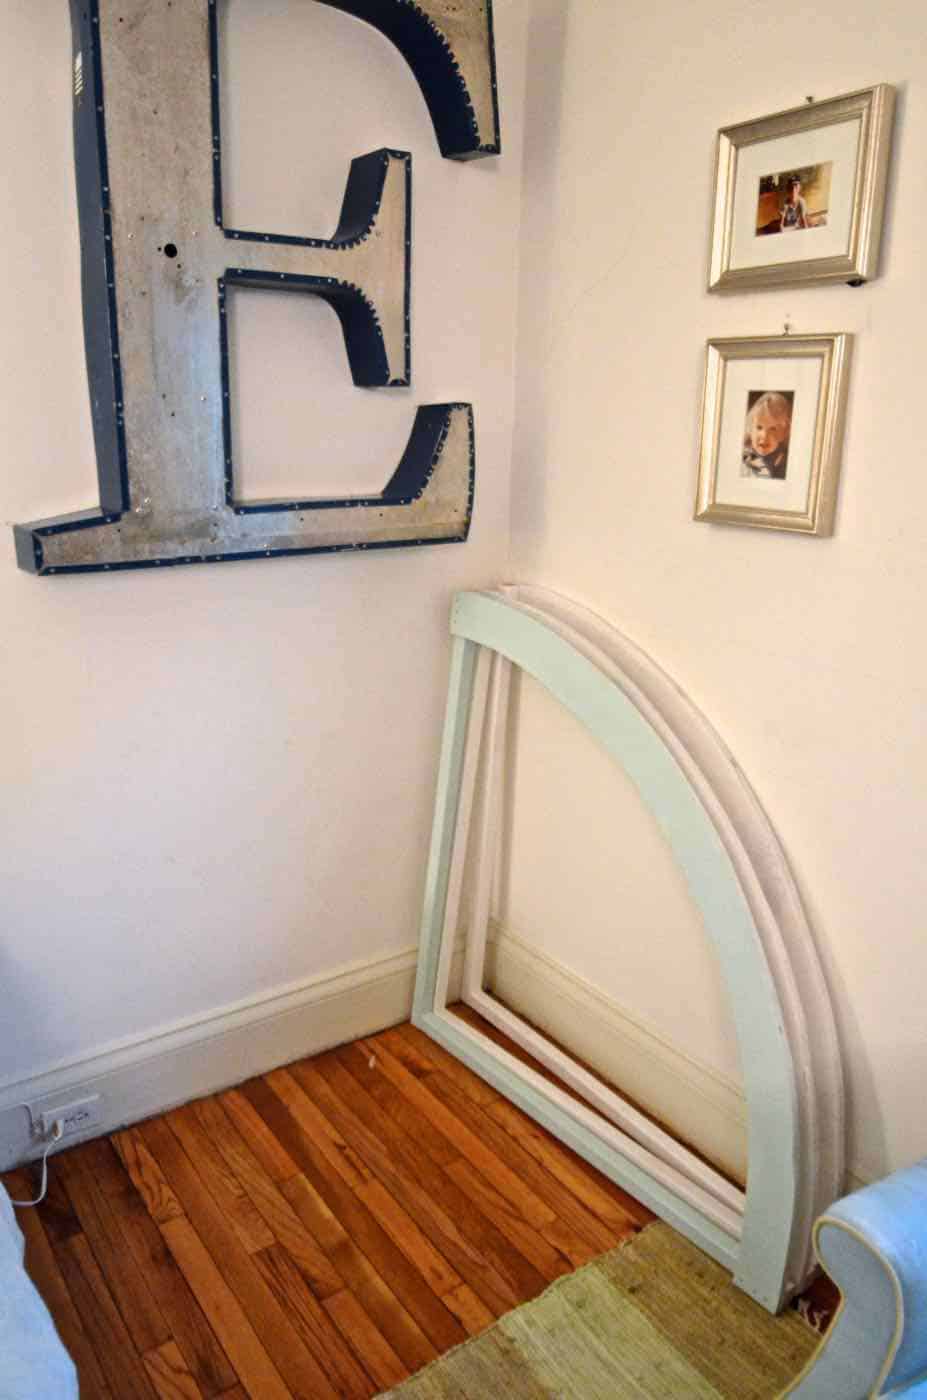
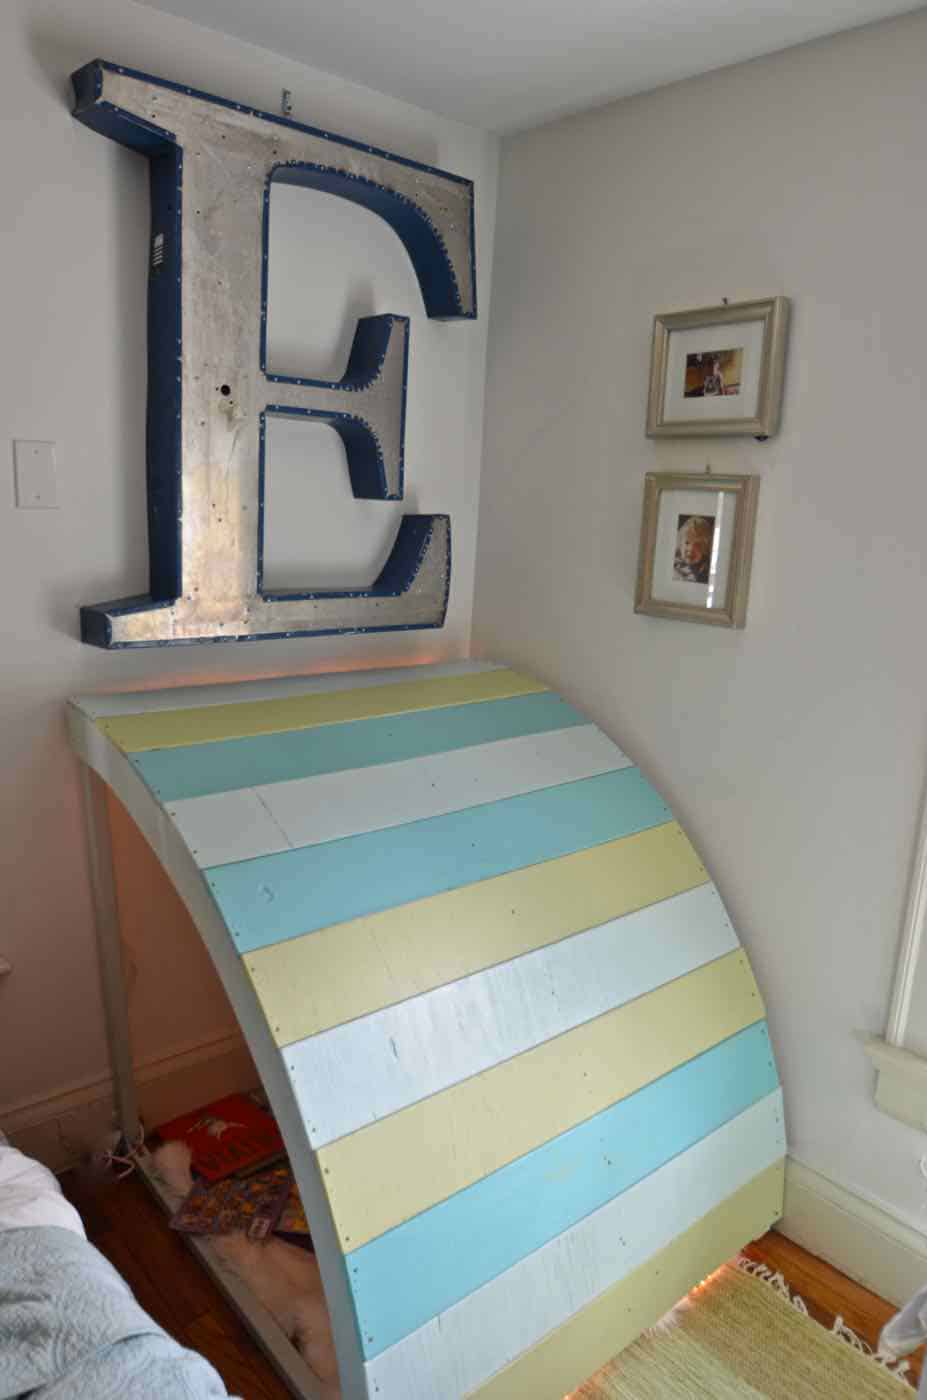
I started by choosing my dimensions and without getting all geeky and pi on you… I wanted to make a quarter cylinder. (Picture a big ol’ cake cut into 4 parts…) I wanted my slice of giant cake to be 42″ tall and 42″ wide. Which gave me a curve of 66″.
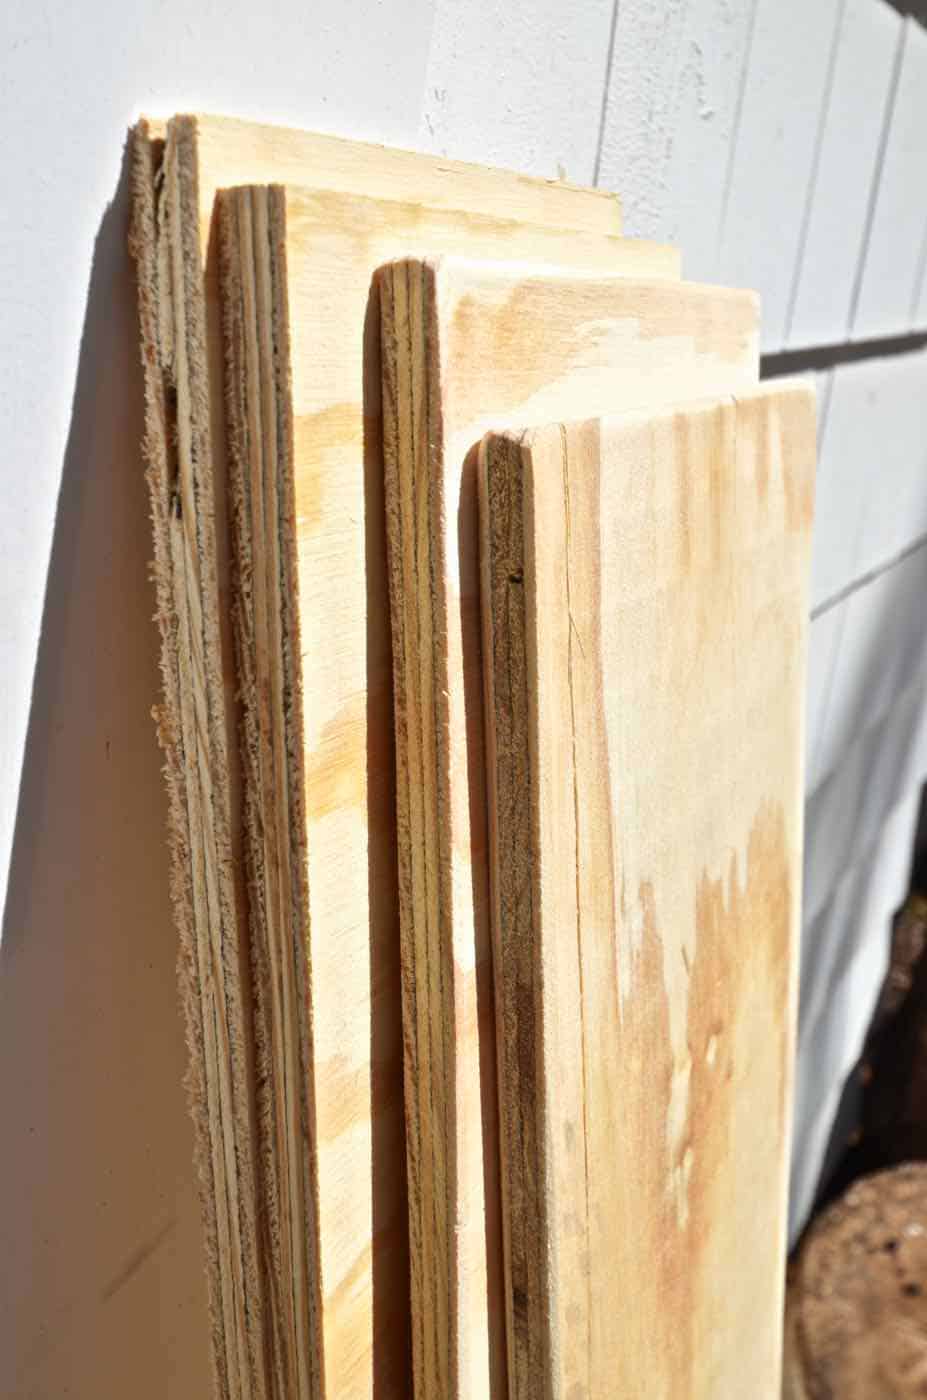
For the ribs of my nook, I used a thicker 3/4″ plywood and then the slats were made from 1/2″ plywood. The one thing with plywood? Lots and lots and lots of sanding. Lots.
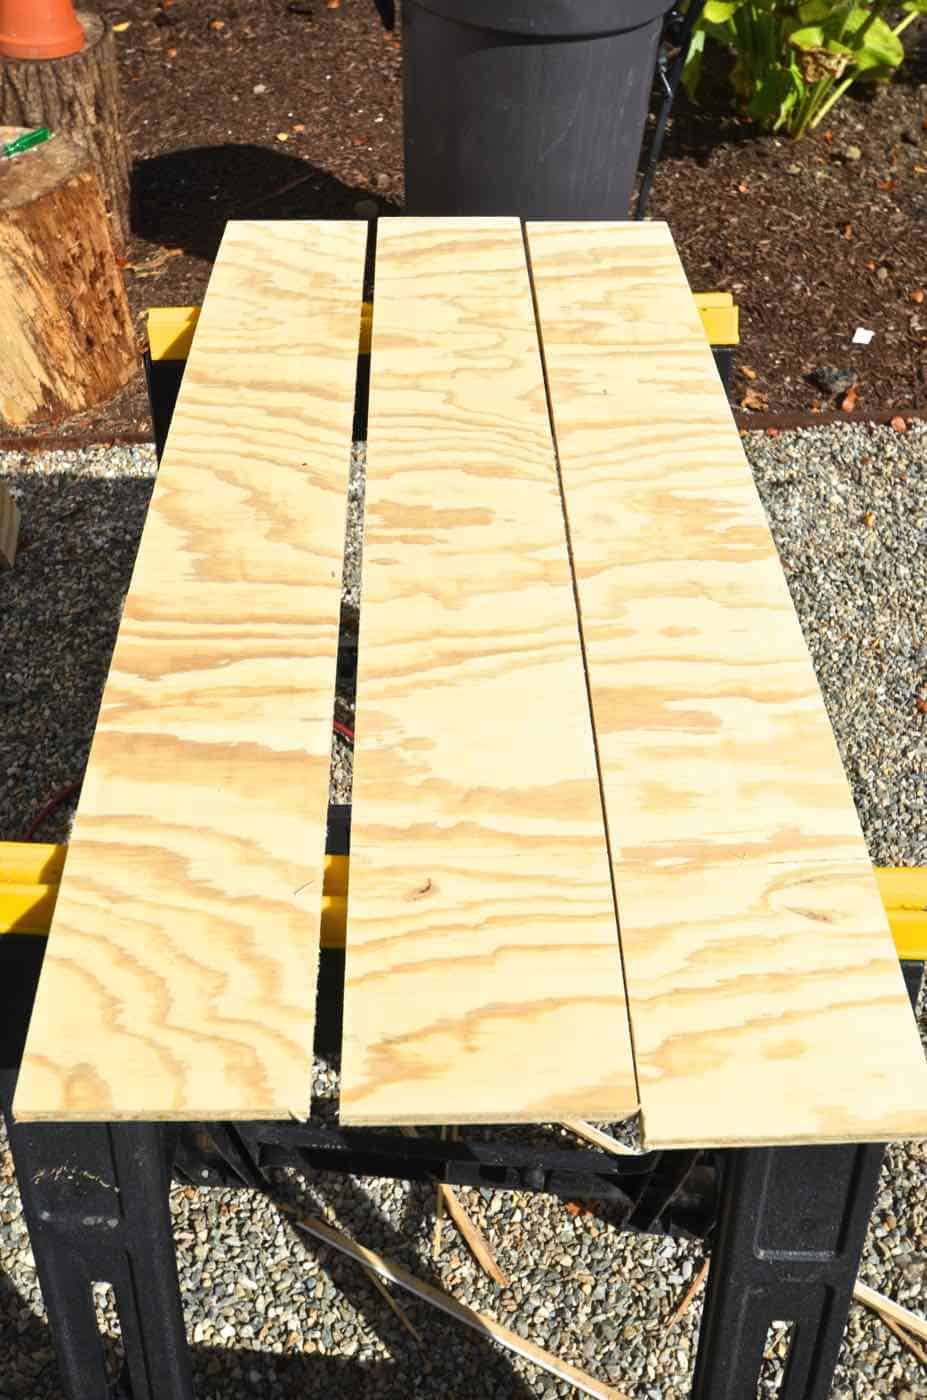
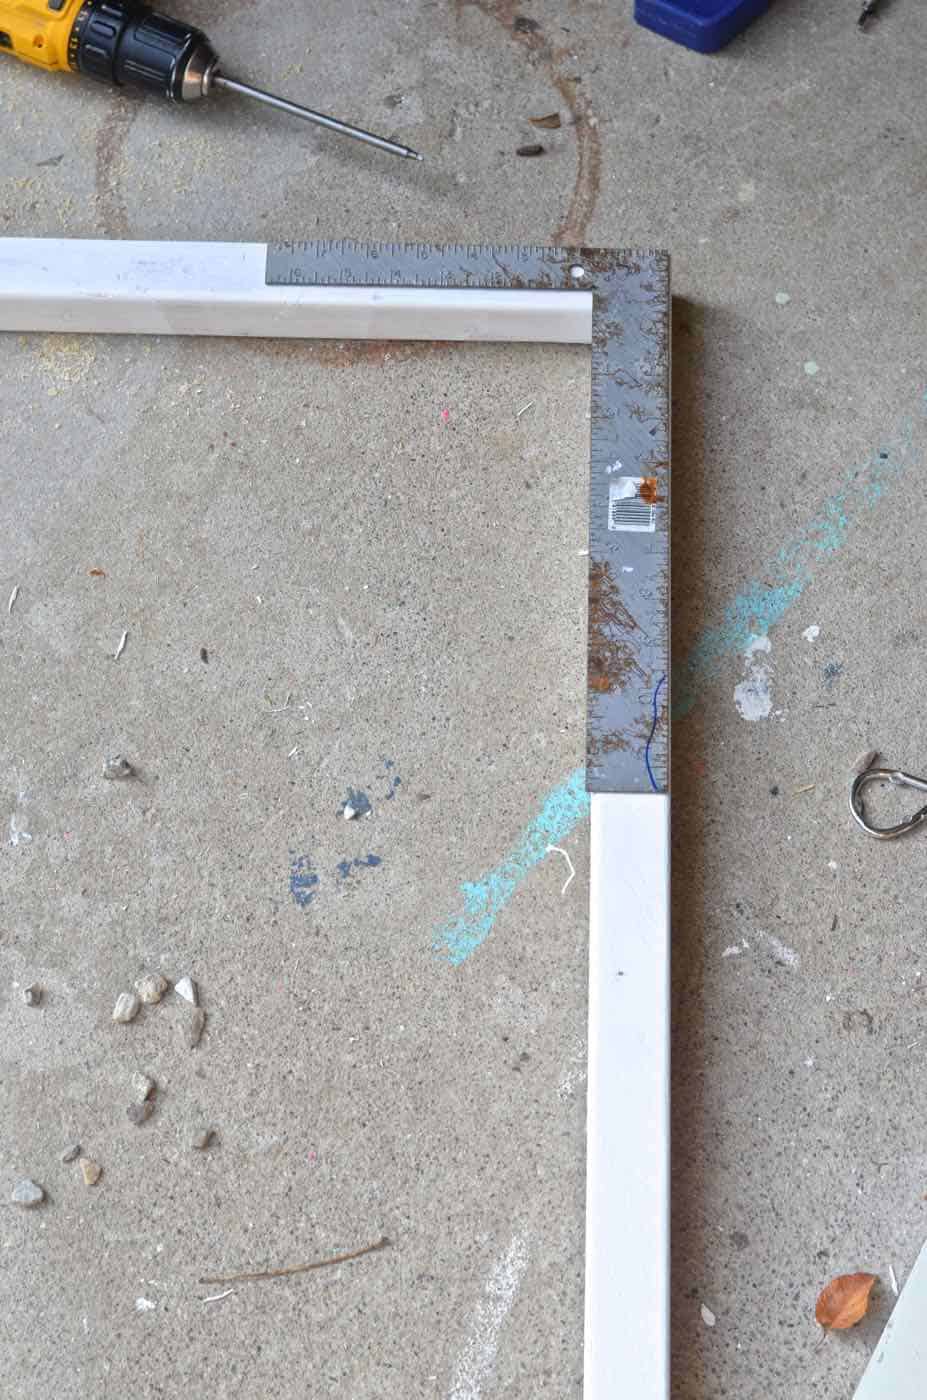
In a nutshell, I cut 3 quarter circle arcs and then a bunch of slats. With my kreg jig, I screwed together some 2 x 2s to make the right angle supports. As the pigs around me started flying and a unicorn skipped down the road, my measurements were all correct and everything lined up.
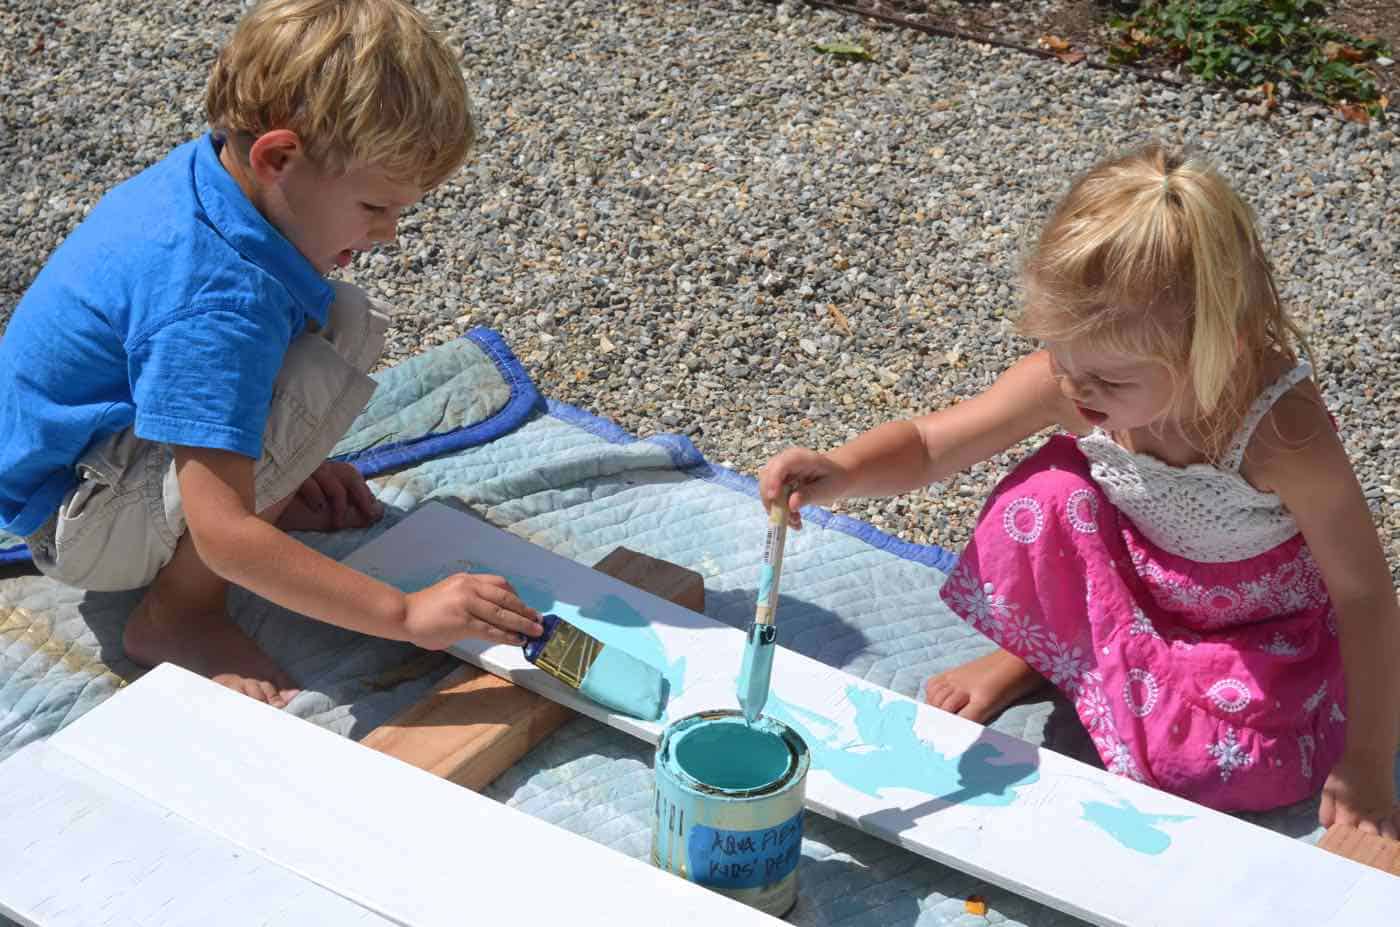
I hired out the painting portion of this project because I’m kinduva a big deal that way.
Once I had the skeleton in place, I was able to go back over with the plywood slats. I started with brad nails to hold them all in place and then went back over with finishing screws.

To stabilize the whole thing, I placed a couple of 2 x 2s between the right angles at the corner.
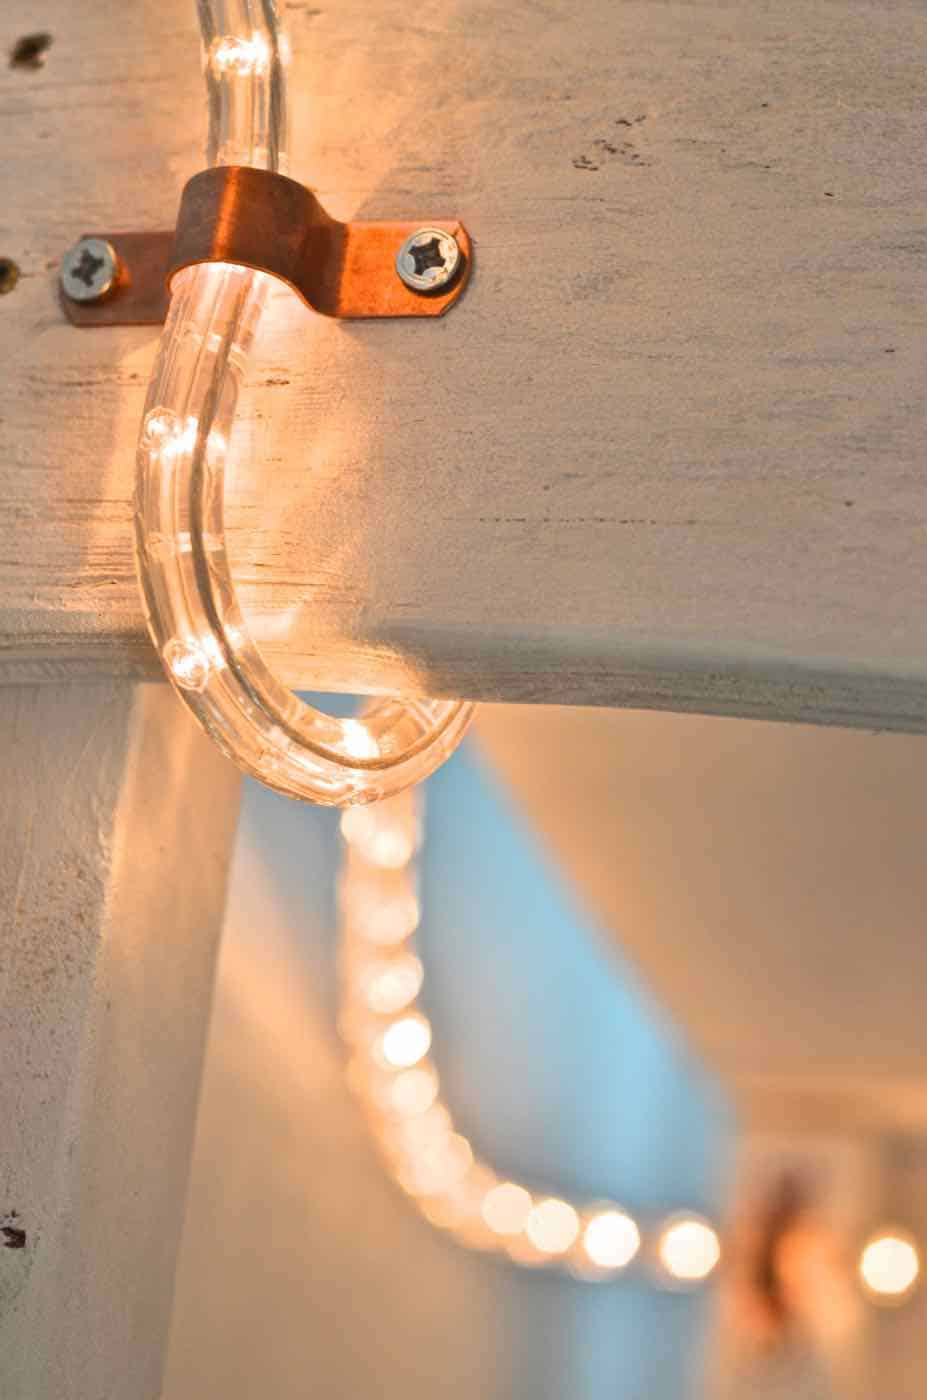
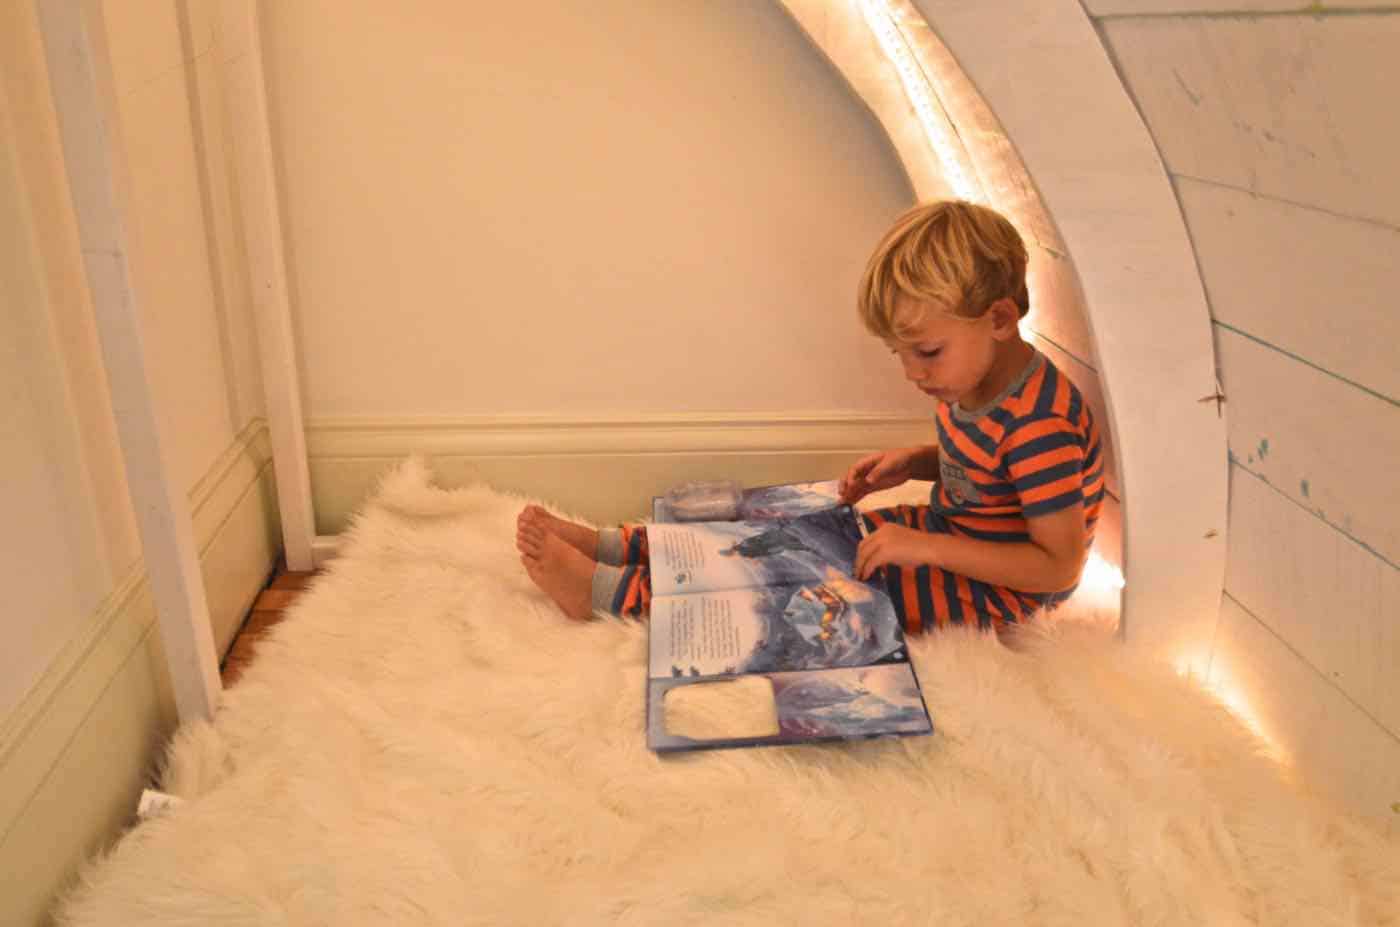
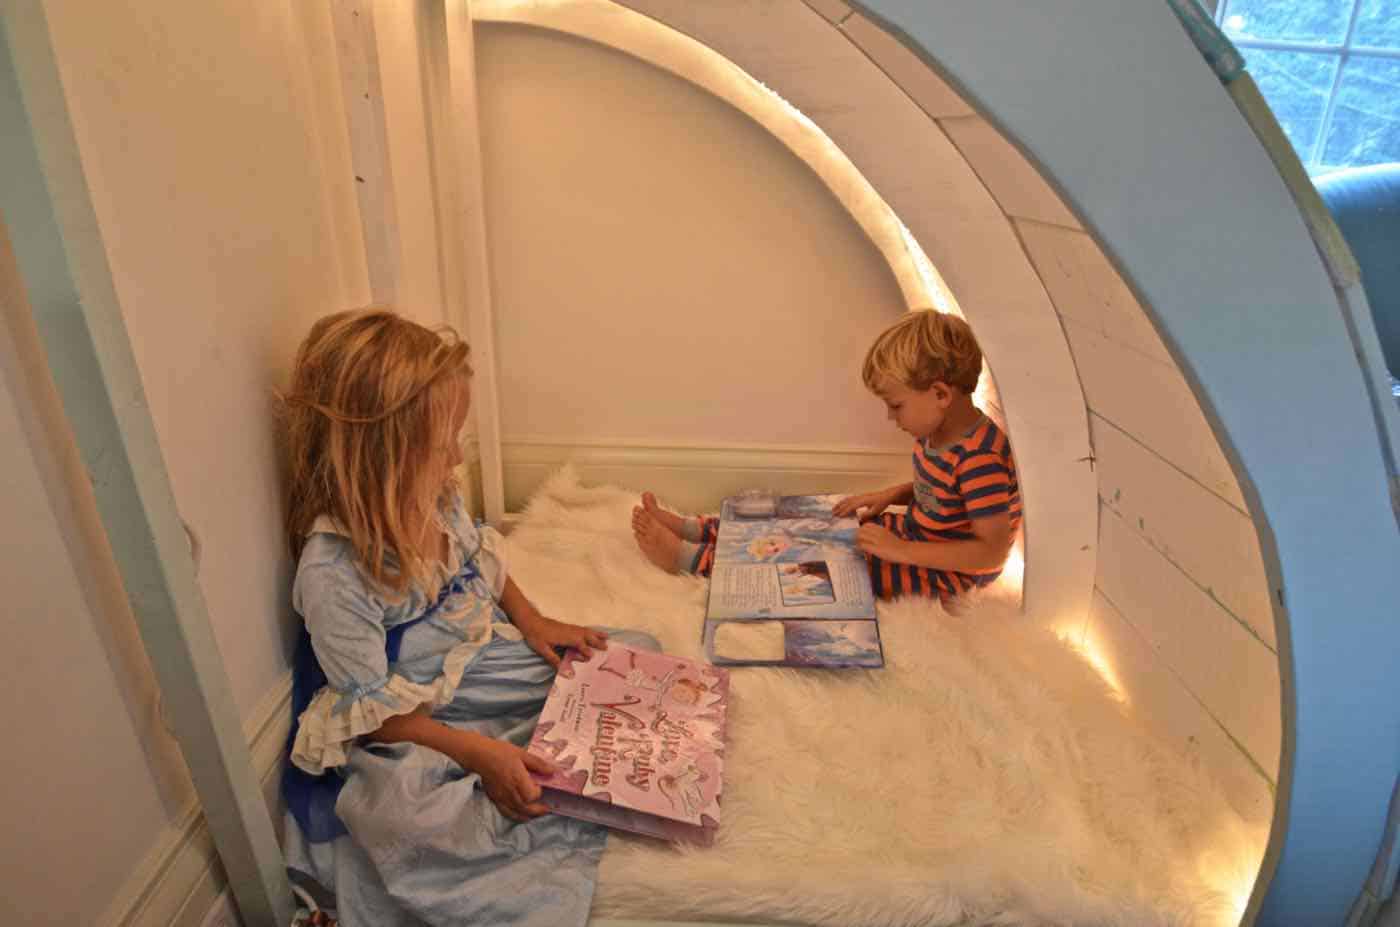
For a fun finishing touch, I picked up this rope light and attached it to the inside of the nook with some fun copper pipe brackets.
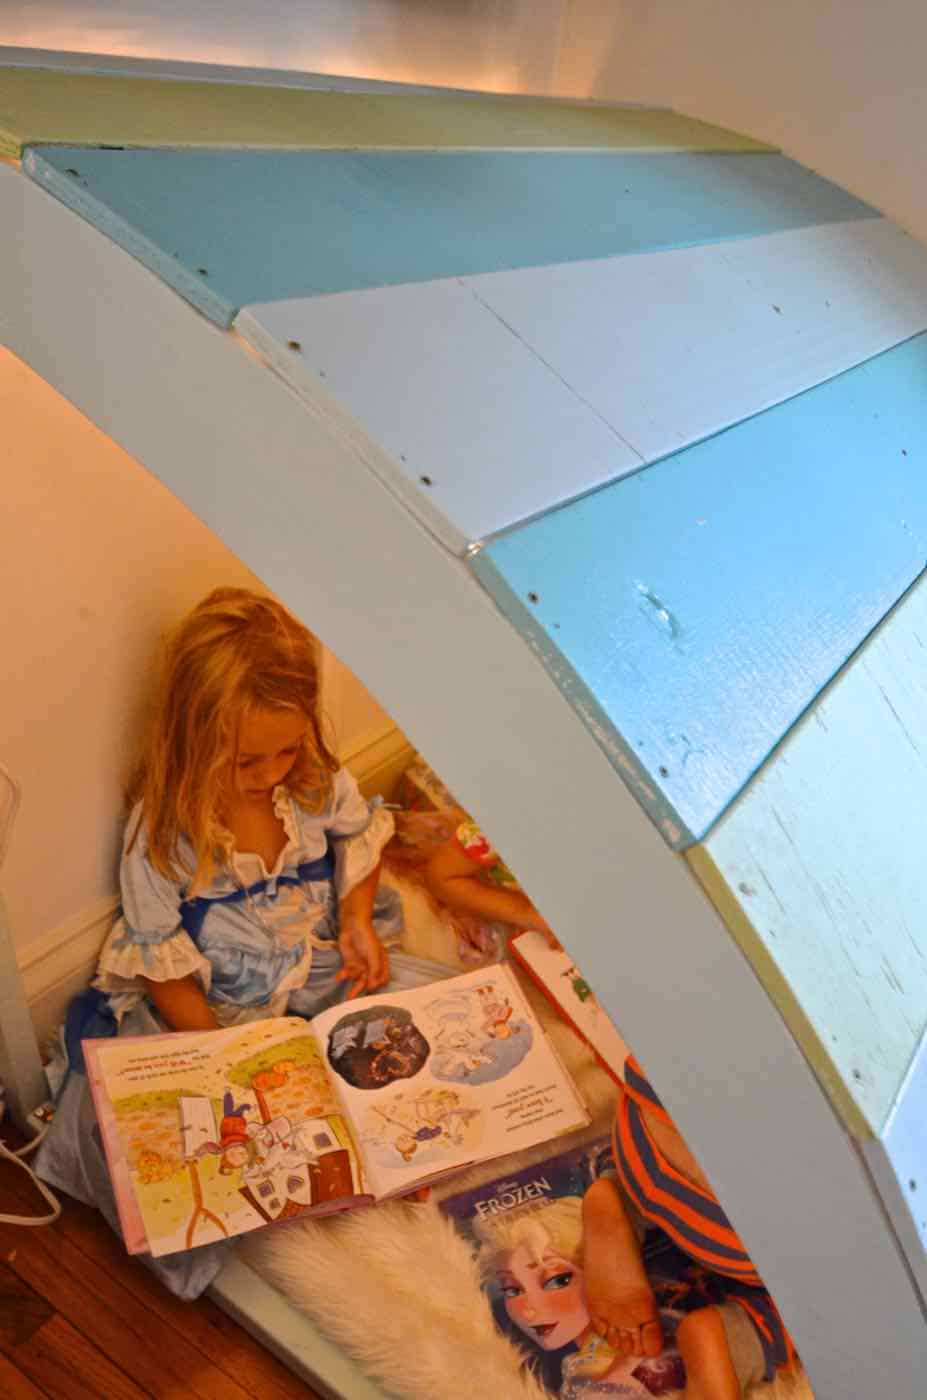
The kids love it. When they wake up in the morning, they head in with stuffed animals and a book or two. After school, it’s a nice little place for Eleanor to getaway and have a quick quiet moment.
Head on over to The Apron Blog to read my full post!


Superb idea! Thanks for sharing the tutorial with the rest of us. Featured on Ana-White.com today!
Great! Thanks so much, Ana! Hope you’re well!! xx