
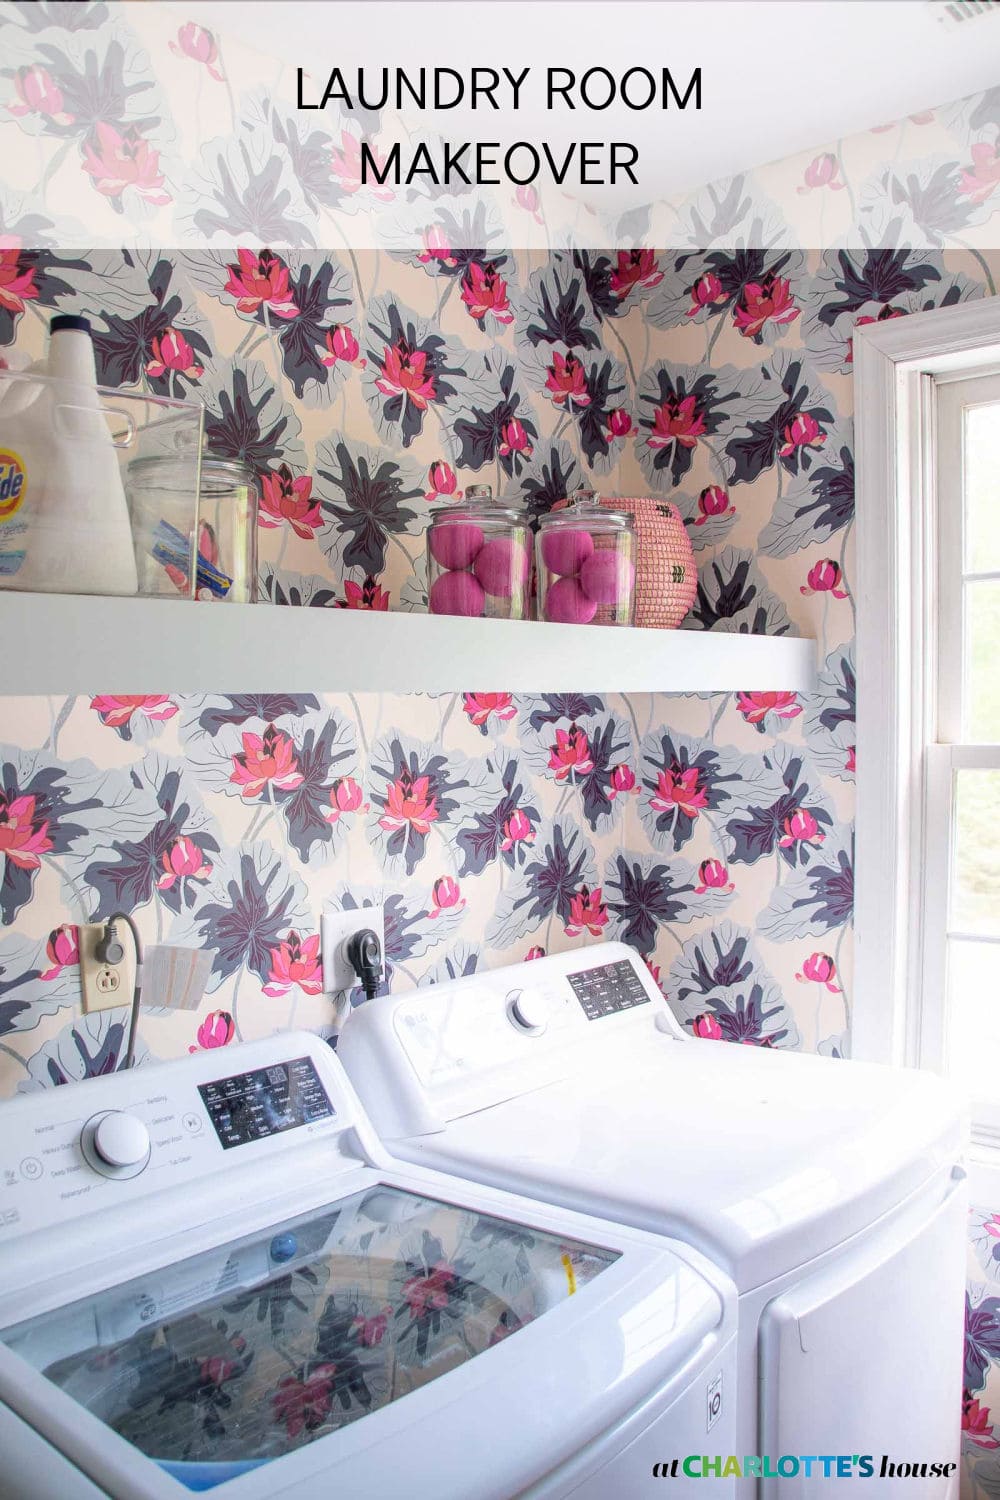
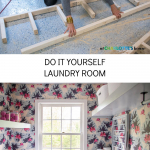
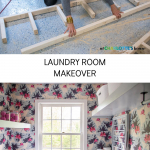
Laundry Room Makeover
Psssst… this post *might* contain affiliate links: see my disclosure here.
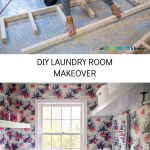
Adding Wallpaper and Shelves for a Laundry Room Makeover
I built shelves and hung wallpaper to give our laundry room a total update.
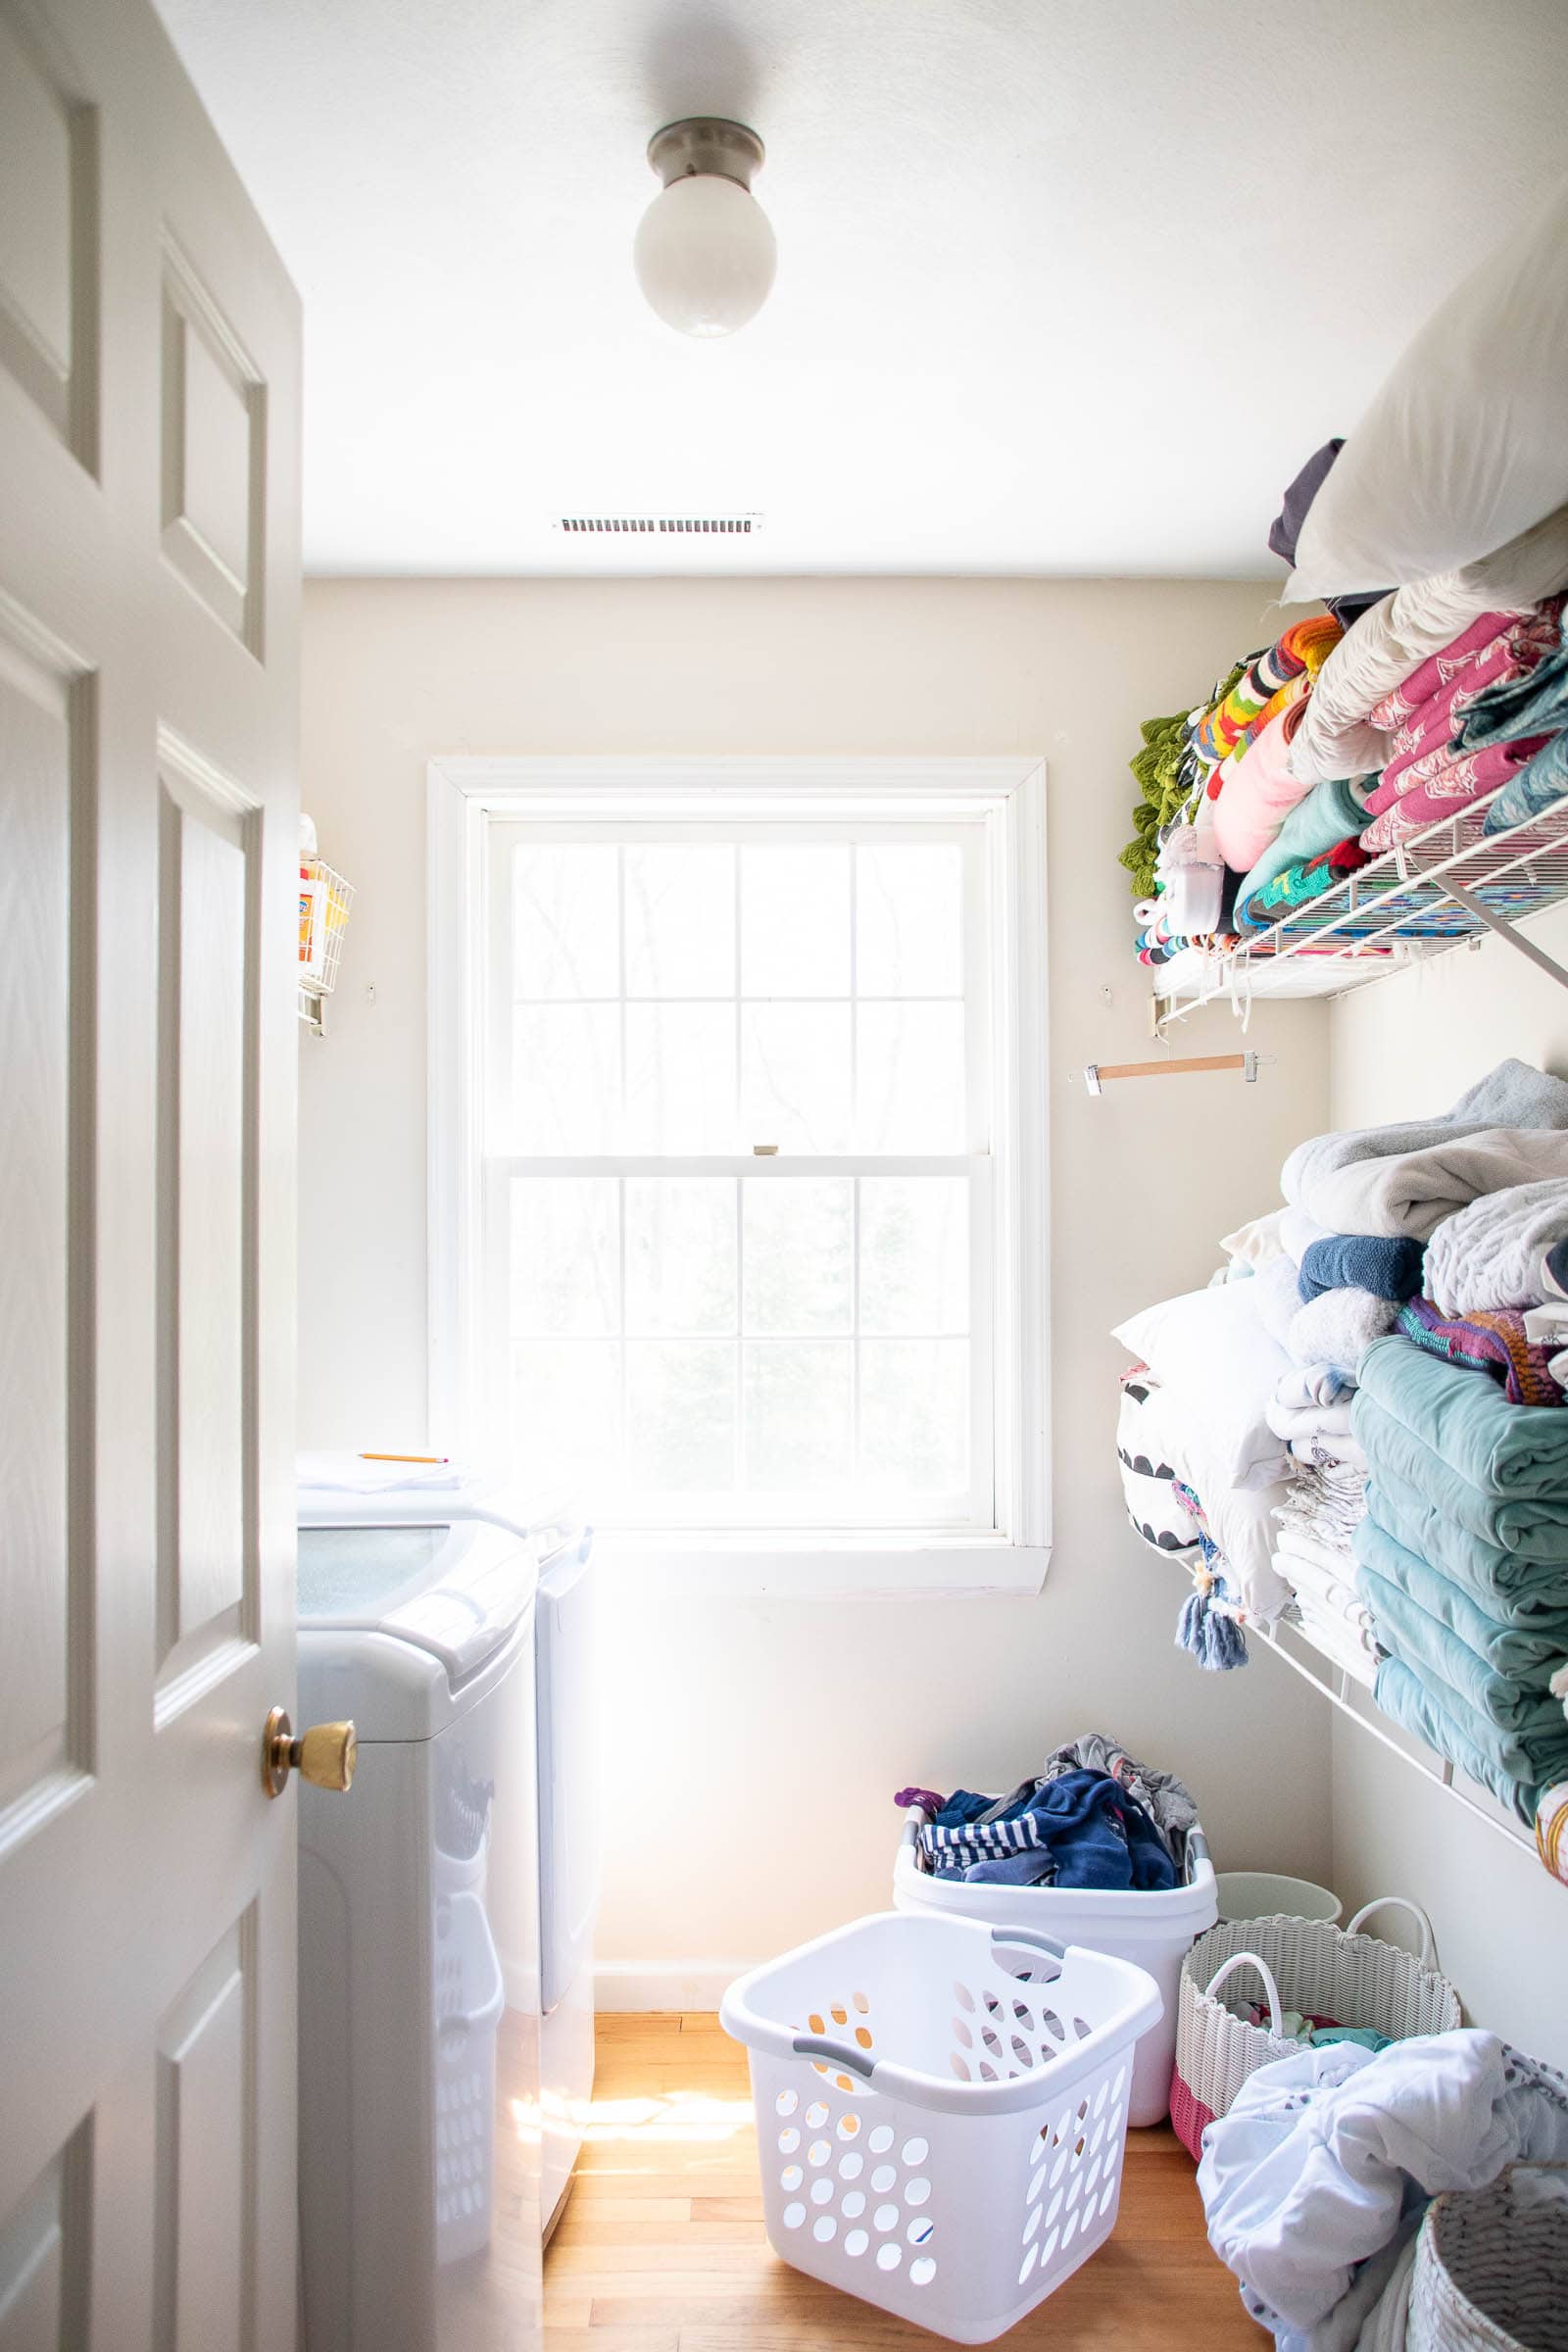
The first time I laid eyes on our laundry room I knew I could have a little fun with it. First off… it’s the first laundry ROOM we’ve ever had. Technically we had a laundry room in our first house but the room was more like enough space to open the doors of the washer dryer… it was more like an expanded closet. I digress… our new one has an actually room with laundry machines and walls and a door and I can’t wait to show you its makeover.
Shop my favorites!
Here’s the plan.
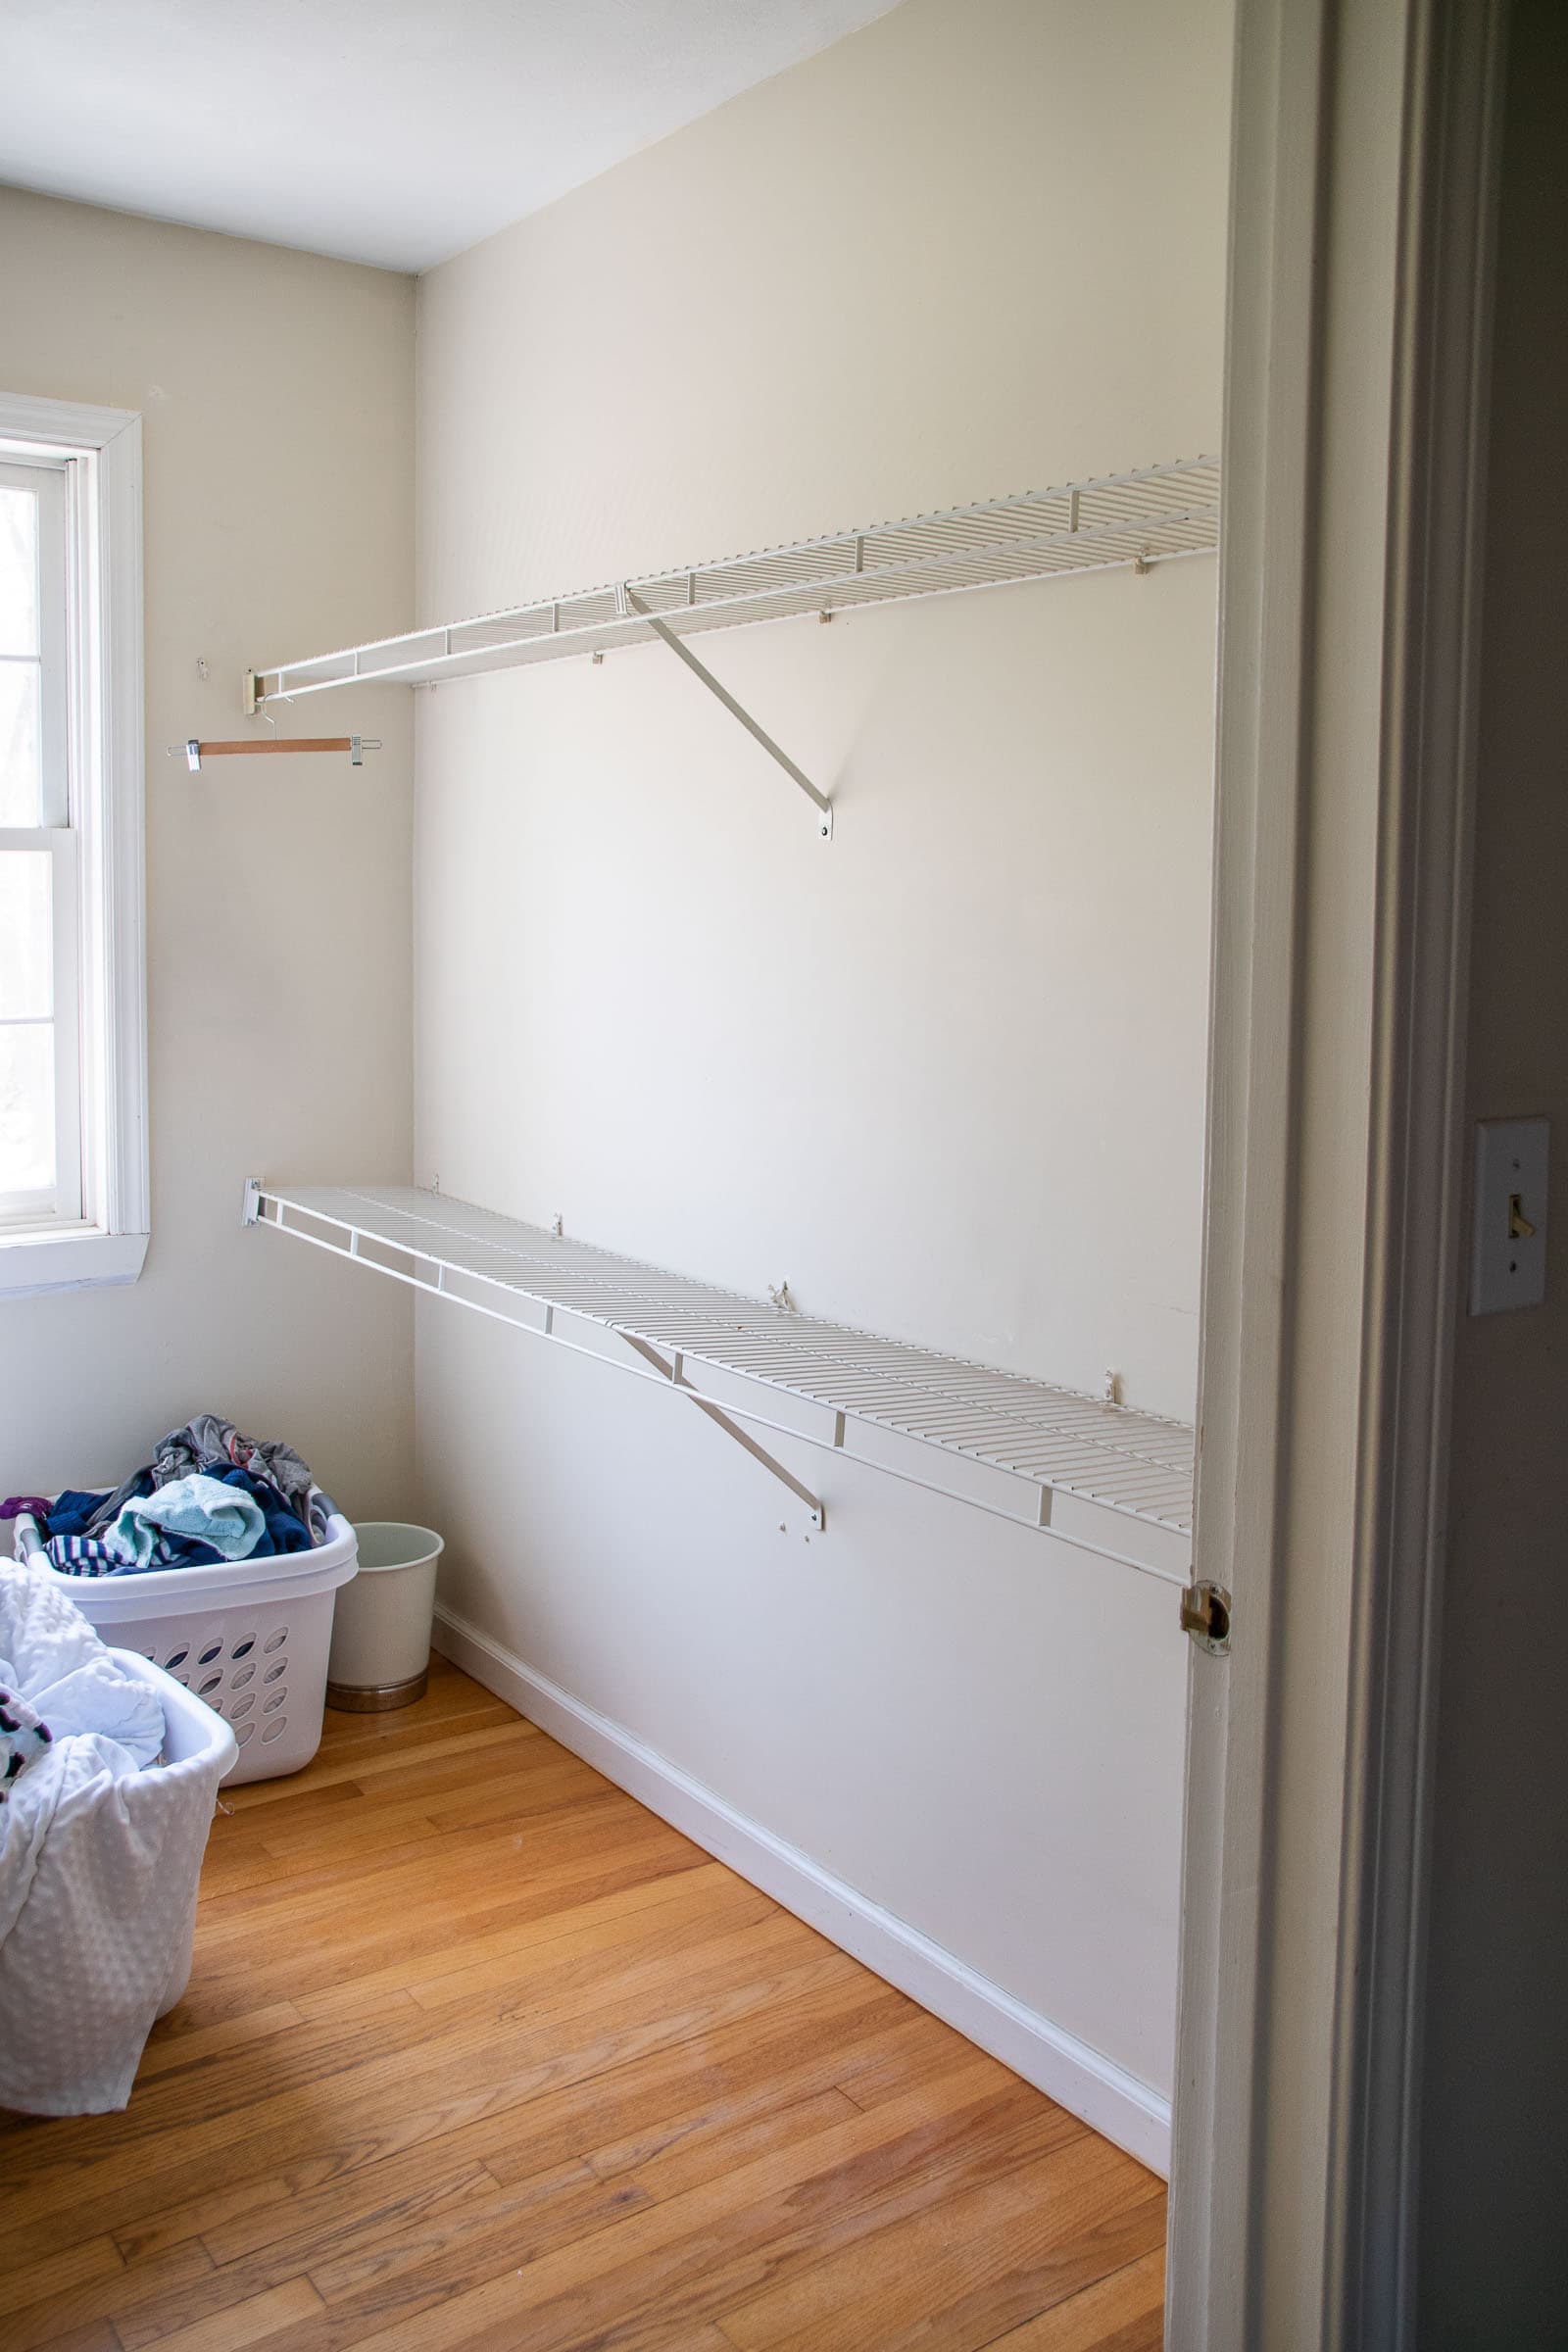
- Remove the wire shelving.
- Curse the wire shelving.
- Remove the rest of the wire shelving.
- Replace wire shelving with DIY wood floating shelves.
- Wallpaper.
- DIY drying racks.
Step 1. Remove Existing Wire Shelves
I shared more about my hatred for these shelves when I prepped for our walk in closet makeover… but removing these wire shelves is tedious at best, rage inducing at worst. They ultimately leave enormous holes in the drywall to be patched and sanded smooth. (Note: I appreciate the intent of these shelves… they’re a budget friendly way to get a ‘custom’ closet to fit your space, but I’m always happy to replace them with something more durable.)
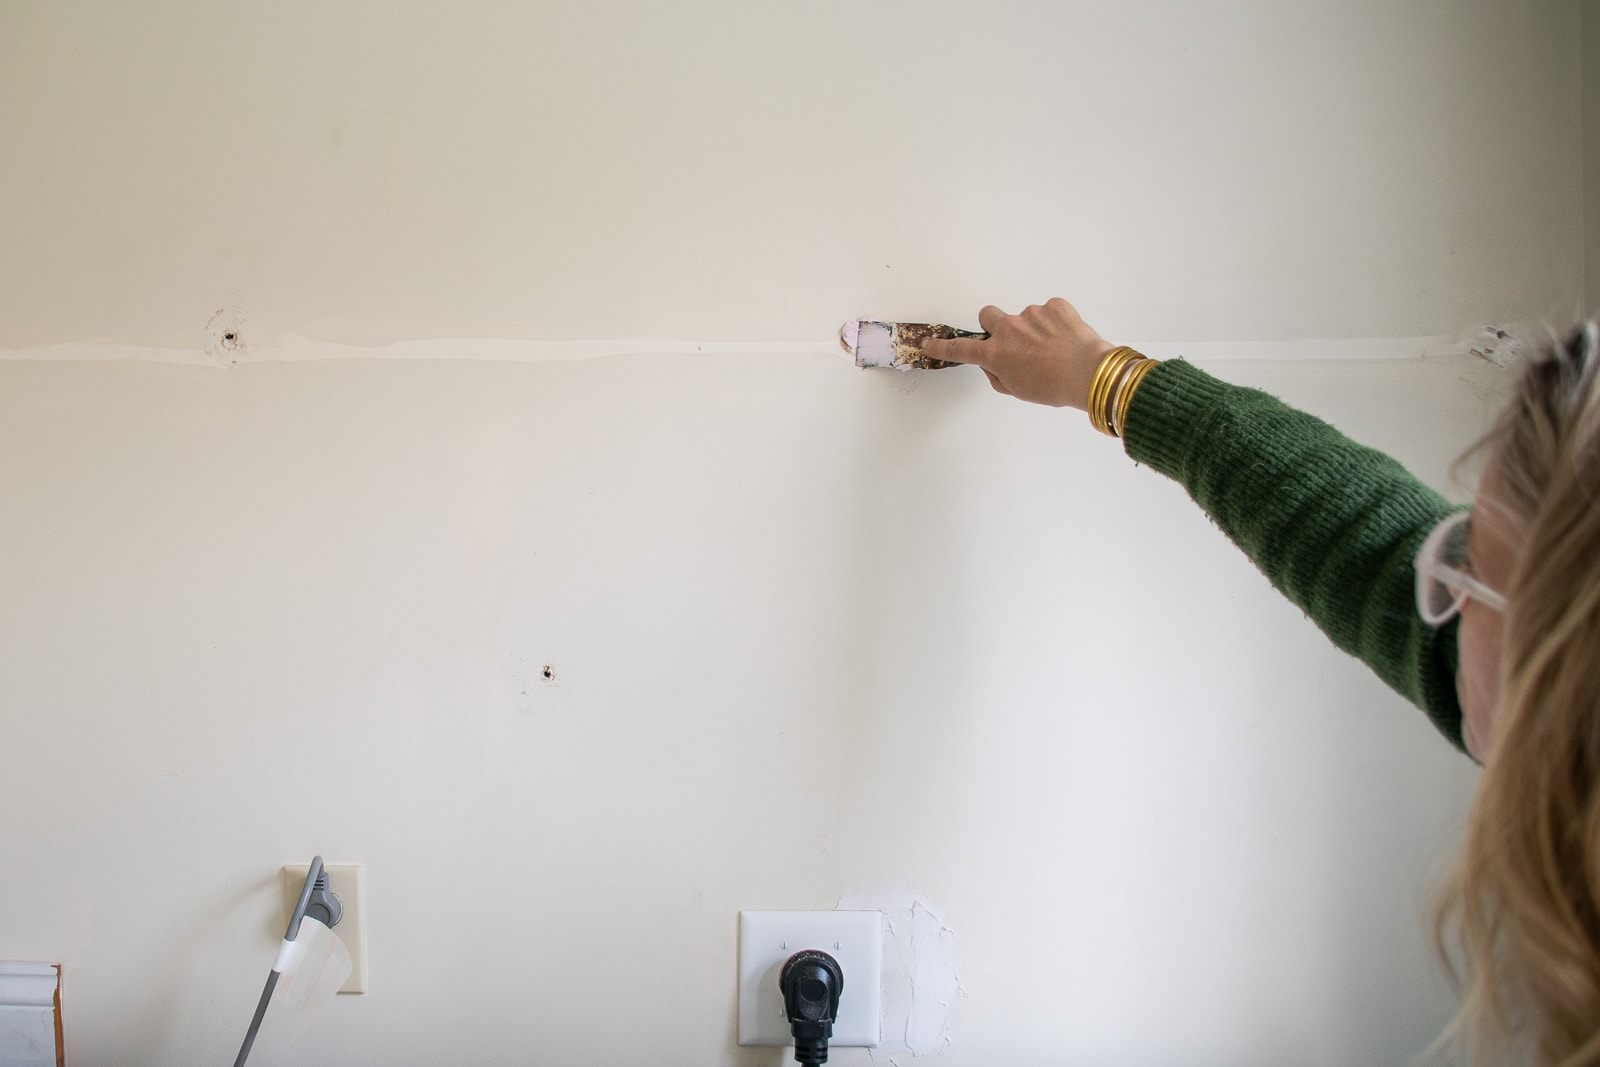
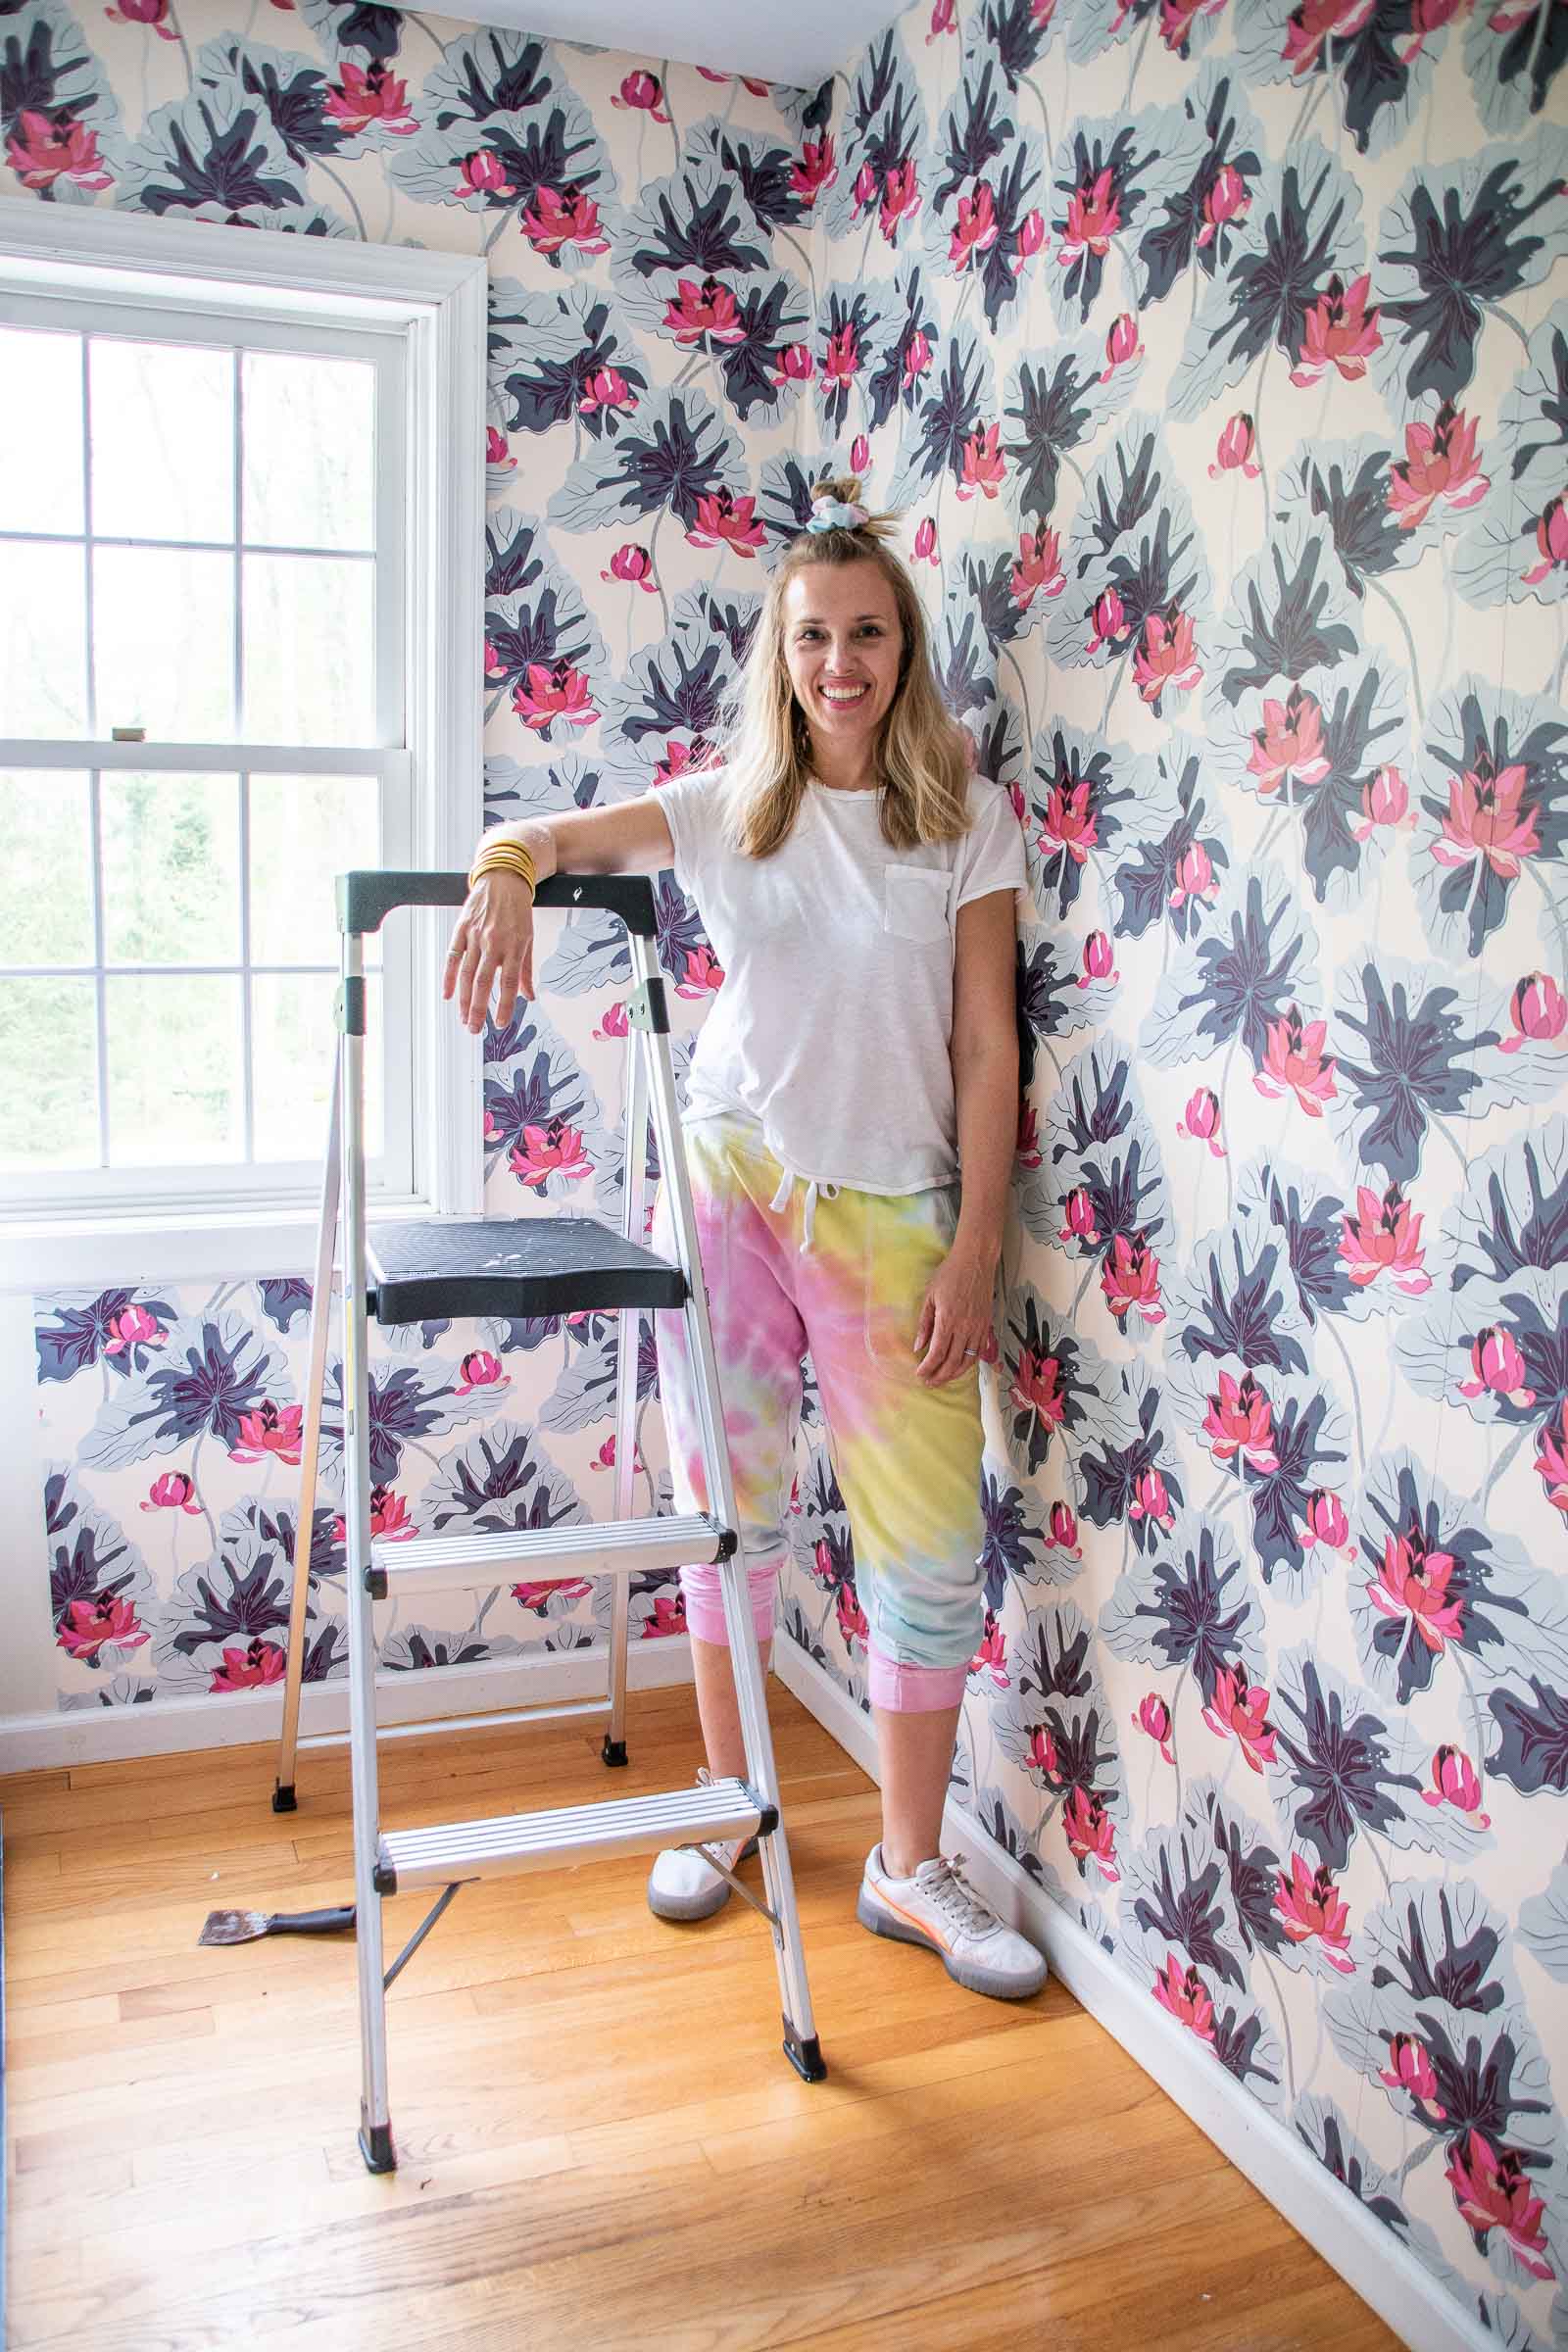
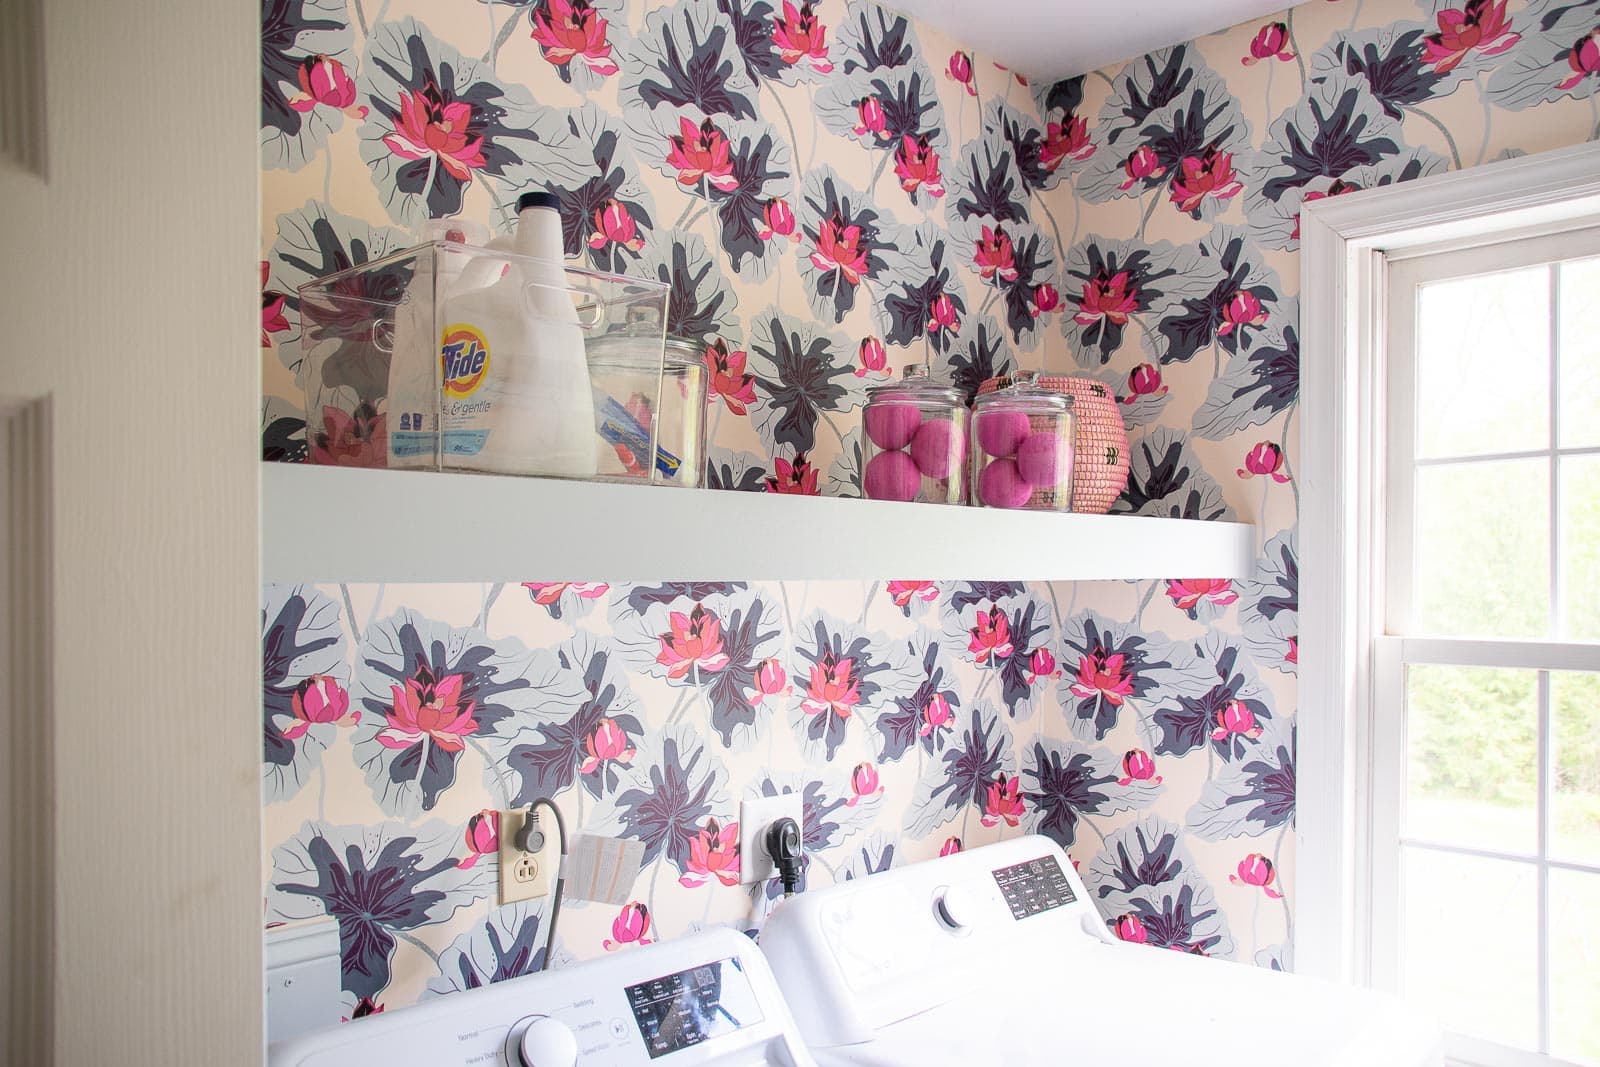
Step 2. Prep Walls and Wallpaper
I patched and sanded all the holes left behind by the wire shelving and then applied wallpaper. I’m using this amazing pattern from Murals Your Way and could not love it more. I partnered with Murals Your Way in our old house for the kids’ closets but used their removable paper for that. Because their paper is a “mural” it’s printed to fit your space (vs. rolls of traditional wallpaper). Note that the wallpaper is a bit wider than your typical paper so it might be easier to apply with two people. Originally I was going to put the shelves up first so I wouldn’t risk damaging the paper when I installed them, but… I didn’t want to cut the paper at each shelf and then have to match it up with the adjacent walls. (See this post for a little more explanation as to how I hang wallpaper.)

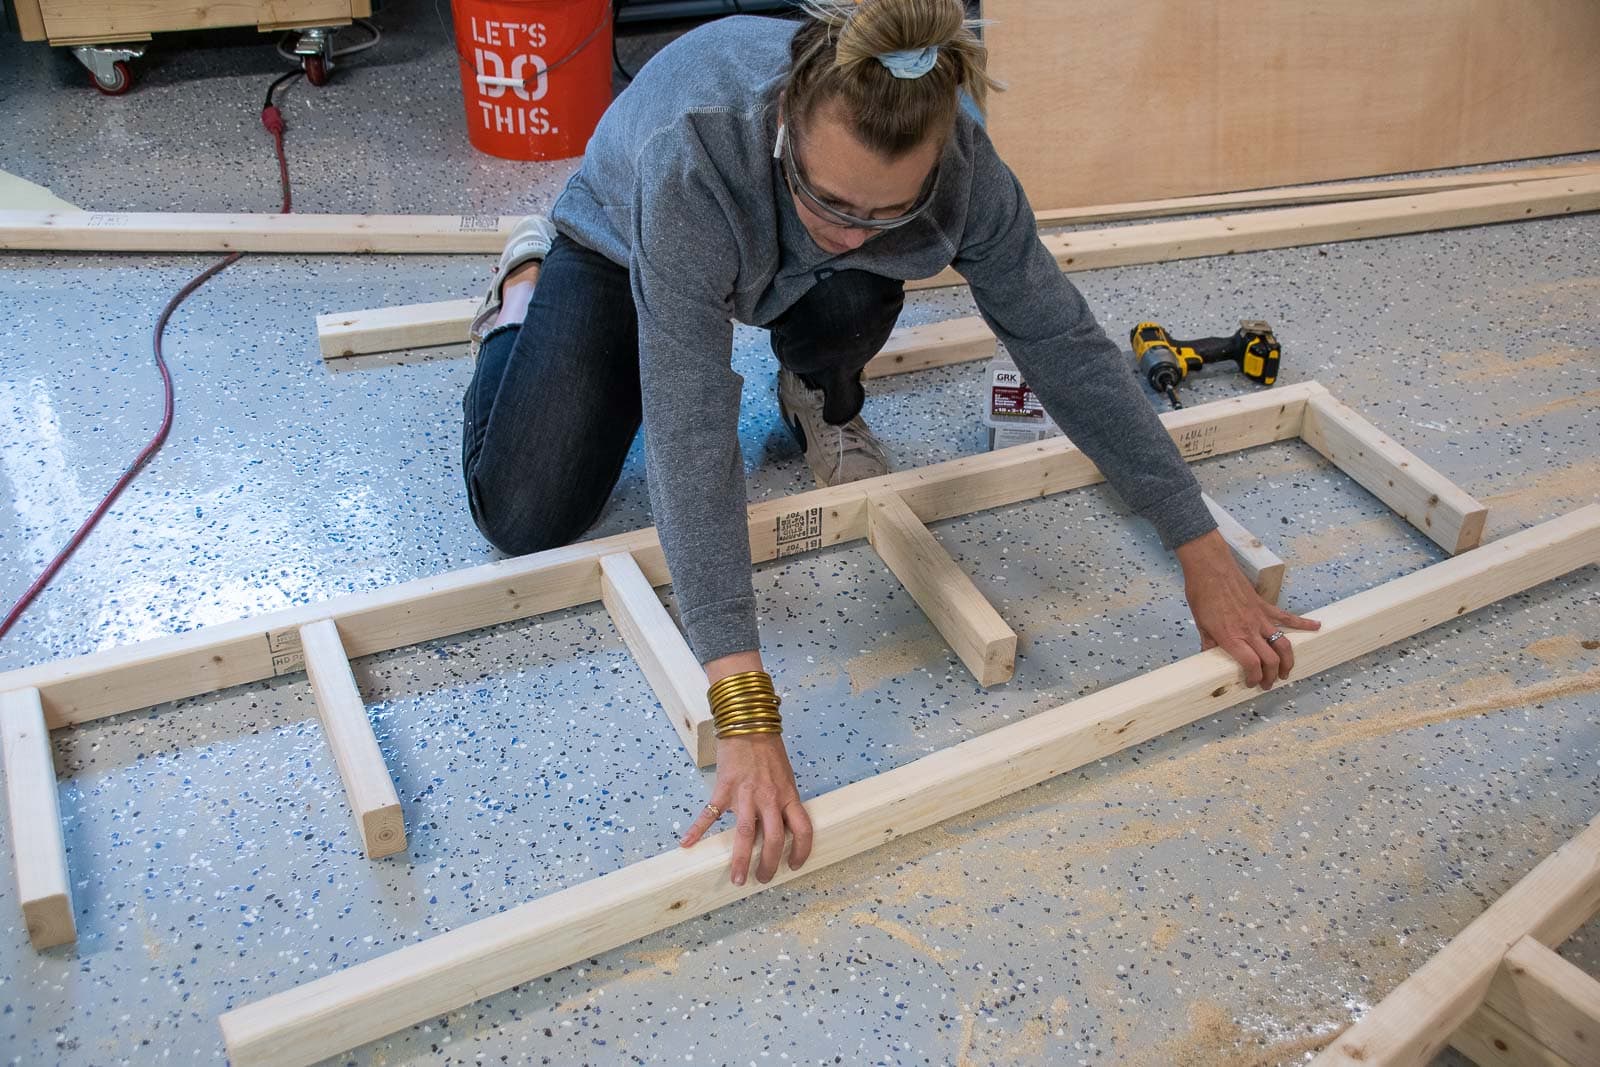
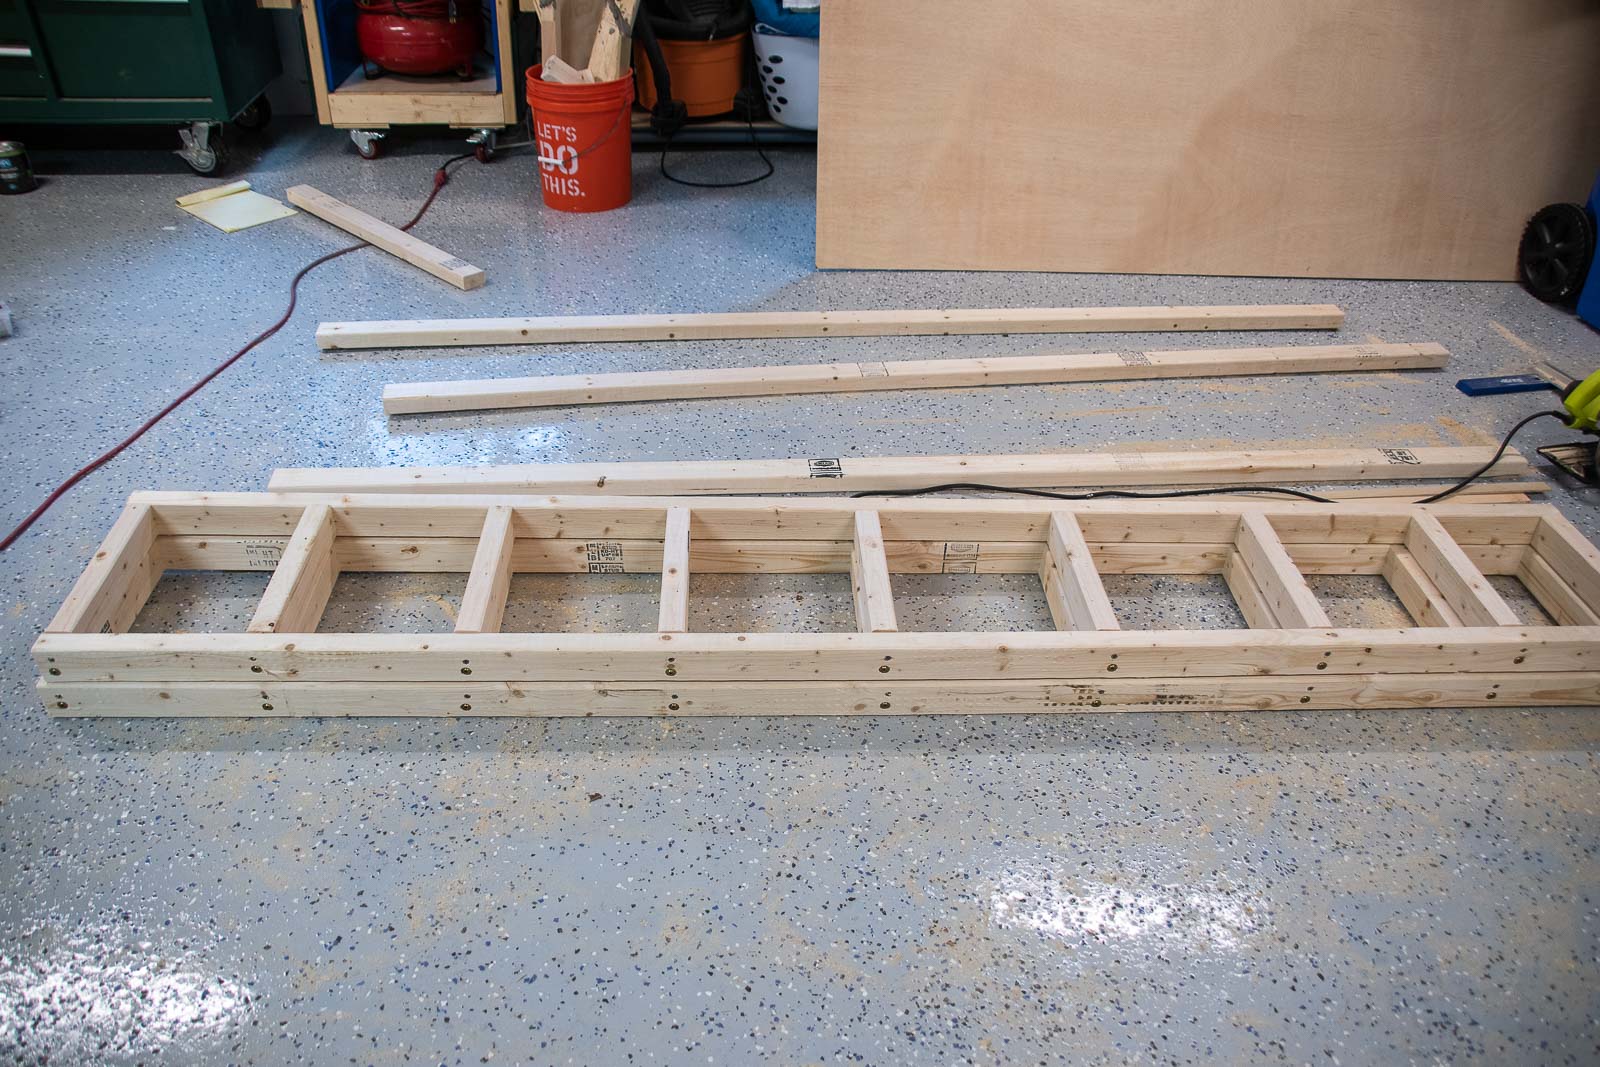
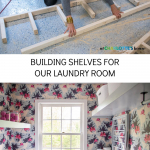
 Step 3. Build the shelves
 Step 3. Build the shelves
Note that I ended up following my friend Anika’s tutorial pretty closely for my shelves. At least the installation part. I used 2x3s to build the skeleton of each shelf. I used my Kreg ripcut (affiliate) to cut down 1/2″ plywood for the top of the shelves and opted to cut down and use underlayment for the underside of the shelves to save money. I had my local paint store color match that light blue on the wallpaper to use for the shelves and painted them first.
Step 4. Install the shelves
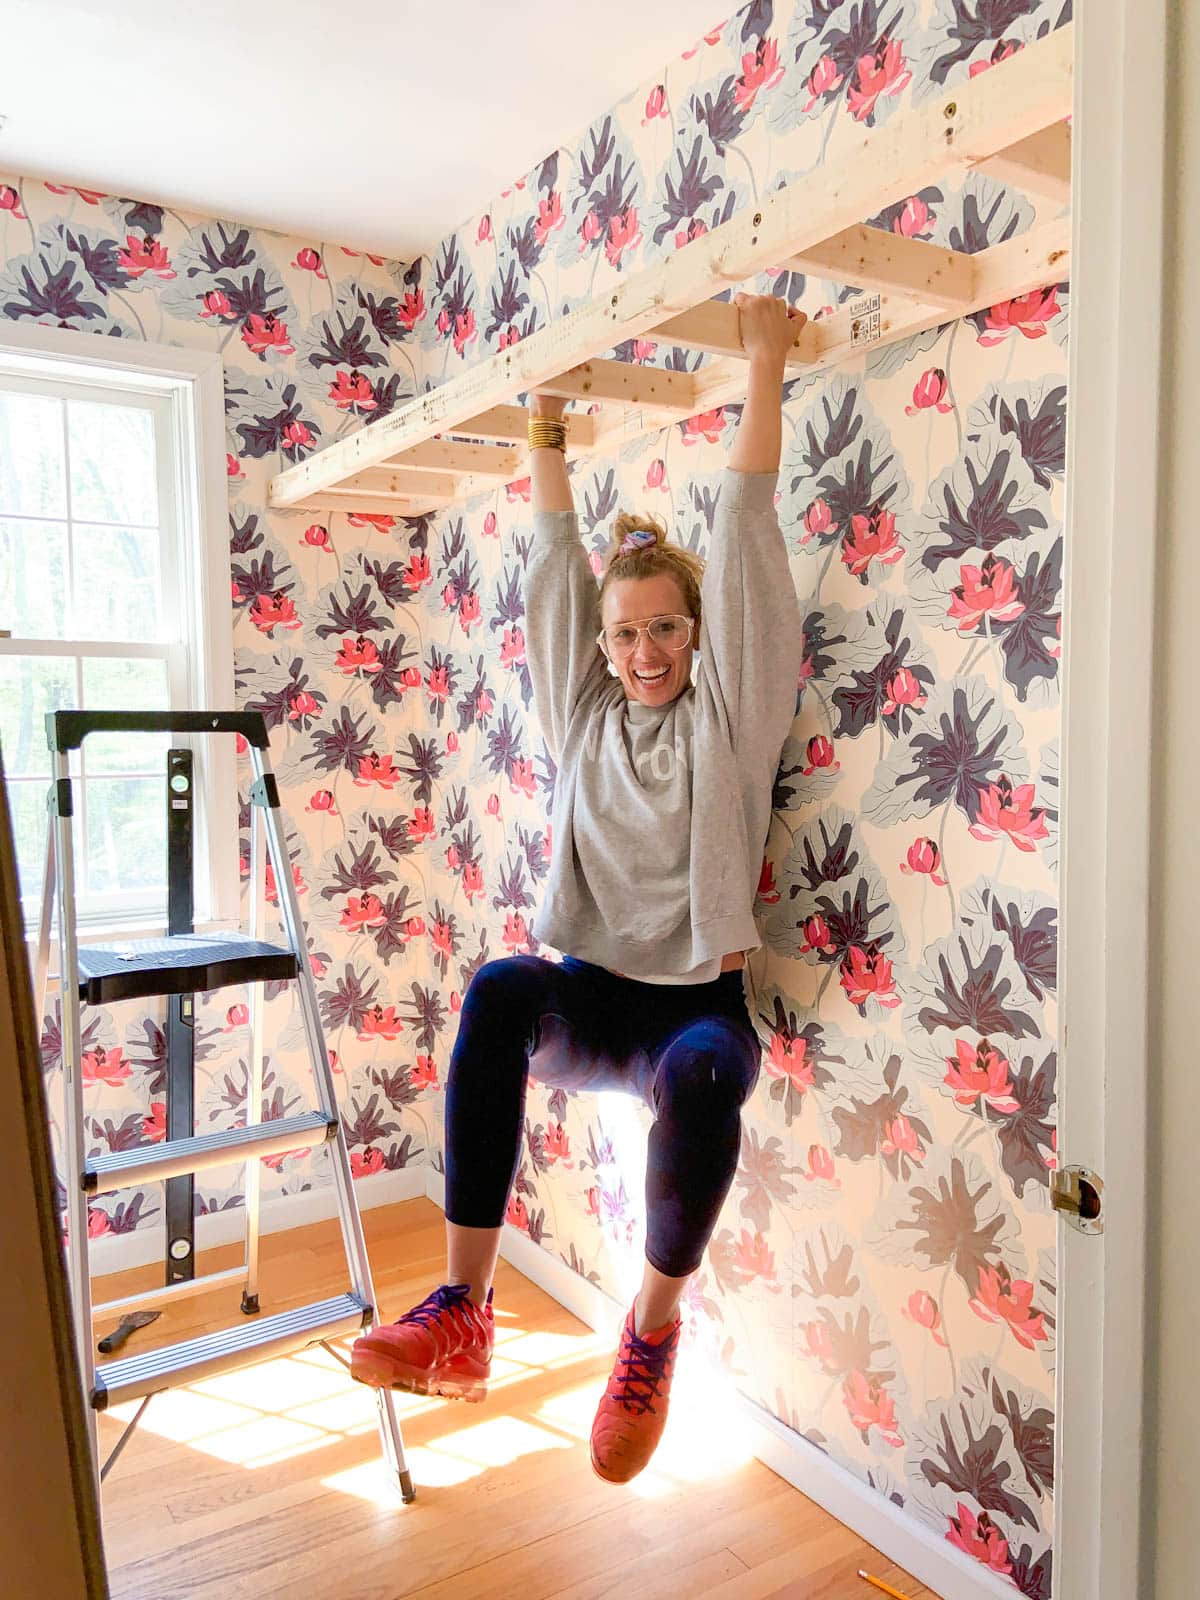
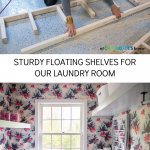
Not going to lie… I was nervous about installation. These shelves needed to be sturdy and… I needed to get it right the first time in order to preserve my shiny new wallpaper. I used a stud finder to locate the studs in the wall and found a few on the back wall and one that would align with the end of the shelf. The opposite end of the shelf did not sit on an anchor which is where I made my one (fixable) mistake.
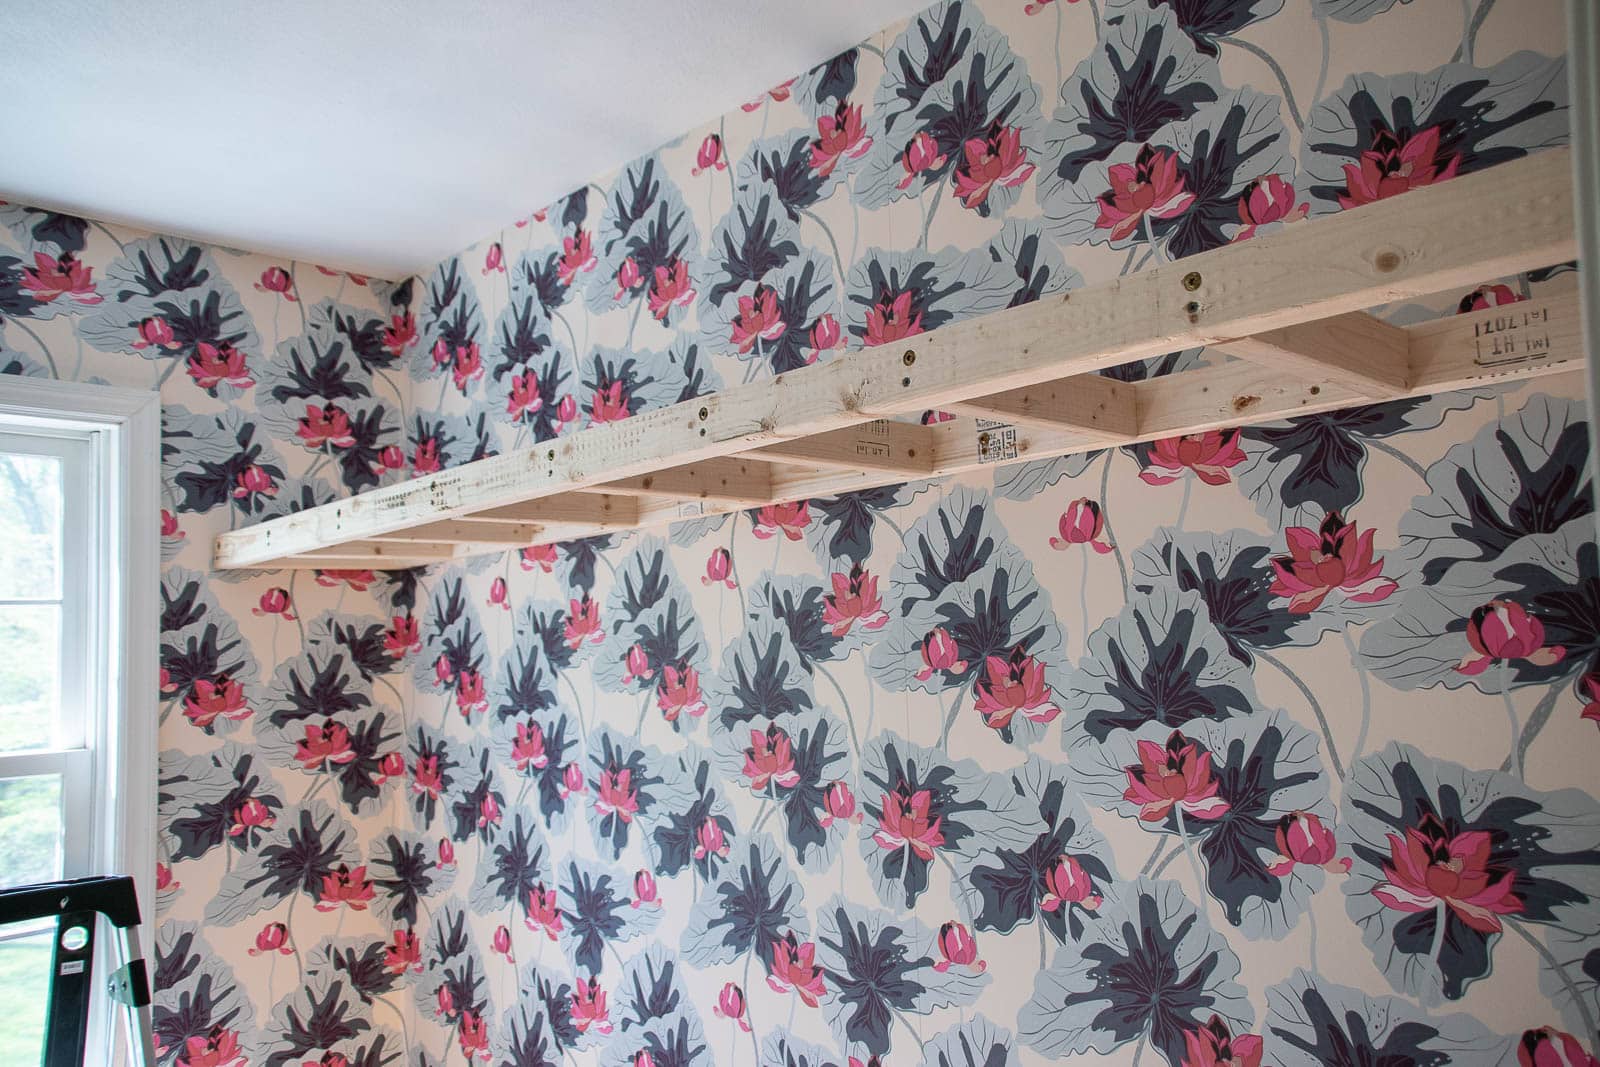
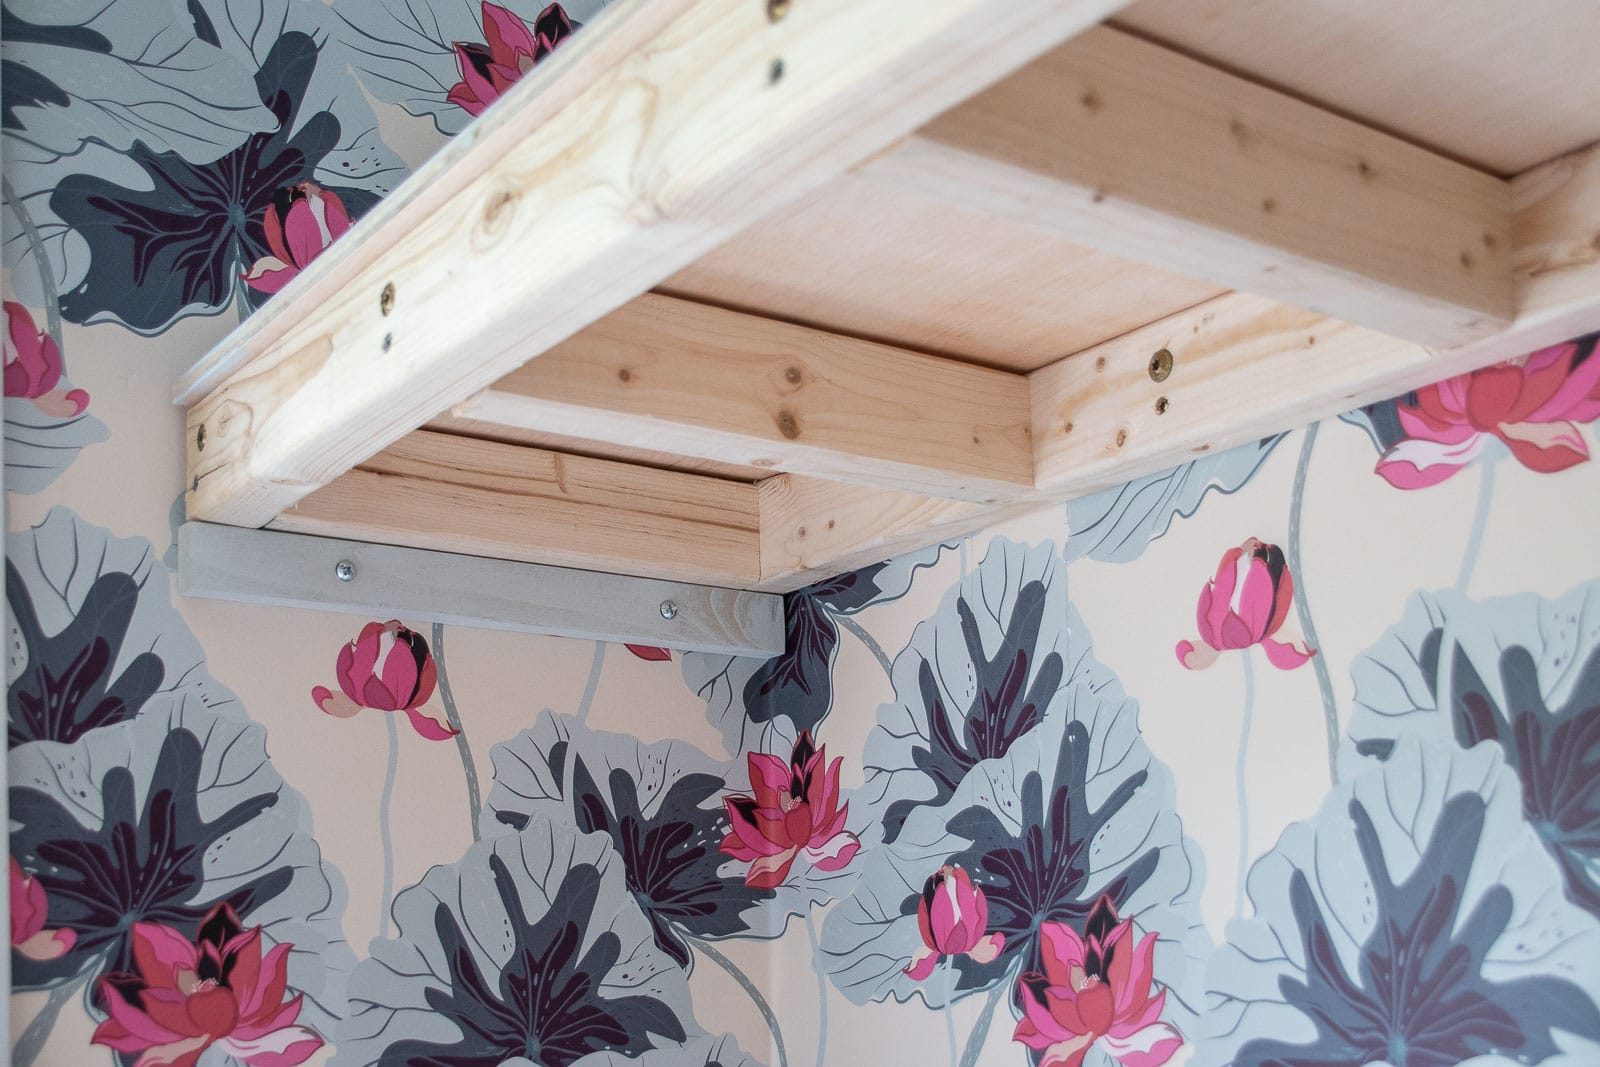
I started by using these heavy duty screws to attach the shelf skeleton to the studs along the back of the wall. Because this shelf was so long (8 feet), I needed to secure either end to make sure it was solid. One end had a stud but the other end did NOT, so I figured I’d use a heavy duty toggle bolt. Unfortunately to use a toggle bolt, I should have inserted the toggle into the wall BEFORE the shelf was in place. Which obviously I didn’t. So my solution was to insert a 1×3 shelf support just beneath my shelf and I used toggle bolts for that. It’s not perfect, but… once it was painted the same color as the shelf it’s not anything that draws your eye. (You can see how sturdy it was on the second photo withOUT the end supports… )
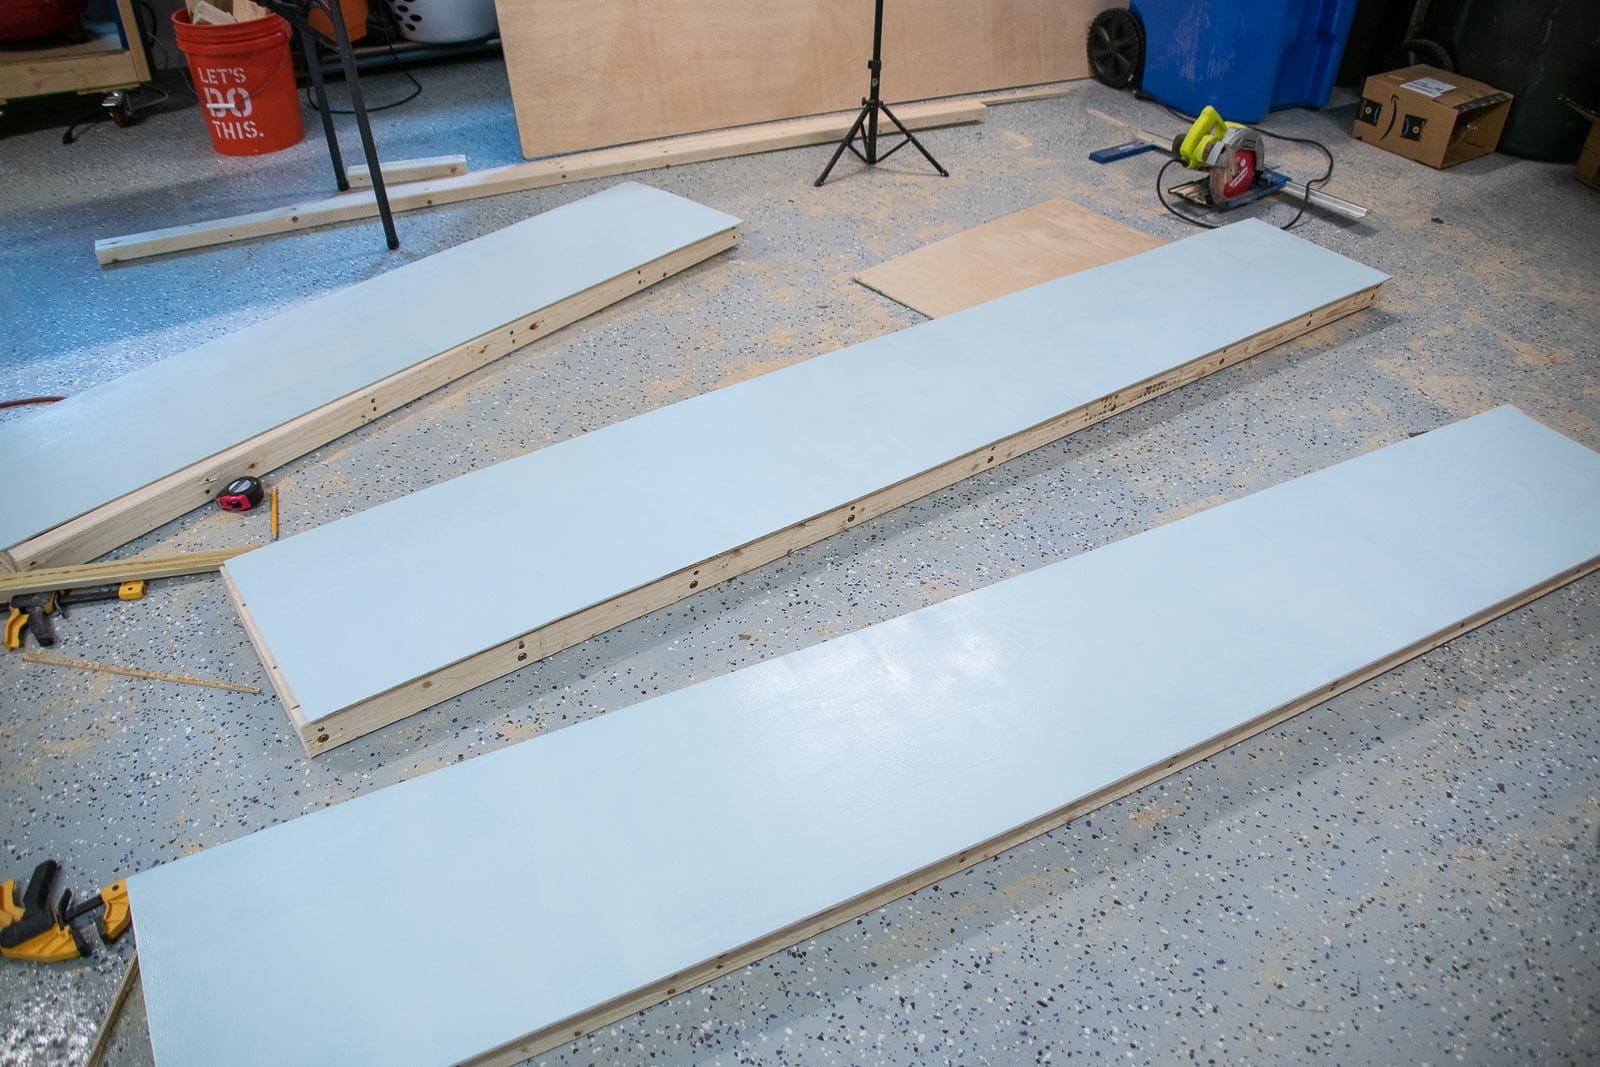
Step 5. Finishing the shelves
To make the shelf structure an actual shelf, I used finishing screws to hold the plywood on top of the shelf and the underlayment on the bottom of the shelf. Even though these boards were pretty straight, I needed the screw to ‘pull’ them into place. I’m not sure a brad nailer would have been quite strong enough, but these screws were perfect. I screwed them in place just tight enough that the head of each screw was recessed beneath the surface of the plywood. For the front of the shelves, I cut a strip of plywood to size and used a brad nailer to hold it in place making sure the top edge was aligned perfectly.
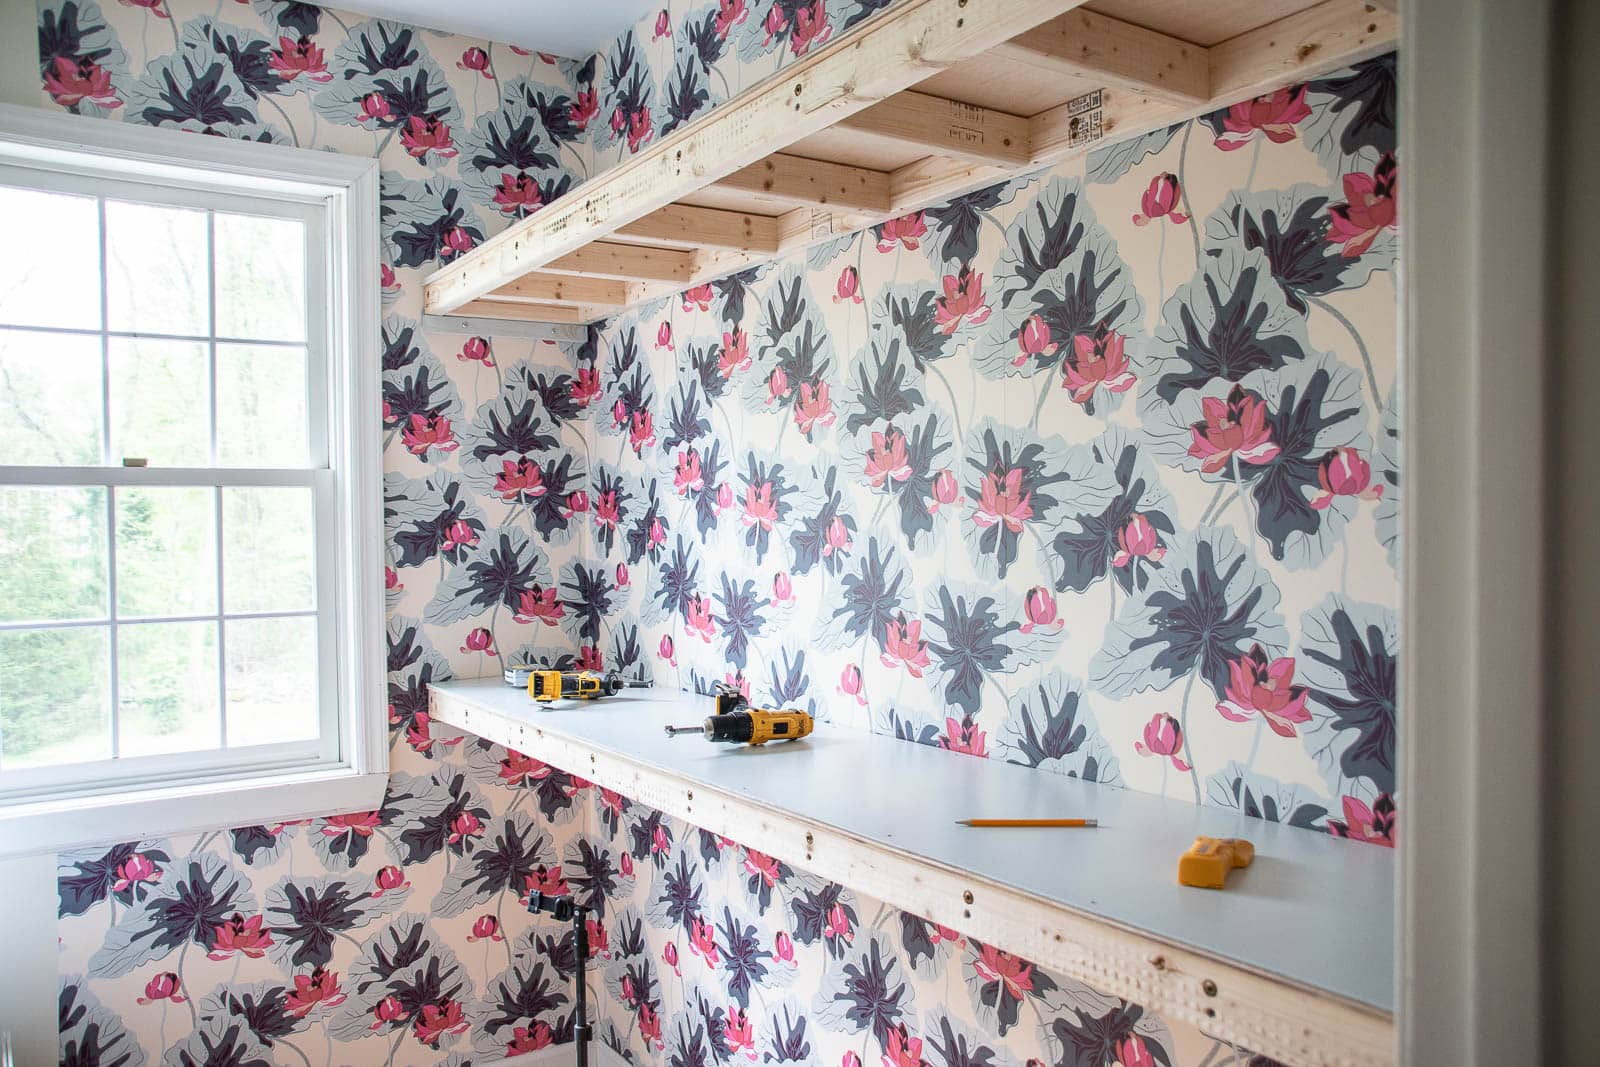
To finish the shelves I used wood fill to cover the screw heads, sanded them all smooth and then painted over. I also used a bit of wood fill to cover the end grain on the edge of the shelves where the front strip met the top of the shelf.
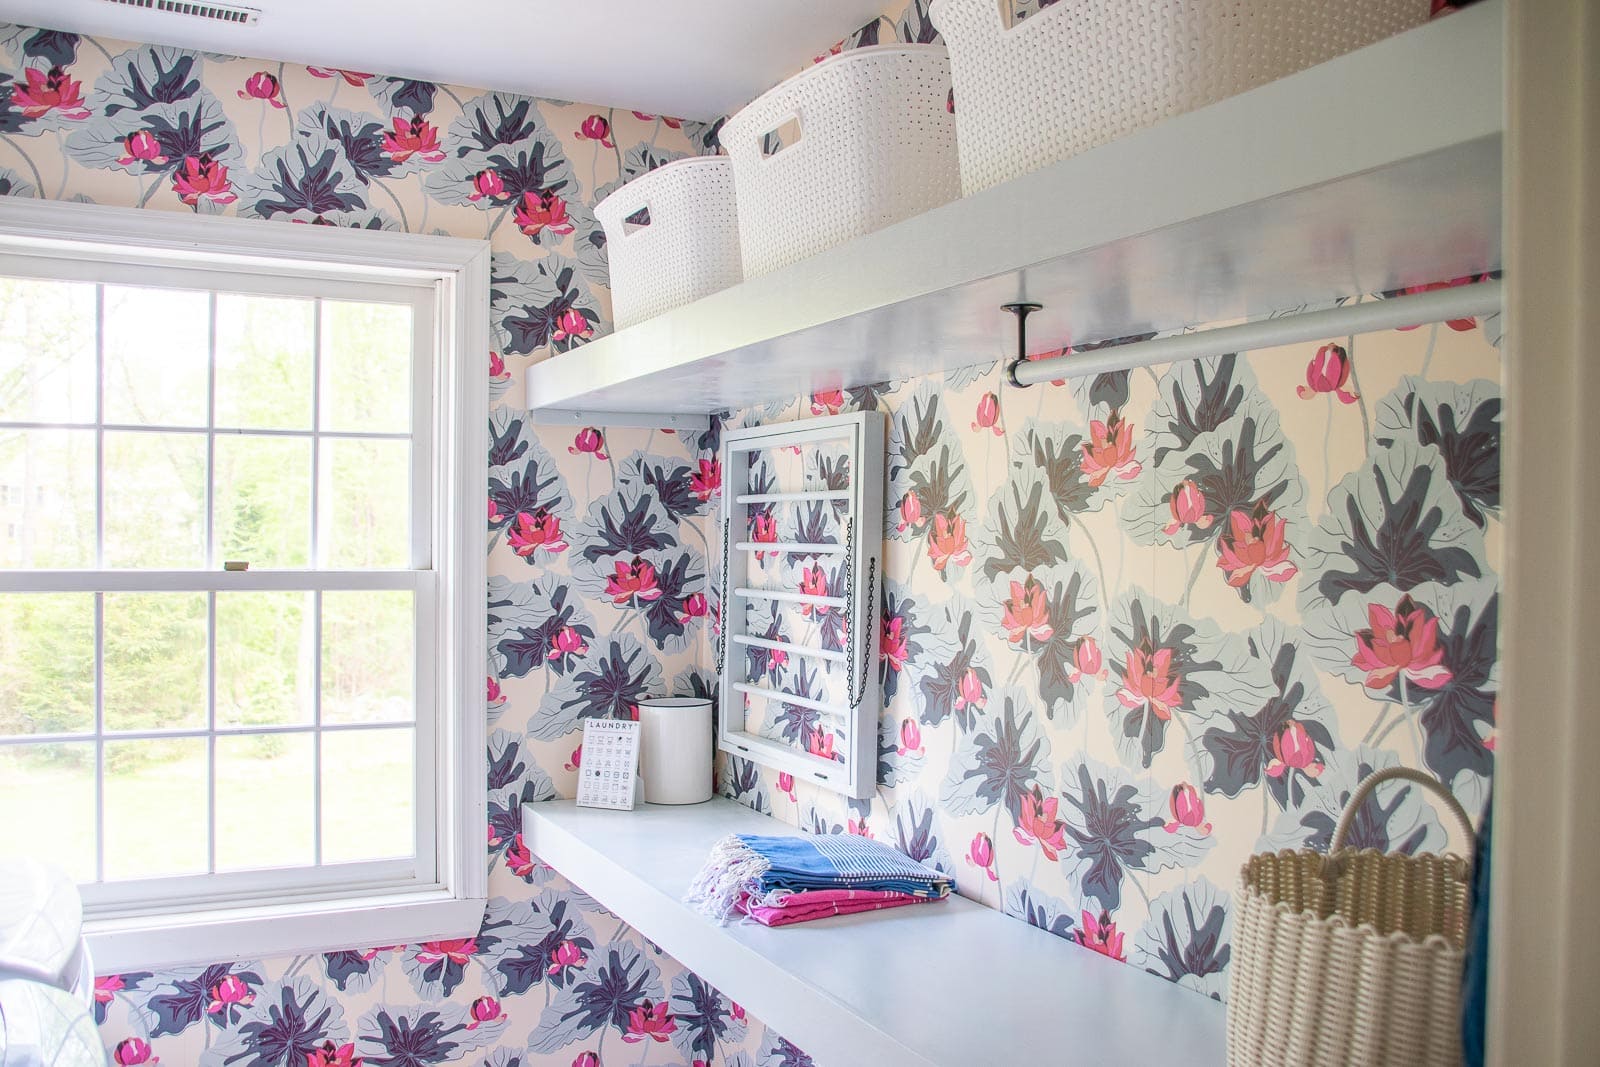
Step 6. Laundry accessories
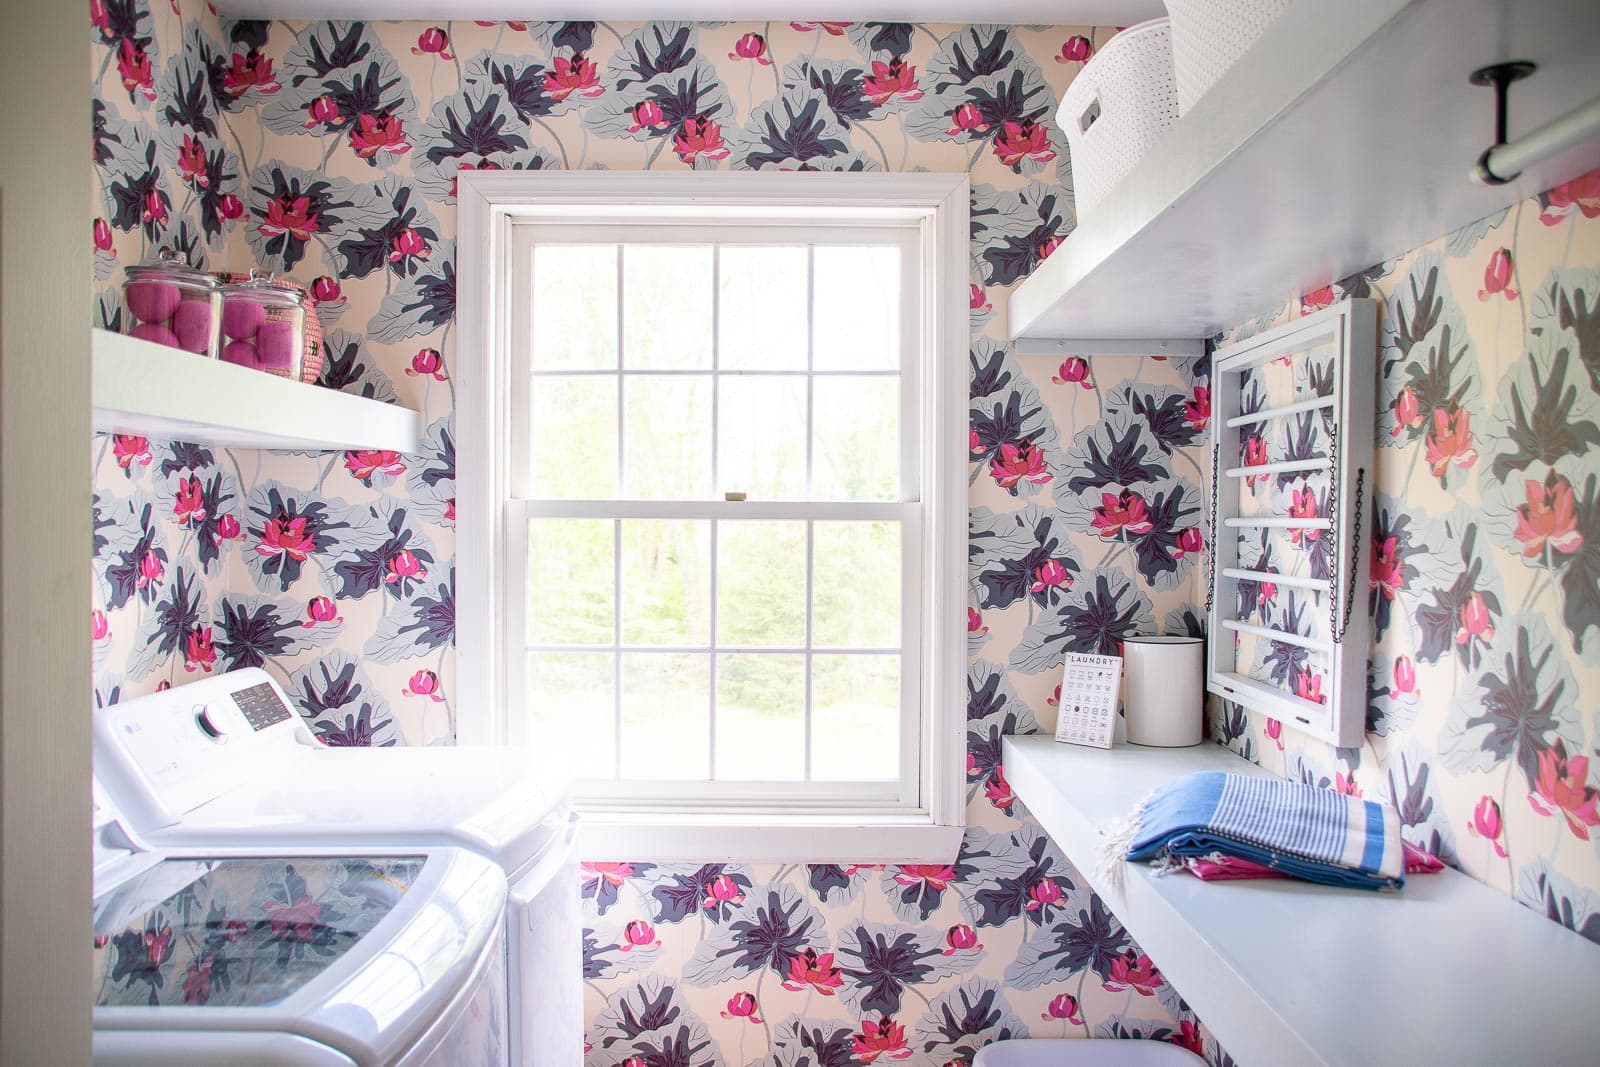
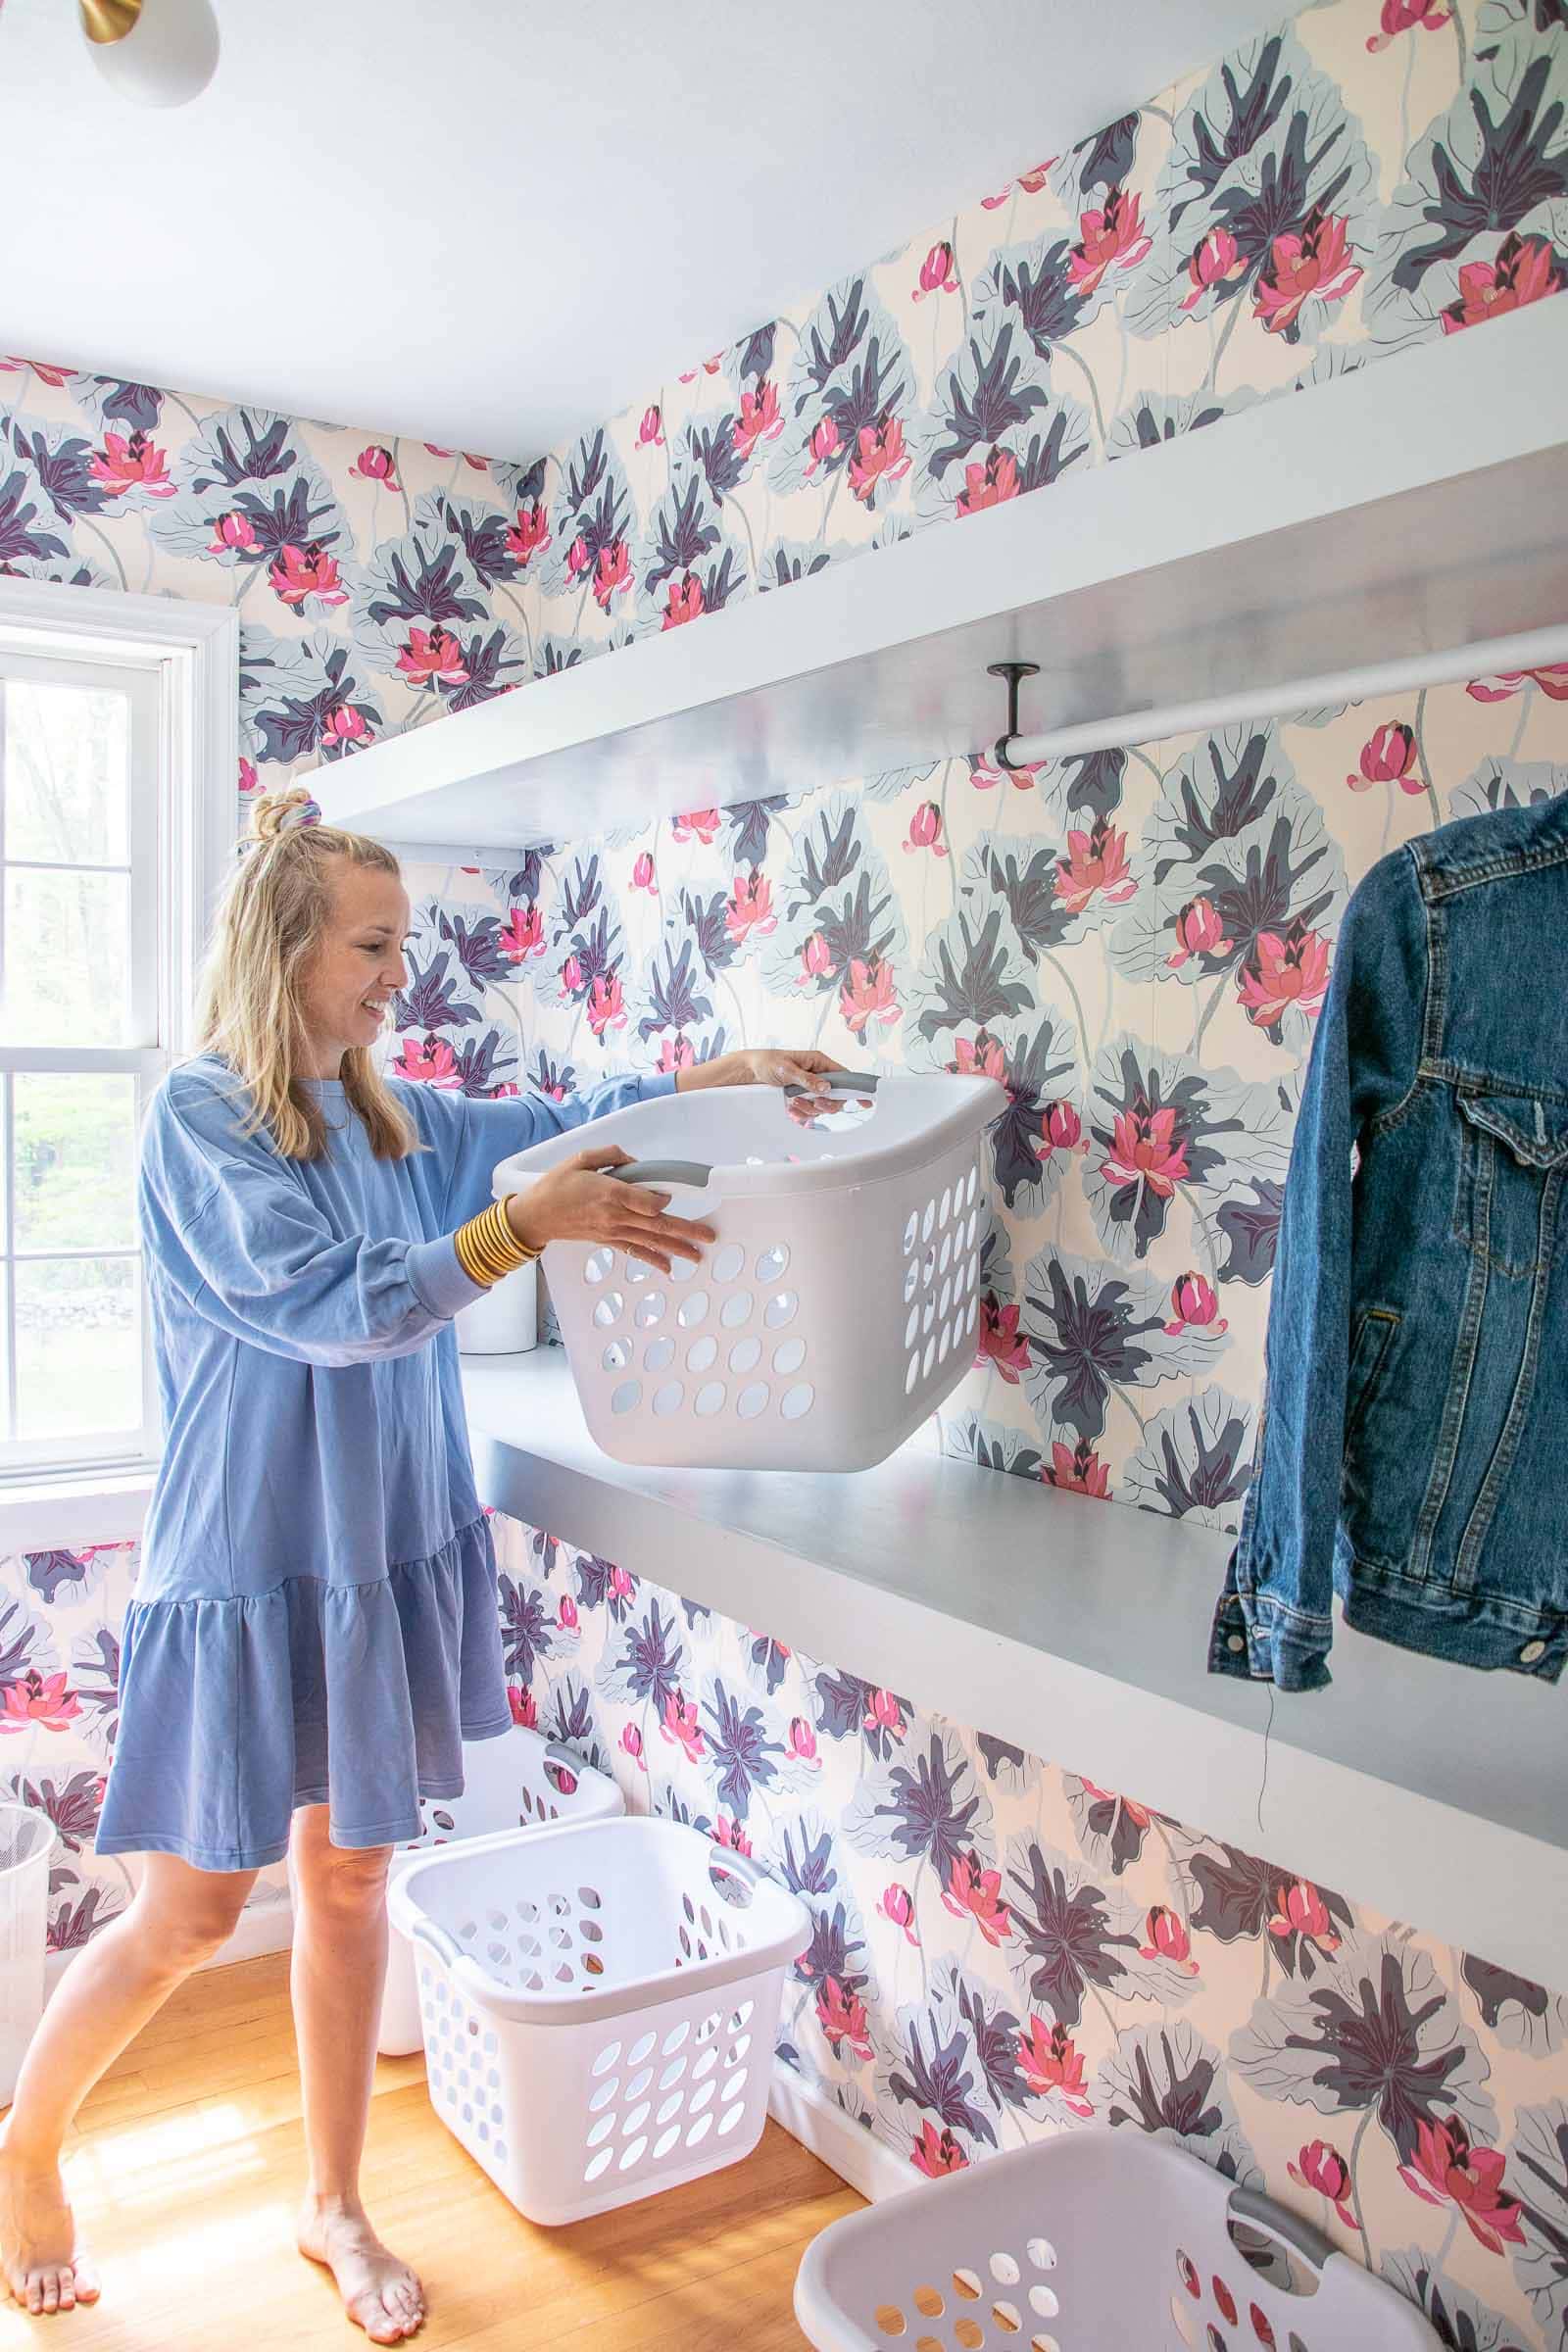
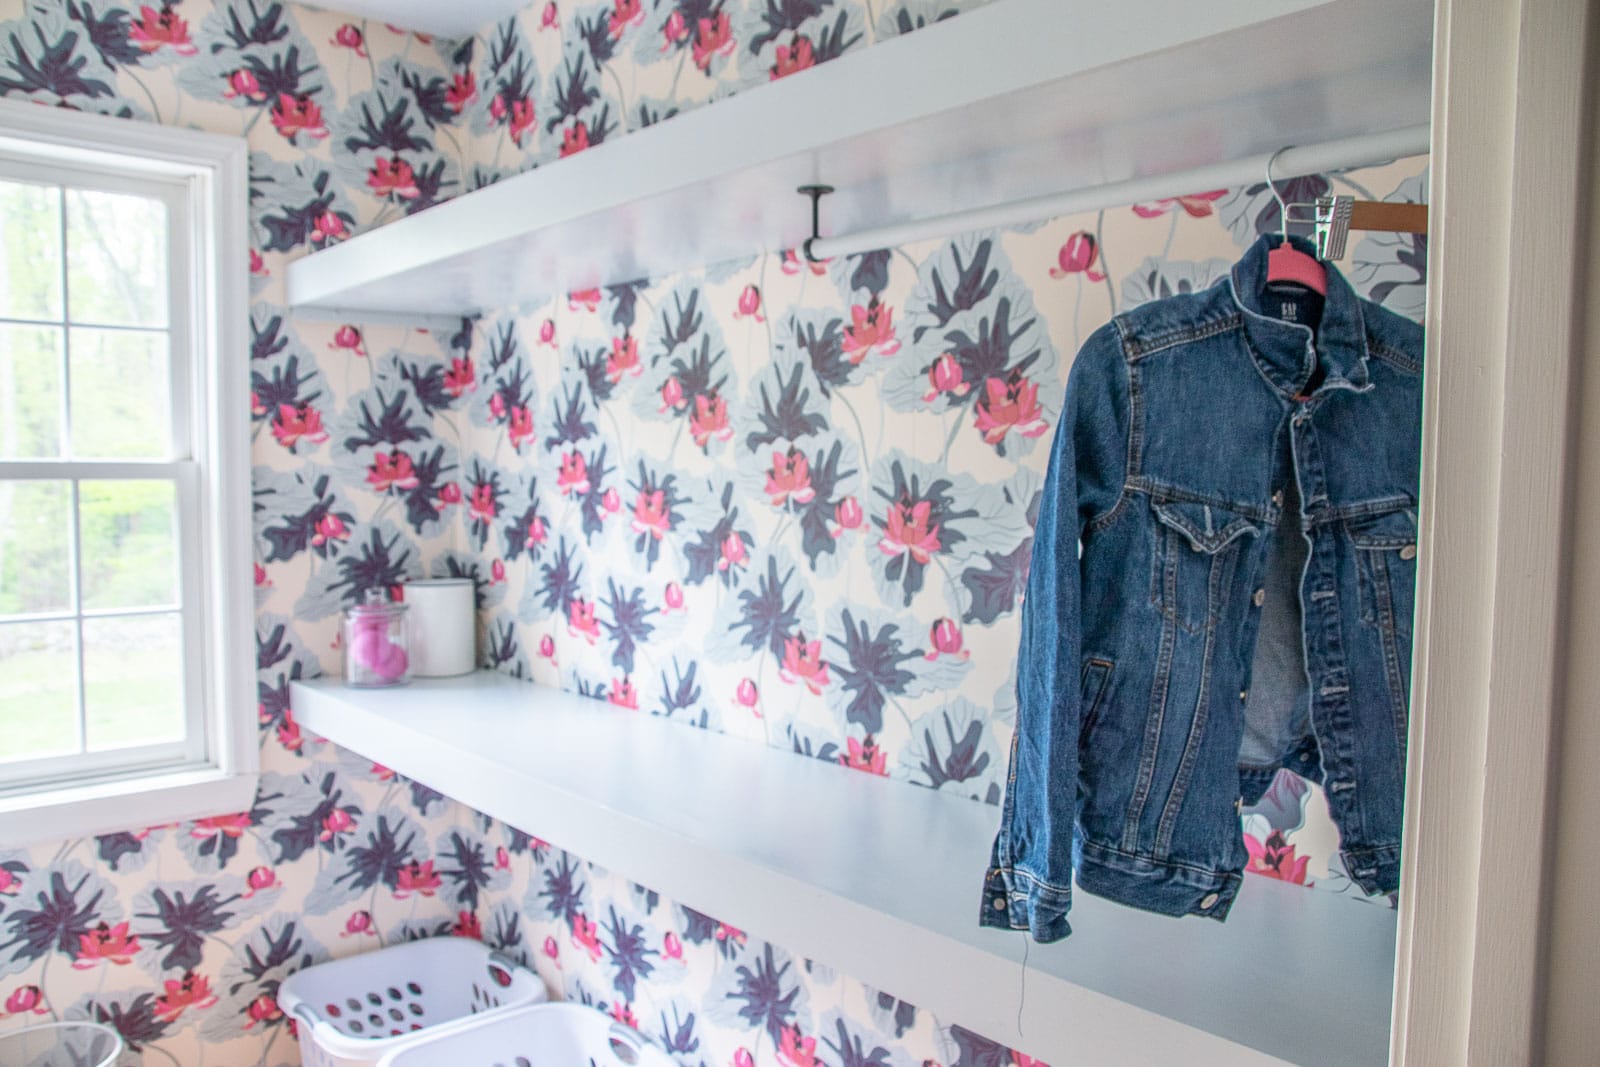
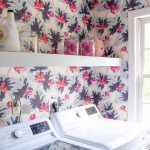
You all were smart about suggesting accessories that would be helpful for a laundry room like a hanging rack or a laundry rack. I’ll share a separate tutorial for the laundry rack, but the hanging bars were SO easy to install. I used these ceiling mount curtain rods to hold a simple wooden dowel in place. Again I painted it with the same paint as the shelves so it blends right in.
I swapped out the light for this one I’ve had for a while from Hudson Valley lighting (see it in action at our old house here), and brought in some accessories but that’s it! Same general layout as the laundry room “before” but… it couldn’t look more different. I love that the shelf is a bit higher so it can work as a folding station and the wallpaper brightens an otherwise dull space. Does it make laundry any more enjoyable? Nope. Is it pretty to look at and does it make me proud that I installed shelves that I can hang from? YES!!
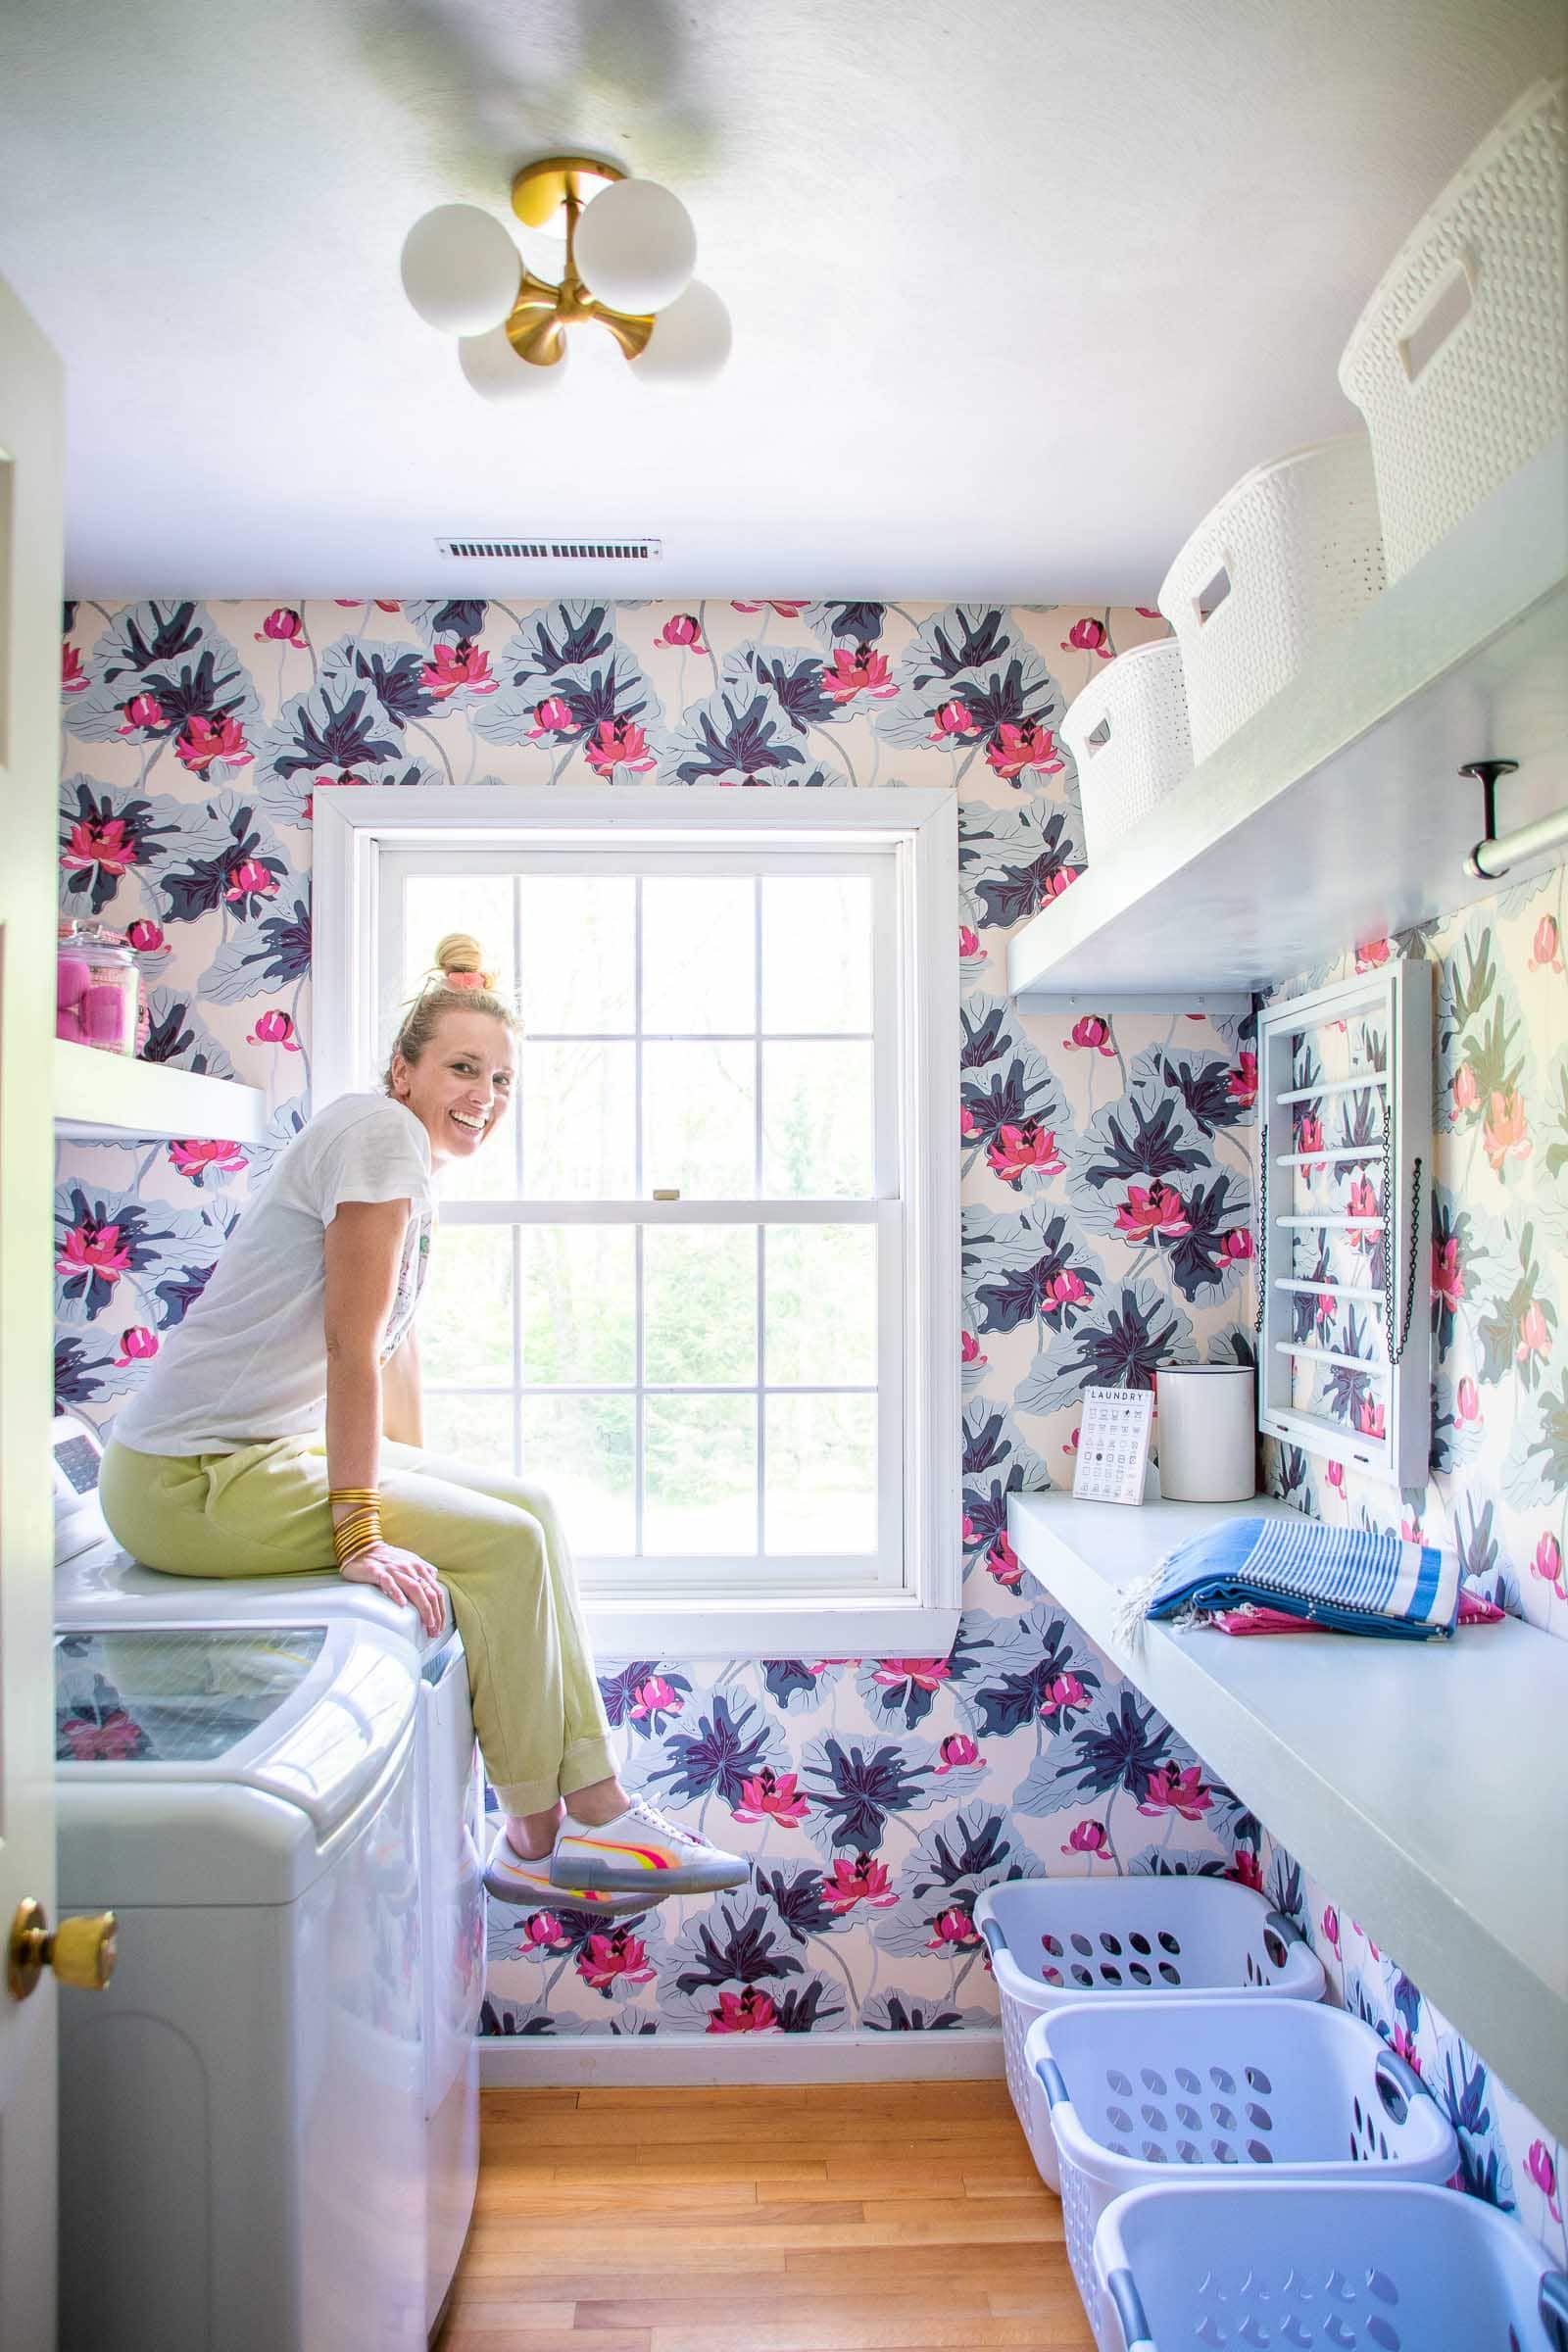
Thanks again to Murals Your Way for gifting me with that GAW-geous wallpaper. It’s a showstopper!


Gorgeous💕
LOVE IT!!!!!!!
THANK YOU!!