
DIY Custom Bedskirt
Psssst… this post *might* contain affiliate links: see my disclosure here.
I wasn’t going to share this with you guys because well… the photos make the room look a little crazy. Don’t get me wrong… the room IS a little crazy, but I’m tempted to go back and replace these with a few less-cray-cray versions tomorrow. Eleanor’s room was one of the first rooms in our house I tackled. She had these bright yellow walls that had to be replaced. And then she declared “fuchsia” would be her theme. What goes great with fuchsia? Green. Naturally. And by naturally I mean nope… not my first choice. But here’s what we had in that room. A BEAUTIFUL spindle bed and a bedside table both painted in one of my favorite shades of green.

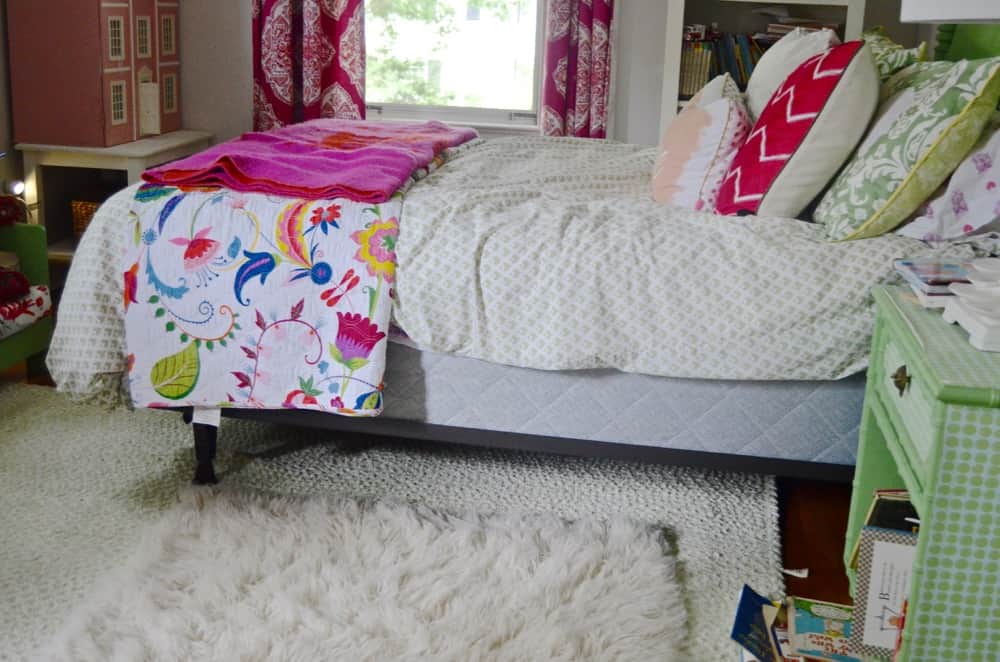
Rather than repaint all the furniture, I decided to embrace the crazy and try to accent these two colors. Subtle? Nope. Does it make for a fun interesting space? I guess that’s a matter of opinion! One of the things that WAS bothering me about the space was her exposed box spring. Seeing those ugly metal legs of the bed was making me nuts. One day I might make a bedskirt from that same amazing Lacefield fabric Eleanor picked for her curtains, but that day is not today. Today, I’m spending $20 on a fun ribbon detailed bedskirt and I’m blabbing to you all about it.
Shop my favorites!
$20 Ribbon Trim Bedskirt
Materials
(Affiliate links included for your shopping convenience)
• Plain bedskirt with flat panels (important: not pleated)
• 1-inch or thicker grosgrain ribbon
• Double sided fusible web
• Iron
• Scissors
• Tape measure
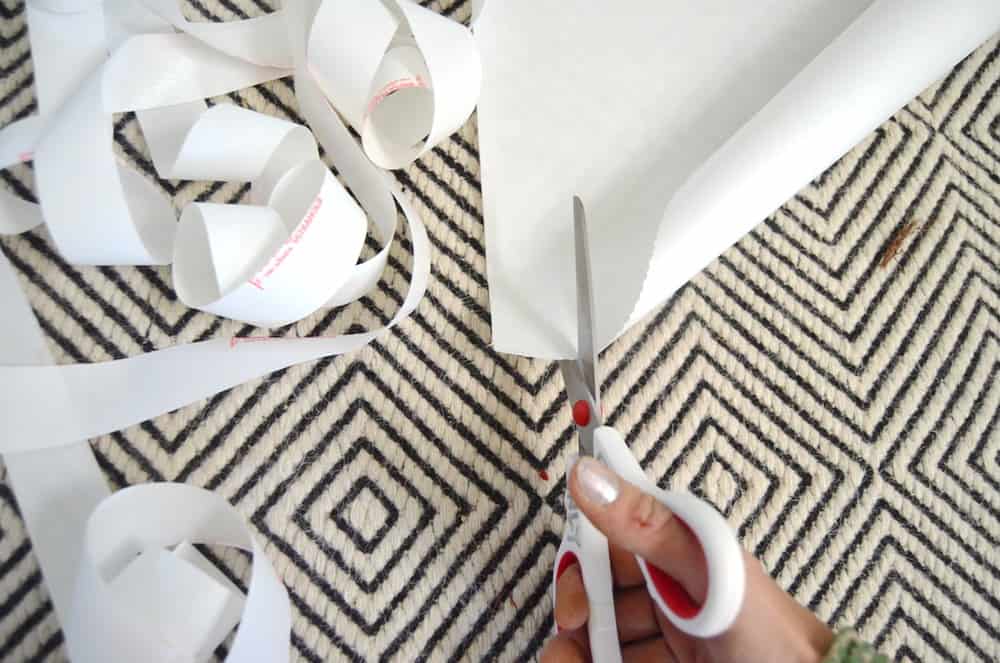
Step 1
I used the sheet of fusible web (versus the tape size) because it was cheaper so I started by cutting this into strips a smidge narrower than the grosgrain.
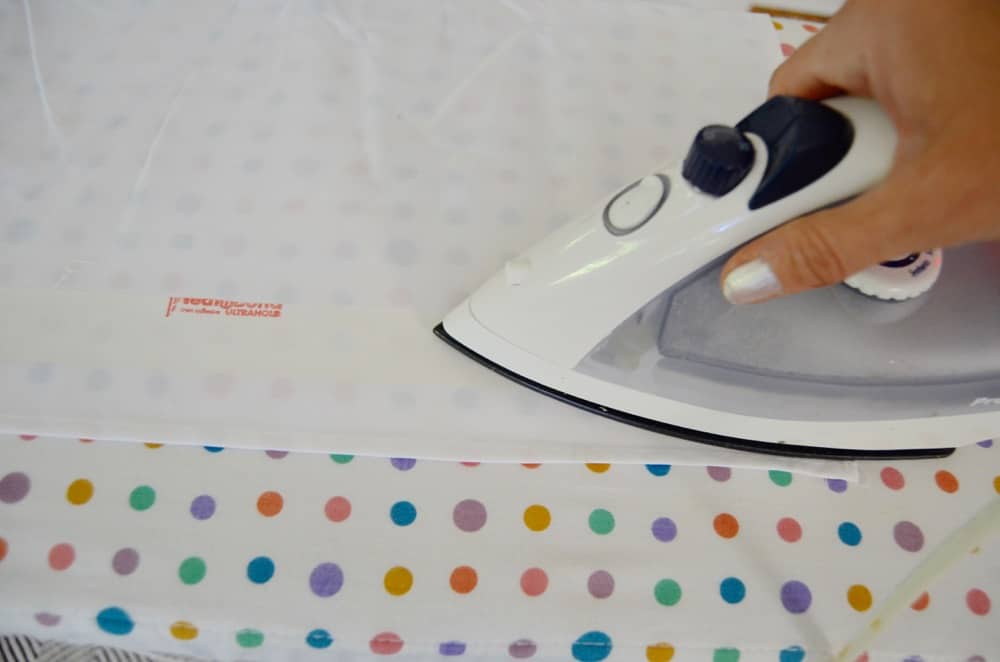
Step 2
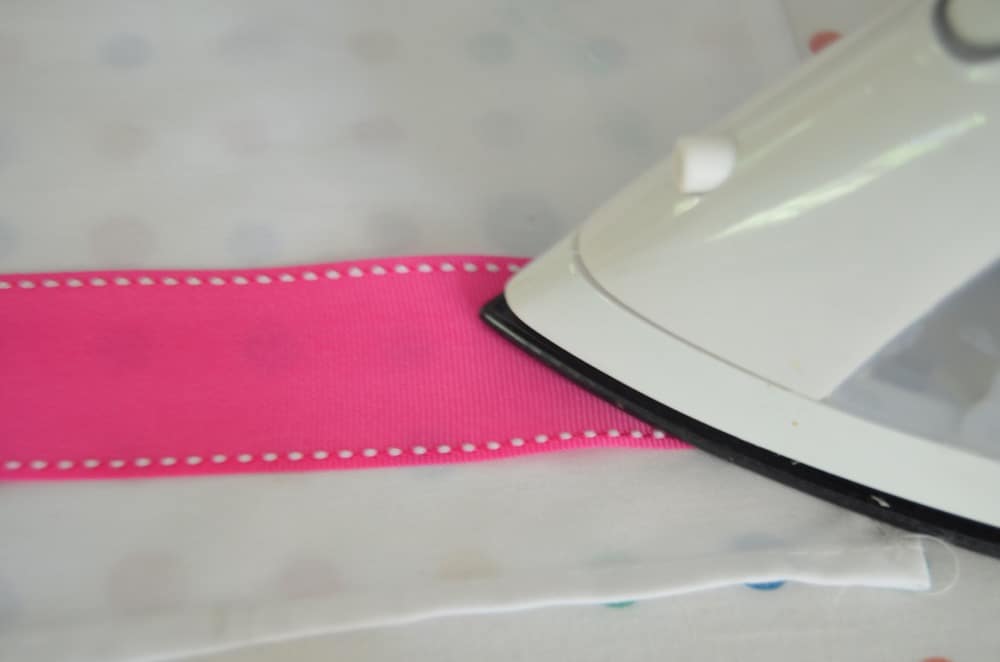
Fusible webbing (aka iron-on adhesive) is SUPER easy to use. Follow the directions on the package but generally speaking, place the adhesive shiny side down where you want to adhere your ribbon and go over with hot iron for 6-10 seconds.
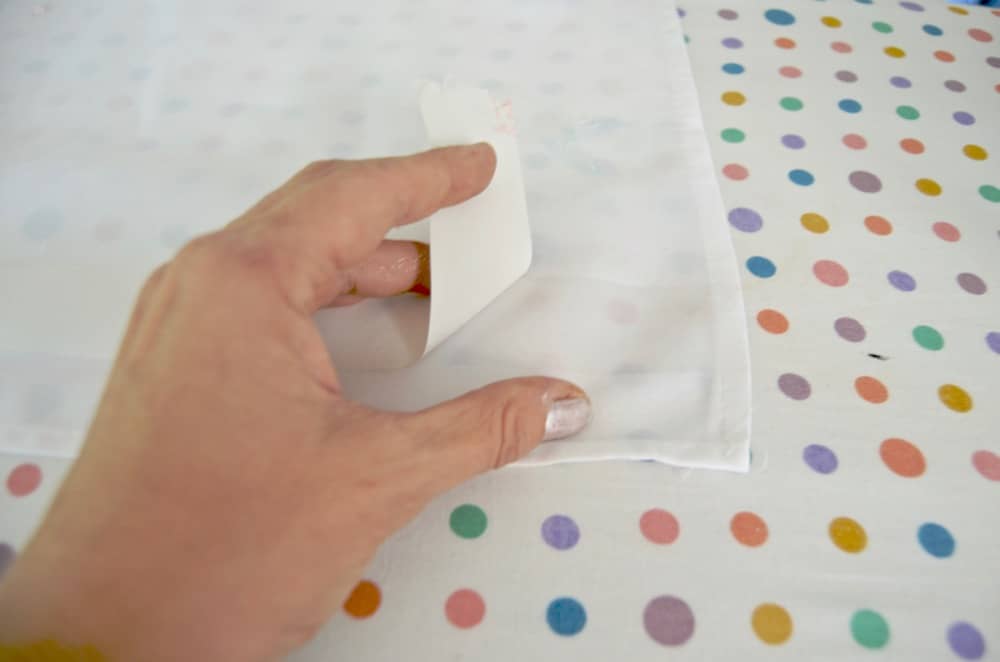
Step 3
Remove the paper backing, place the grosgrain ribbon on top, and iron for 6-10 seconds again. You can stick the ribbon wherever you want it, but use a tape measure to confirm you’re following a straight line!
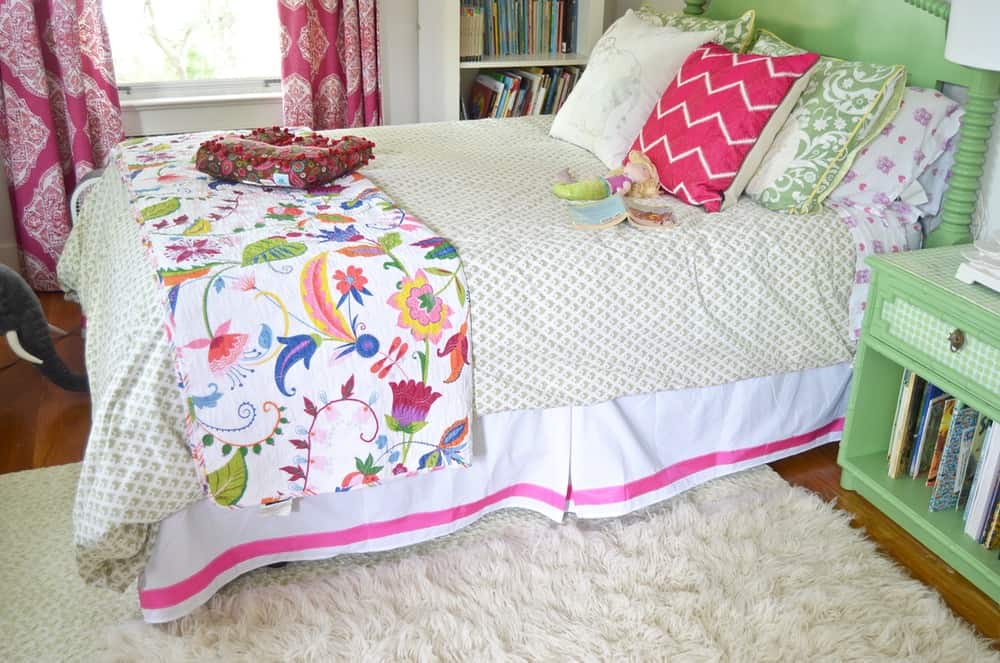
Thats it. The easiest, right?

I love it when a simple easy project carries a big punch. This bedskirt took 30 minutes and cleans up her already colorful and eclectic room.
Shop This Look
Most of the things in Eleanor’s room are thrifted or repurposed, but I’ve found similar items if you want to shop the post!


Brilliant solution. I think E’s room is most little girls dream room! Would have been mine!
🙂 THanks! The simpler the better in my book! Might make a similar one for our room! Ha!